US road signs, and what each one actually means
Every sign on the permit test, 136 of them, grouped the way the federal manual groups them. Shape and color carry the meaning before the legend does, which is why the same octagon means stop in every state.
Regulatory signs
39Every sign in this group has a statute behind it, so disobeying one is a citable offense on its own.
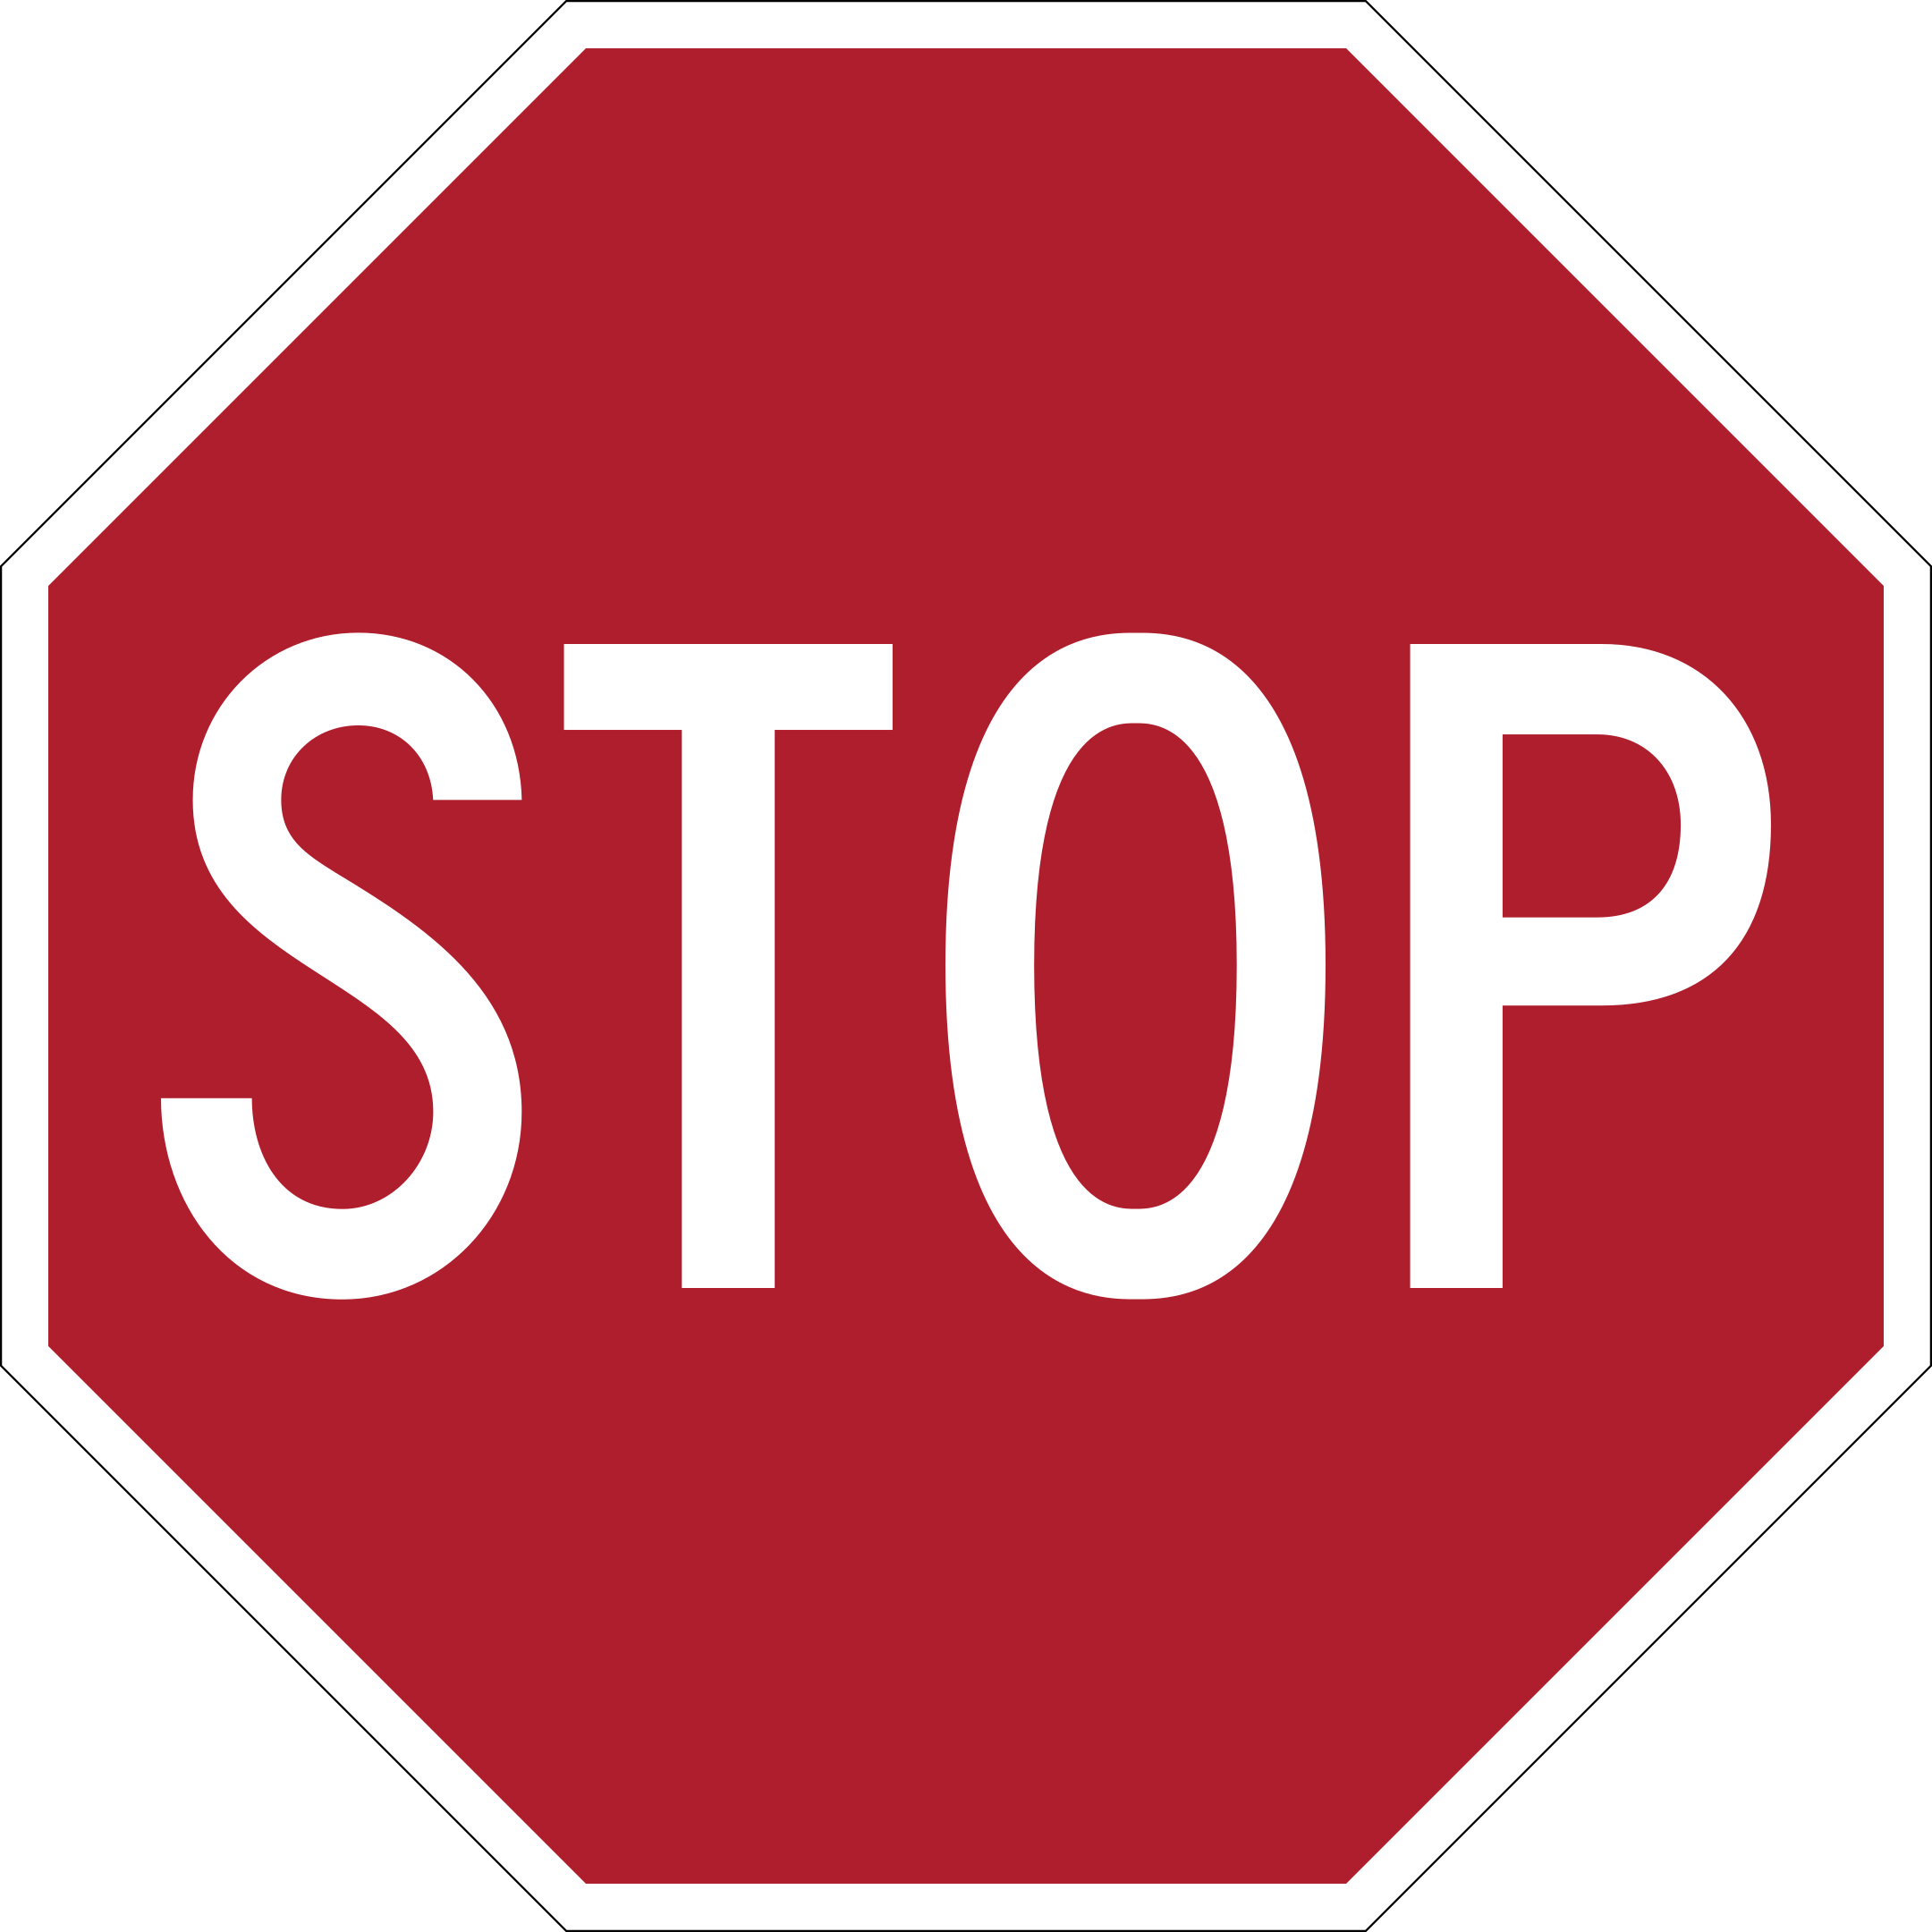
Stop
R1-1The duty is a complete stop, wheels no longer turning, at whichever of these you reach first: a painted stop line.
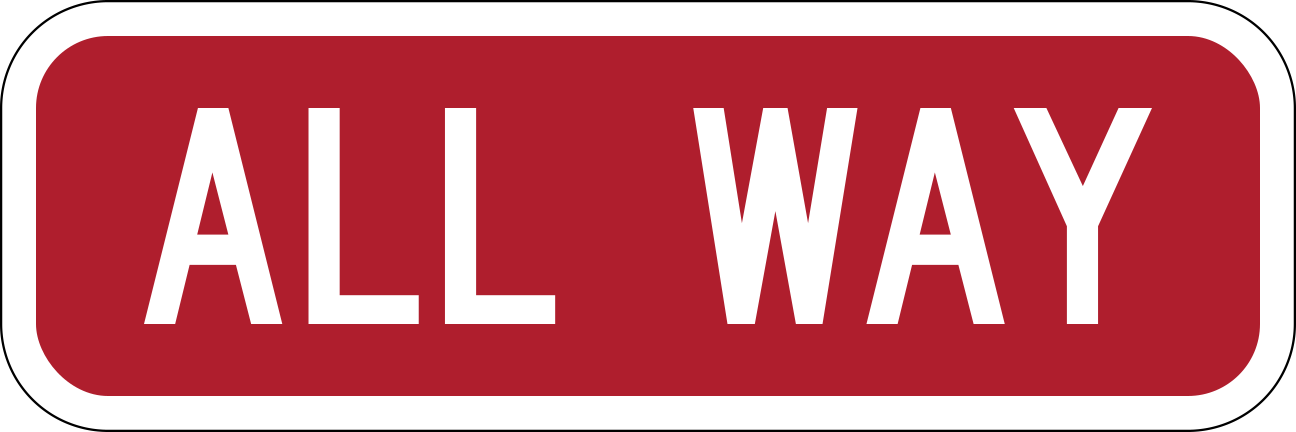
All Way plaque
R1-3PEvery approach to this intersection is stop-controlled, so all drivers must stop.
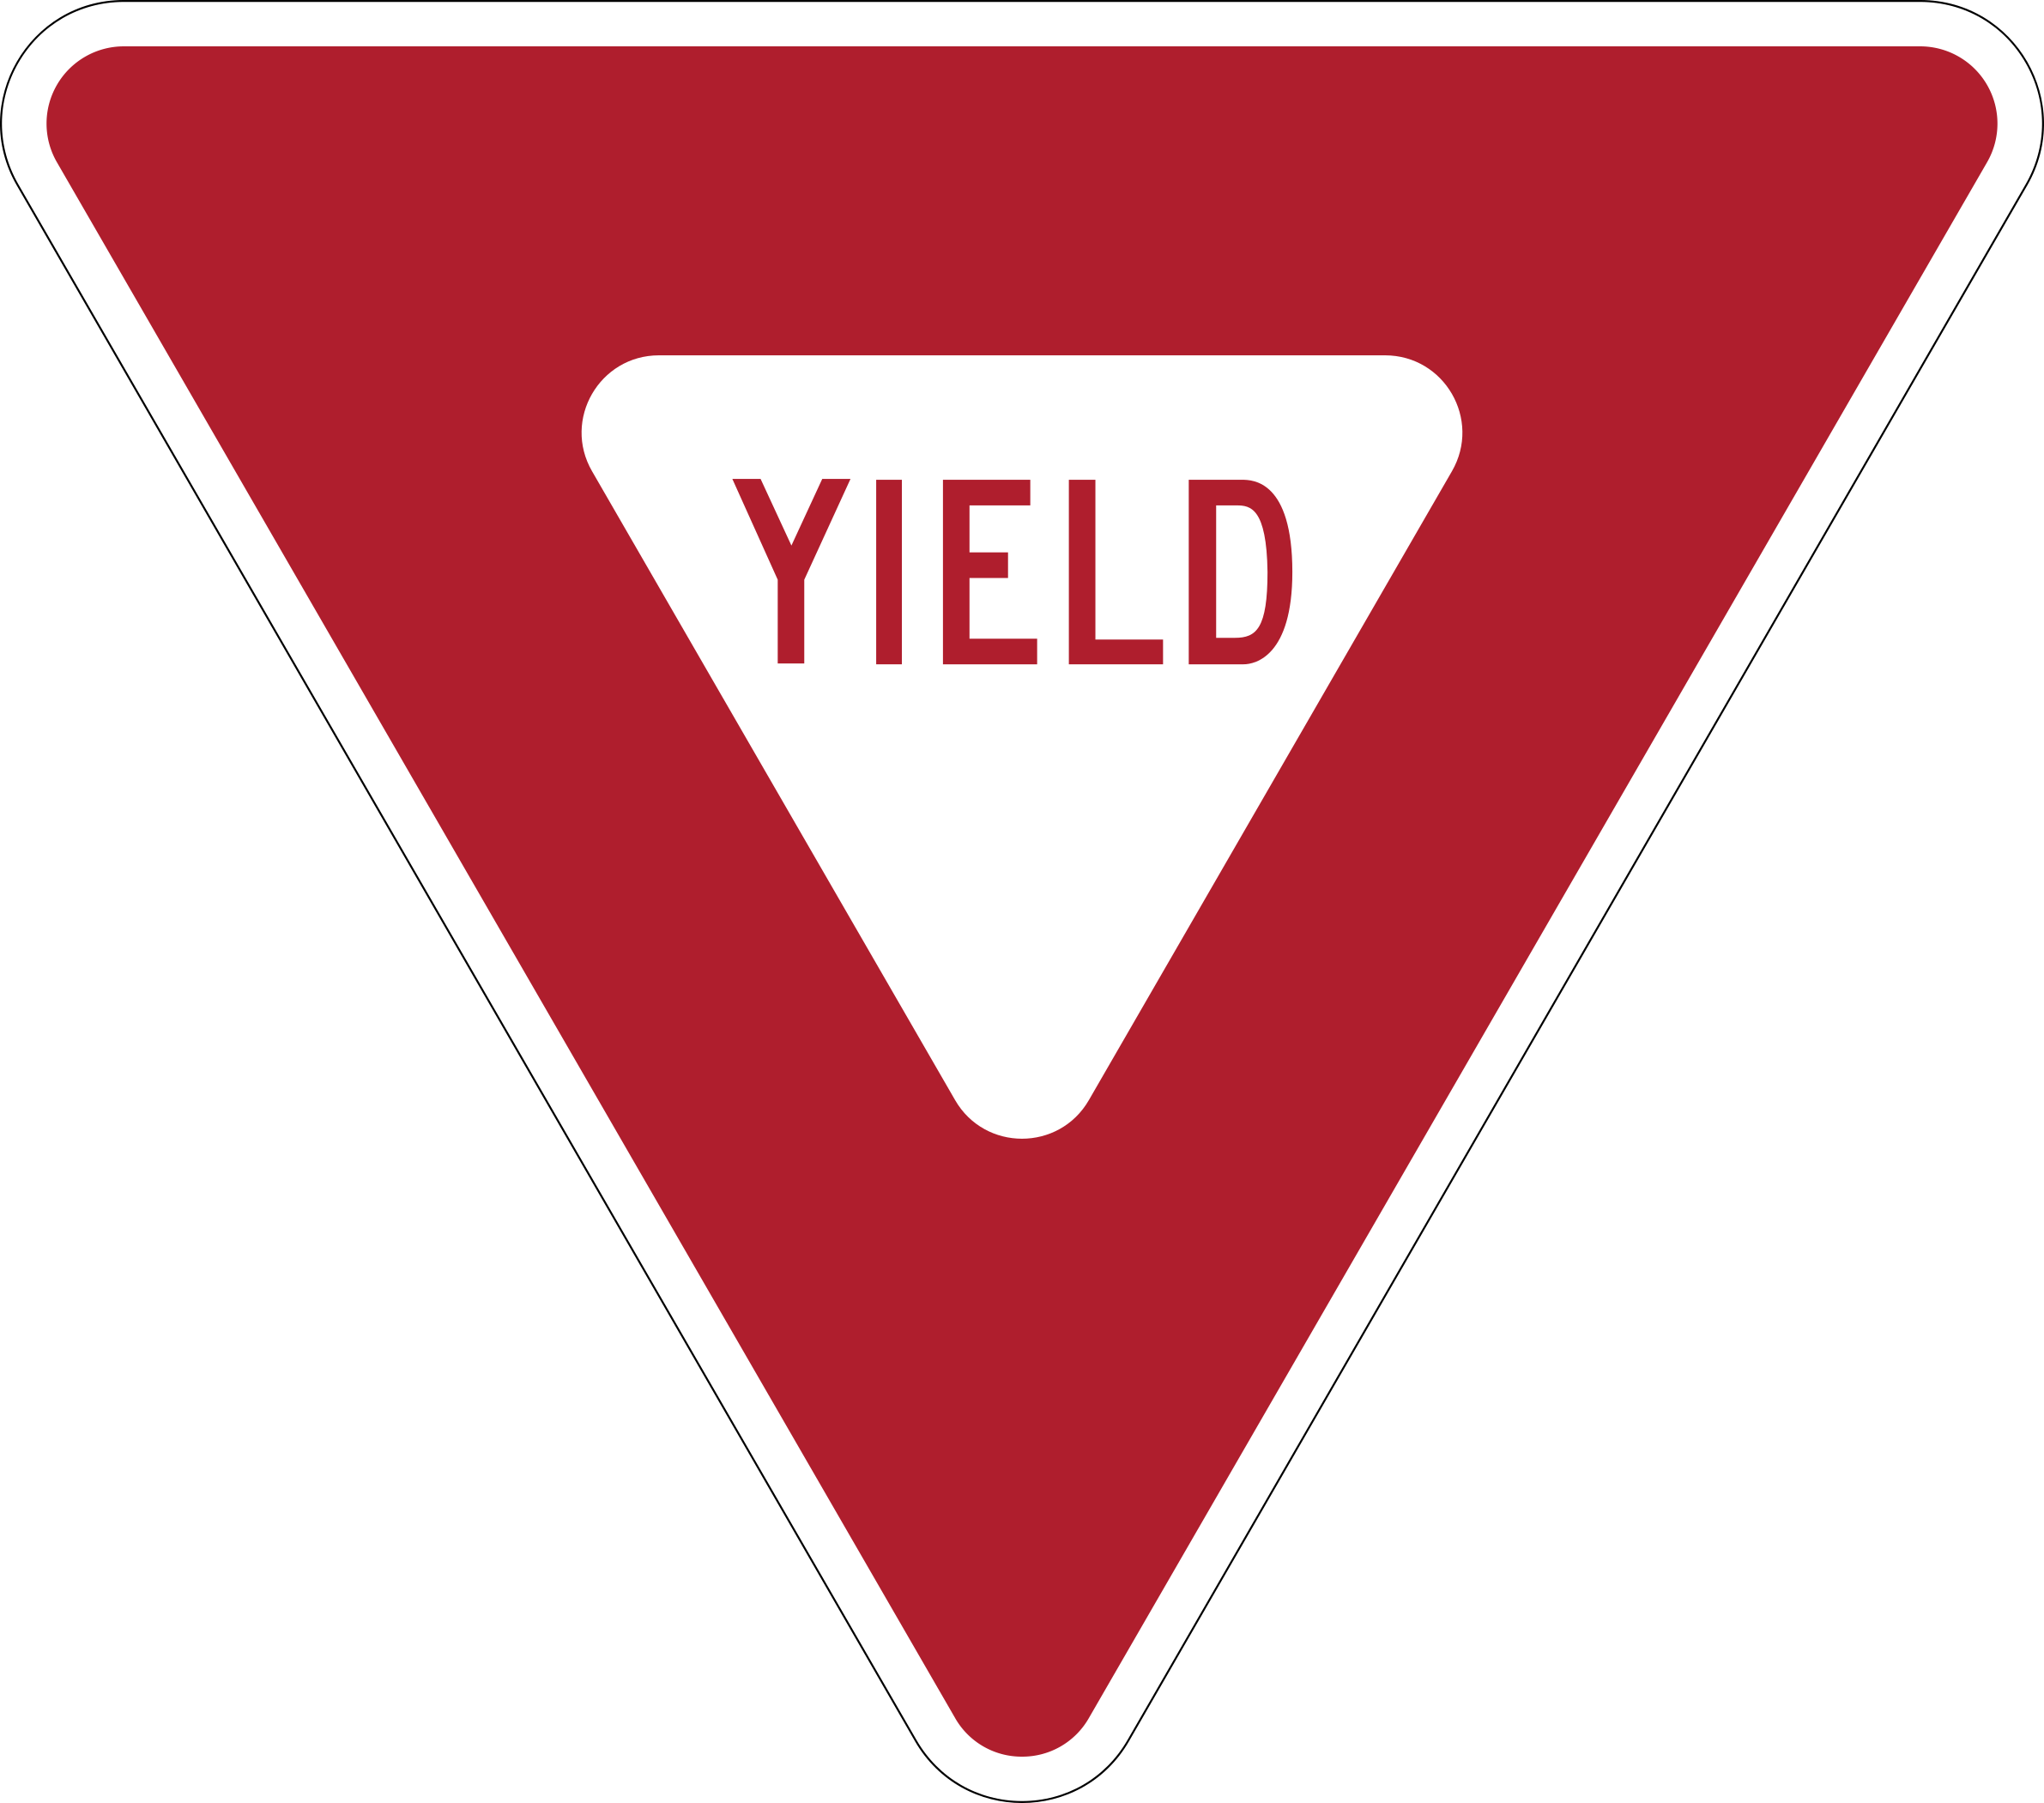
Yield
R1-2Priority belongs to whatever is already using the road you want, vehicles and pedestrians alike.
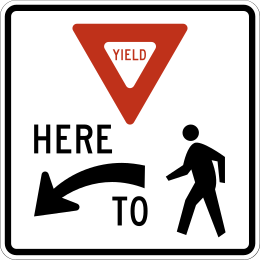
Yield Here To Pedestrians
R1-5Yield to pedestrians at the marked yield line ahead of the crosswalk, not at the crosswalk itself.
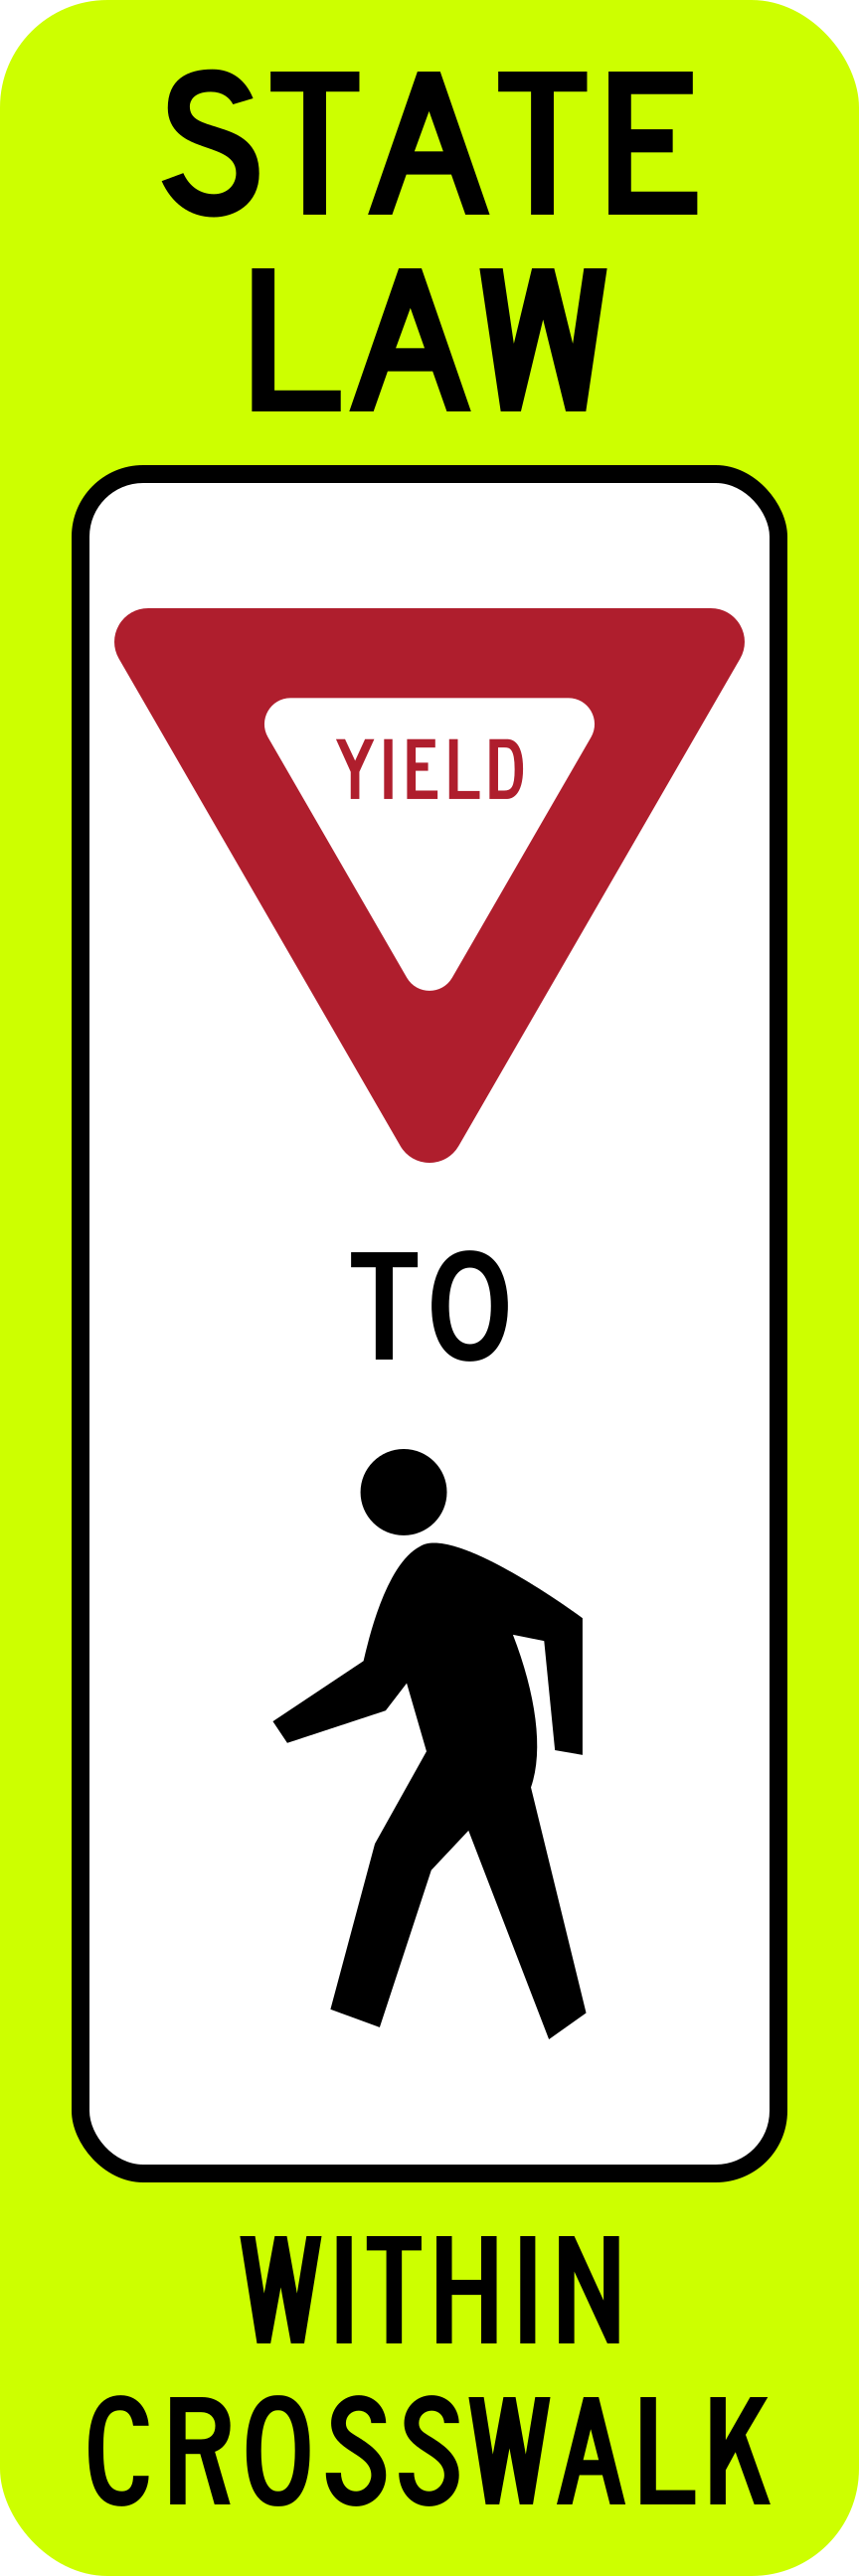
In-Street Pedestrian Crossing
R1-6State law requires drivers to yield (or stop) for pedestrians within the crosswalk at this location.
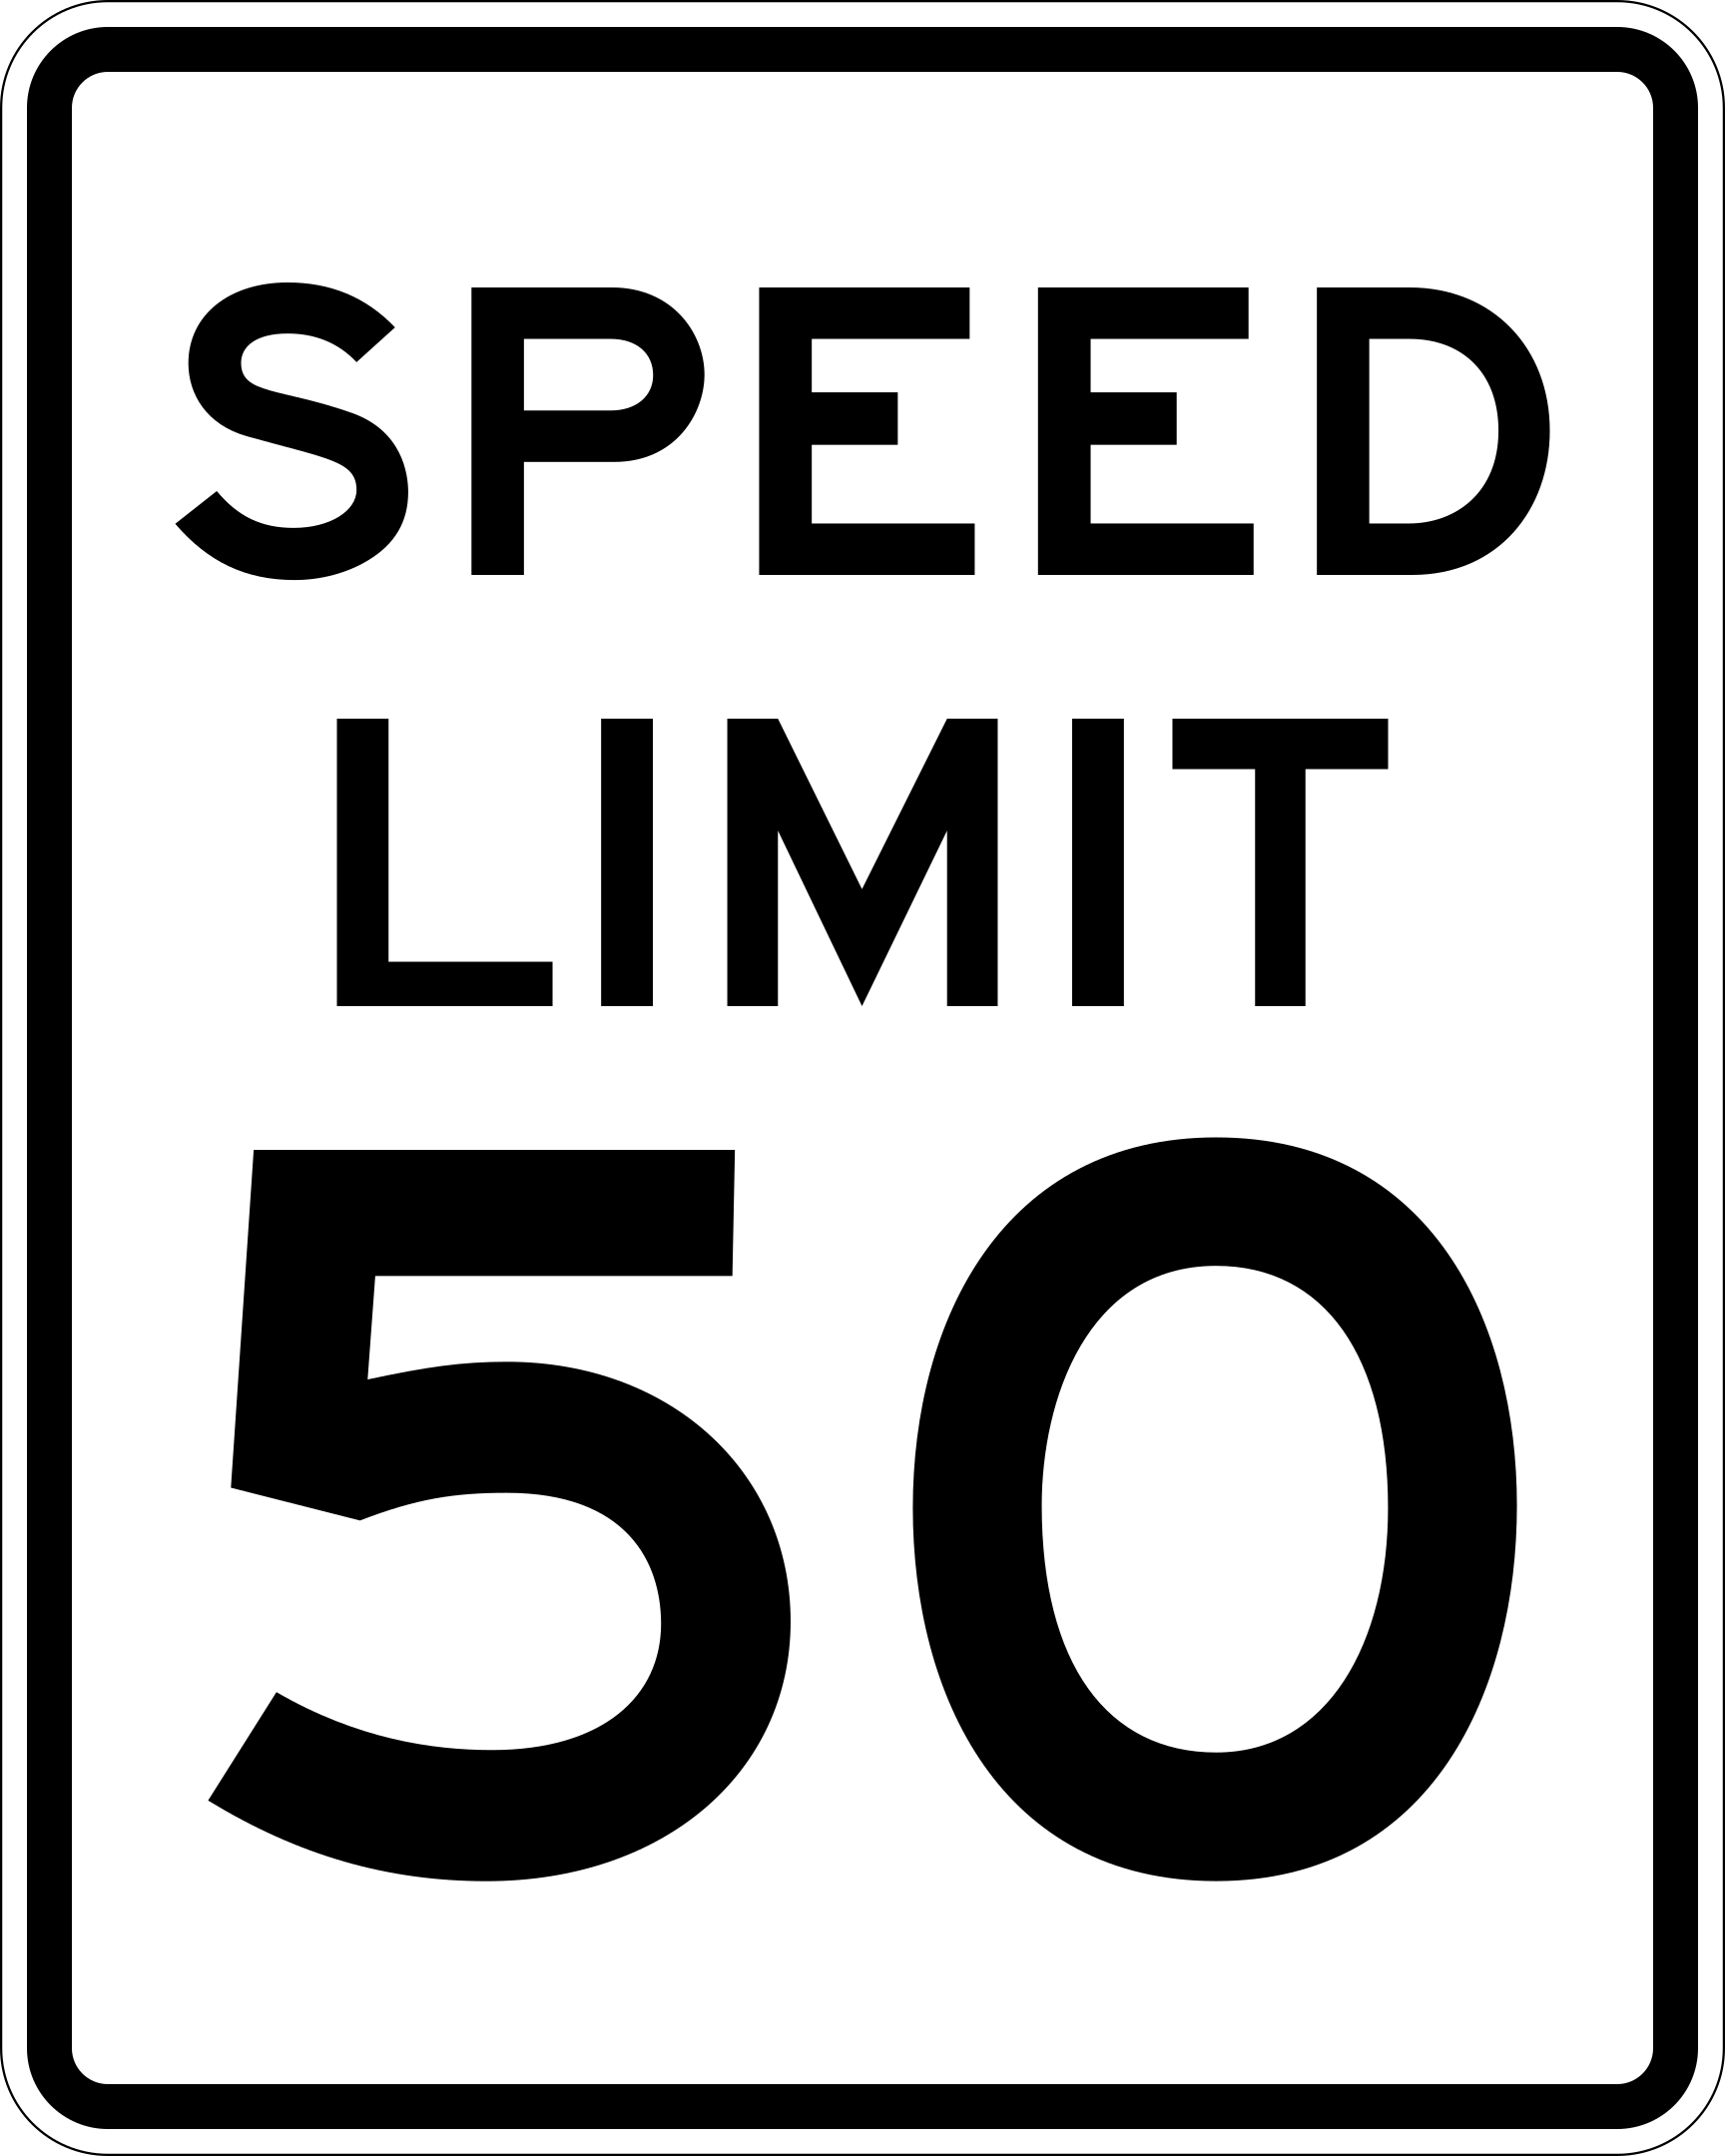
Speed Limit
R2-1A ceiling fixed by law, and it assumes the best case: dry pavement, clear sight lines, light traffic.
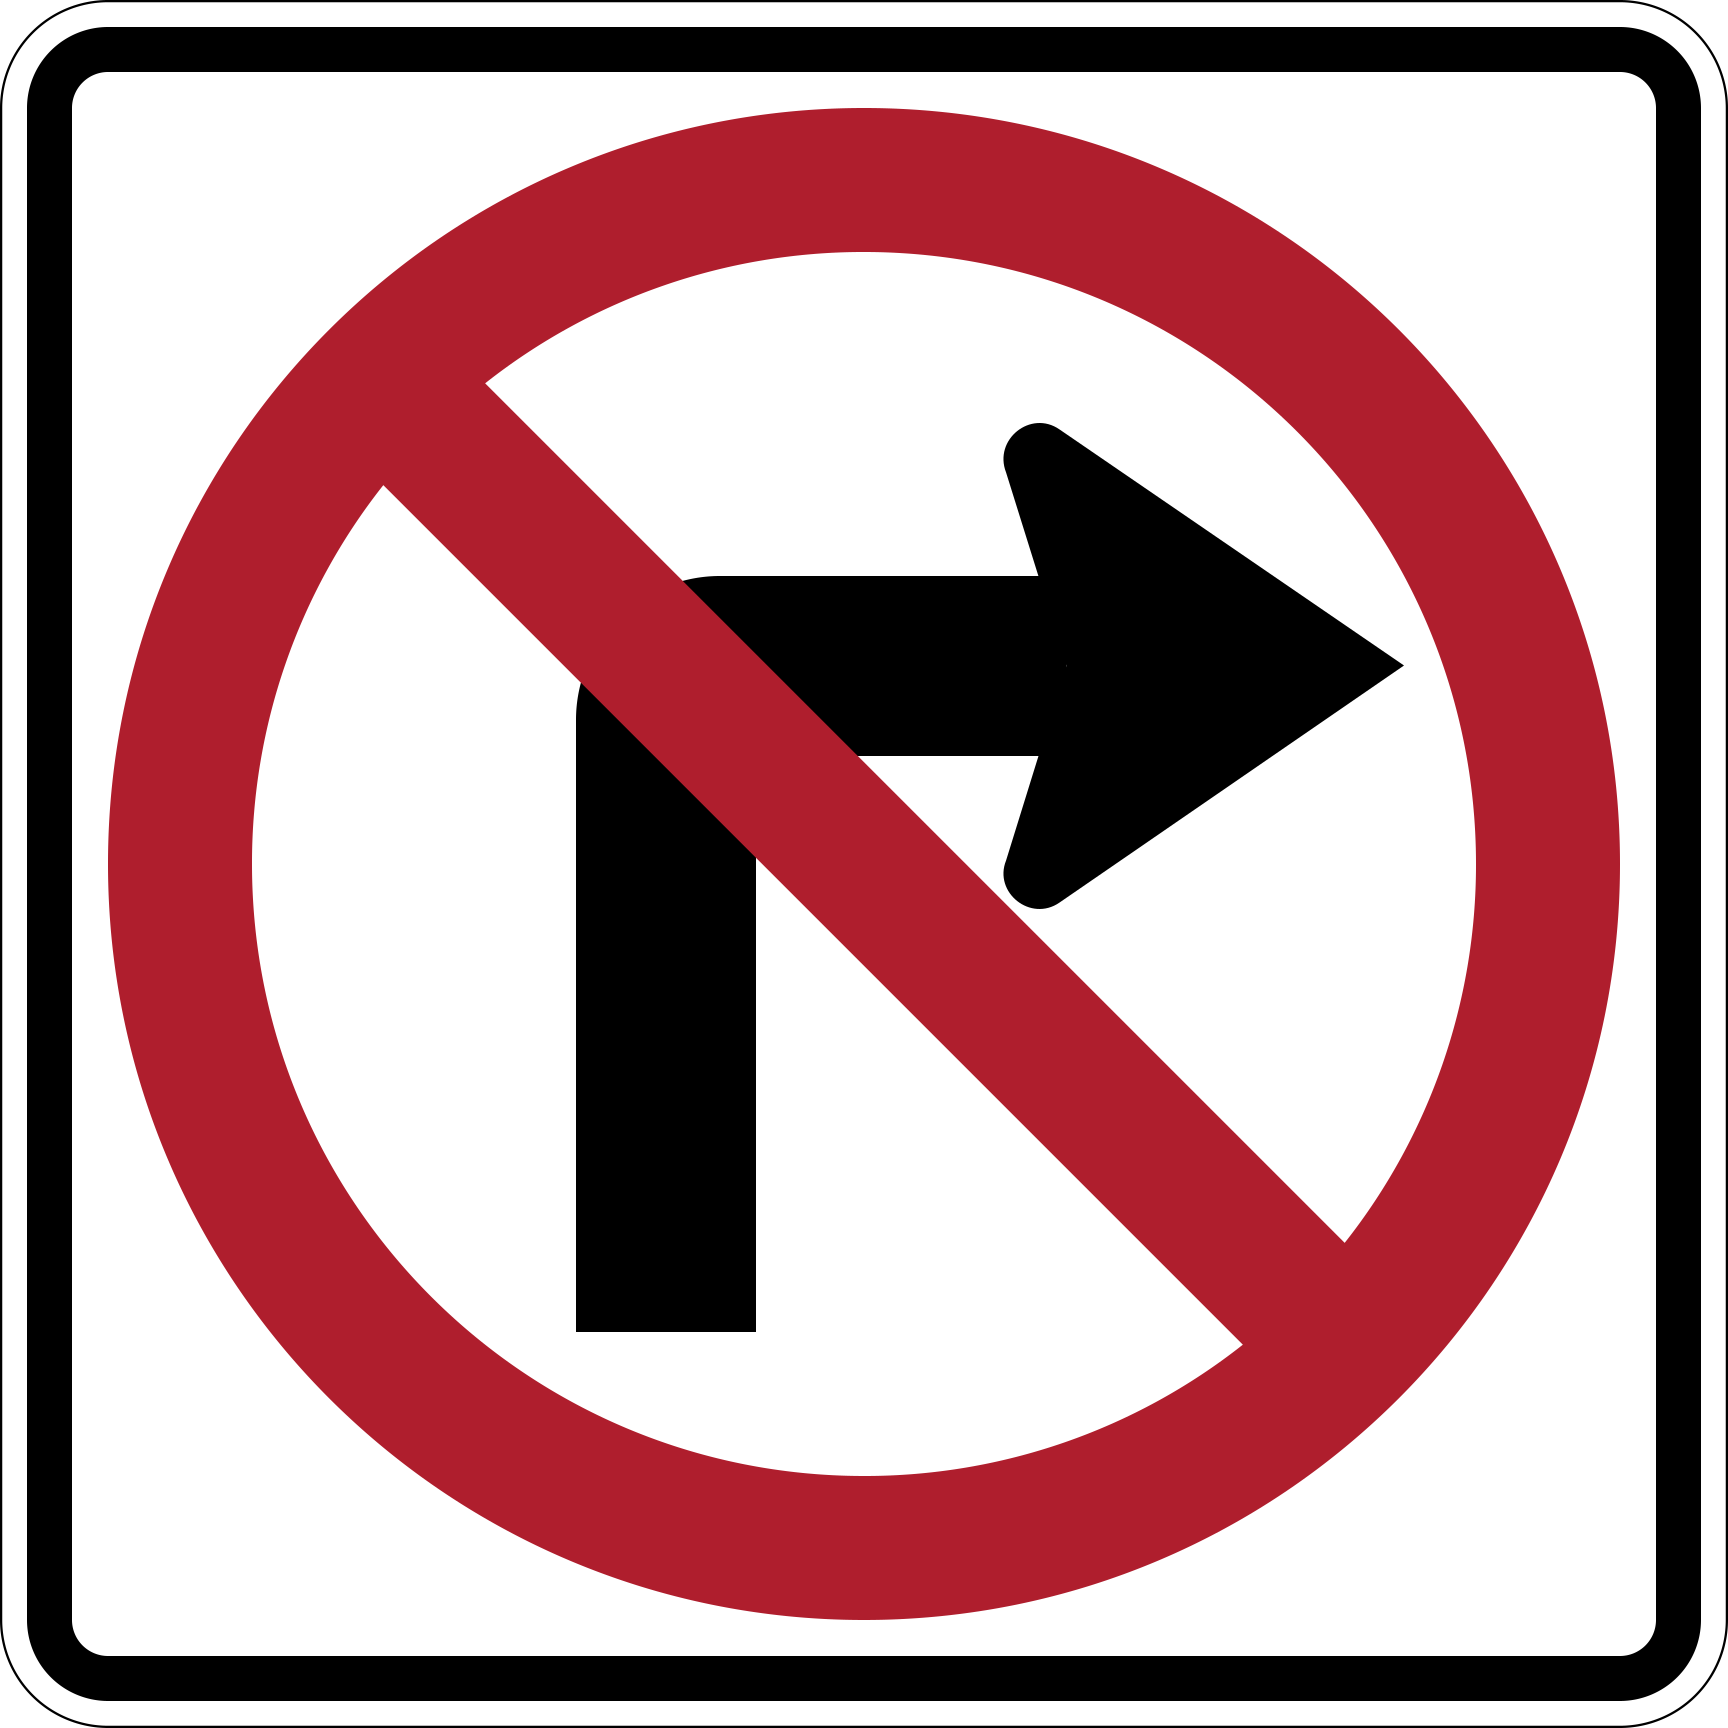
No Right Turn
R3-1A right turn out of this approach is prohibited.
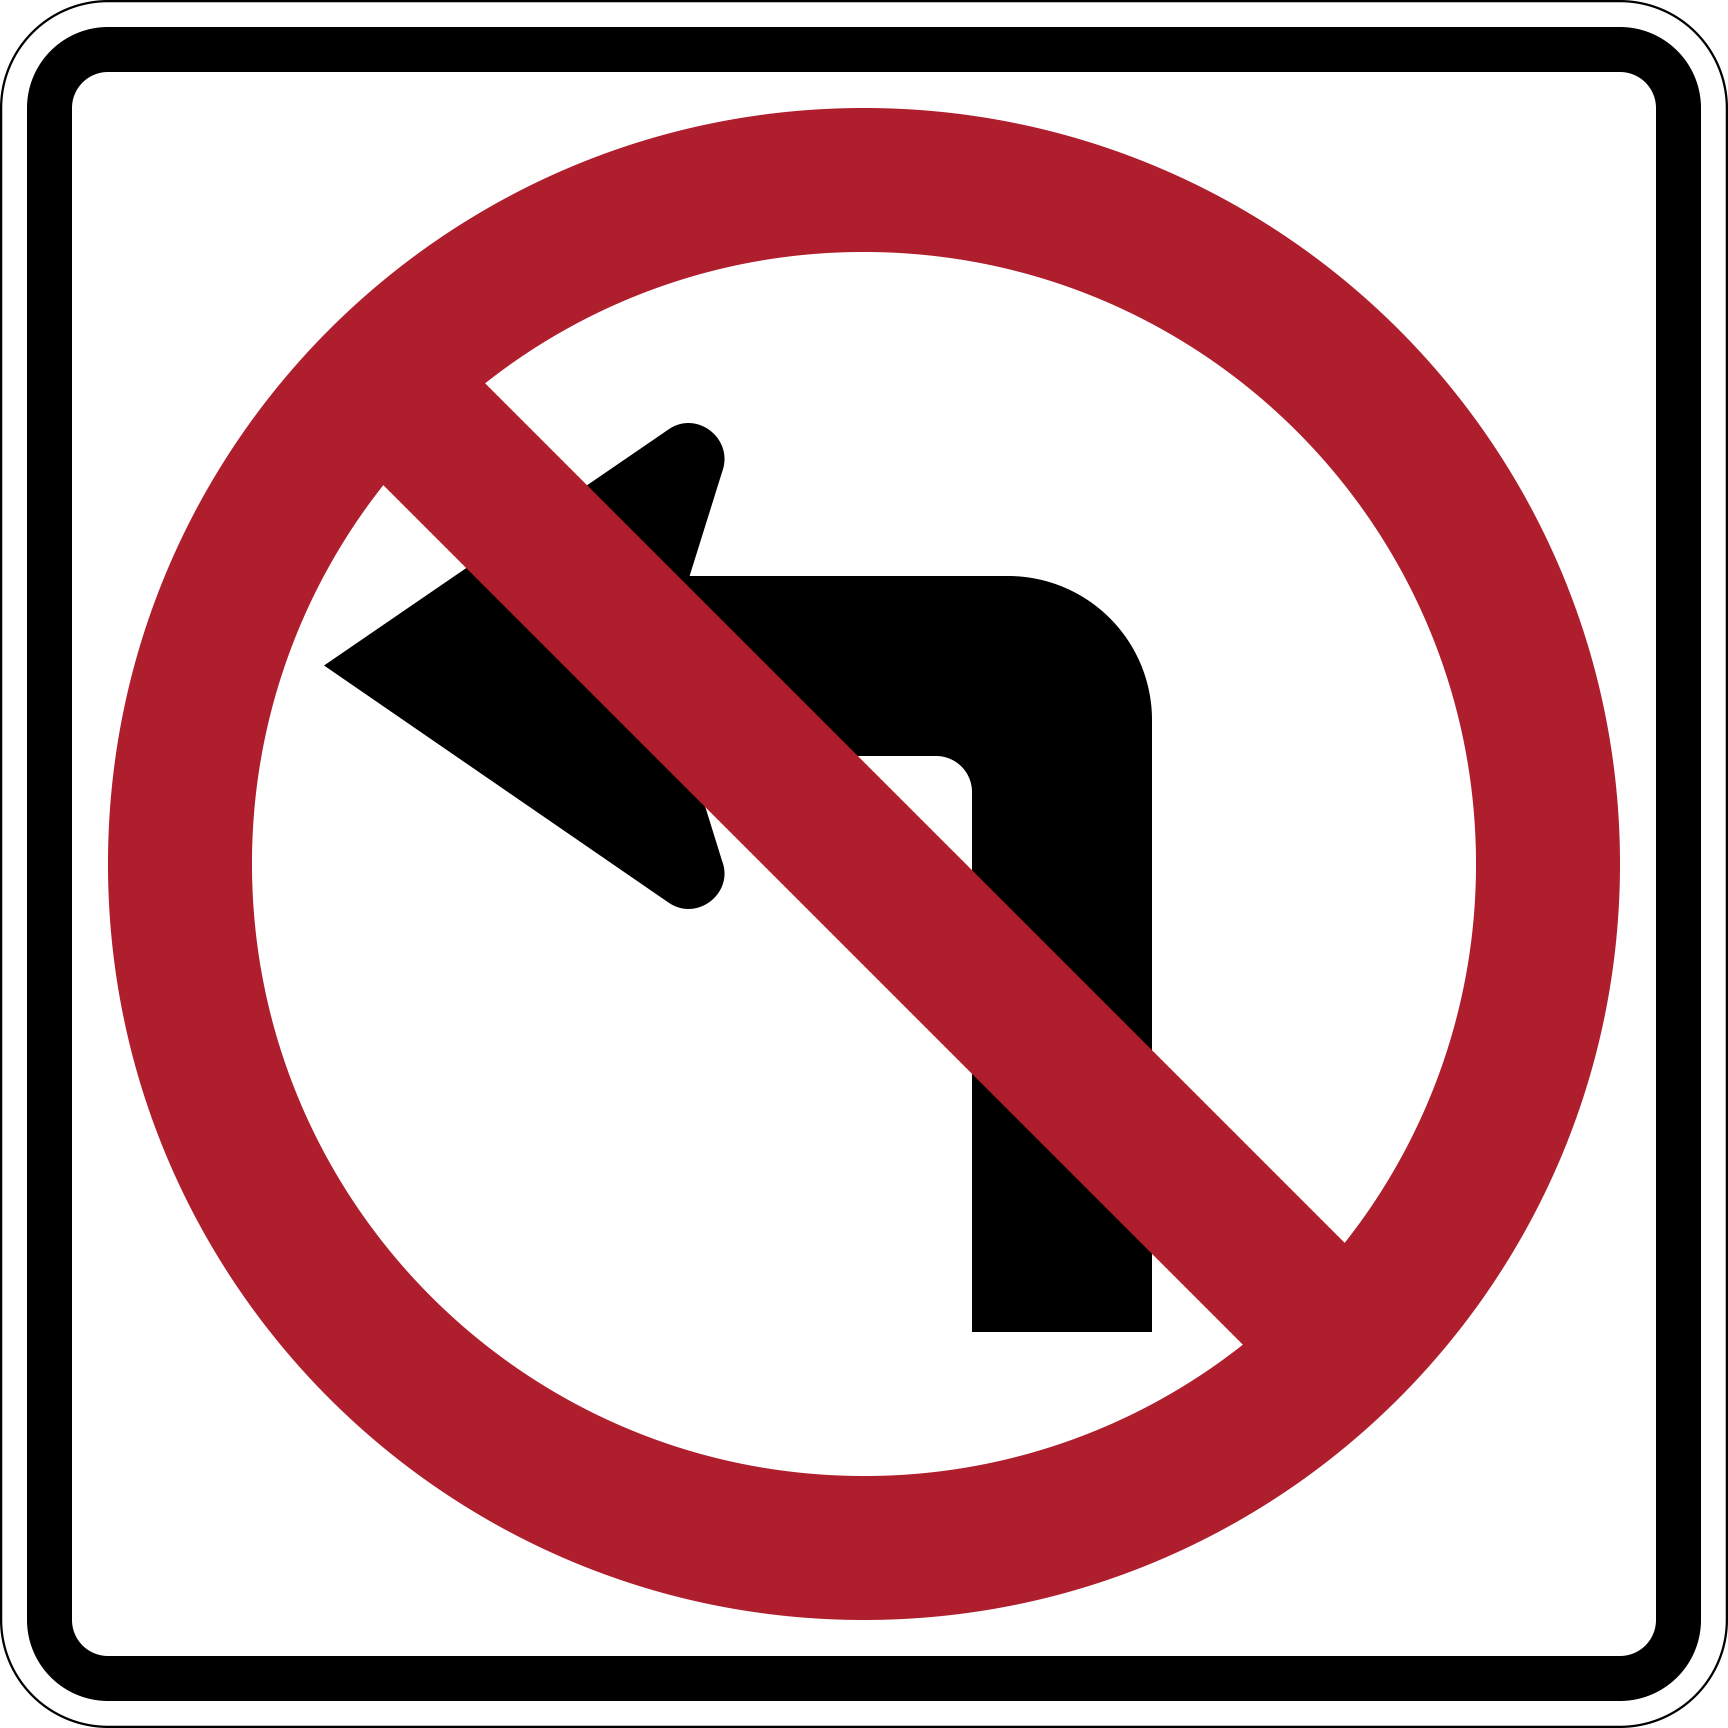
No Left Turn
R3-2A left turn out of this approach is prohibited, so the movement has to be made at another intersection.
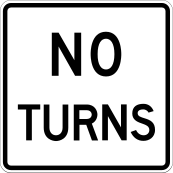
No Turns
R3-3Neither left nor right turns are permitted; go straight through.
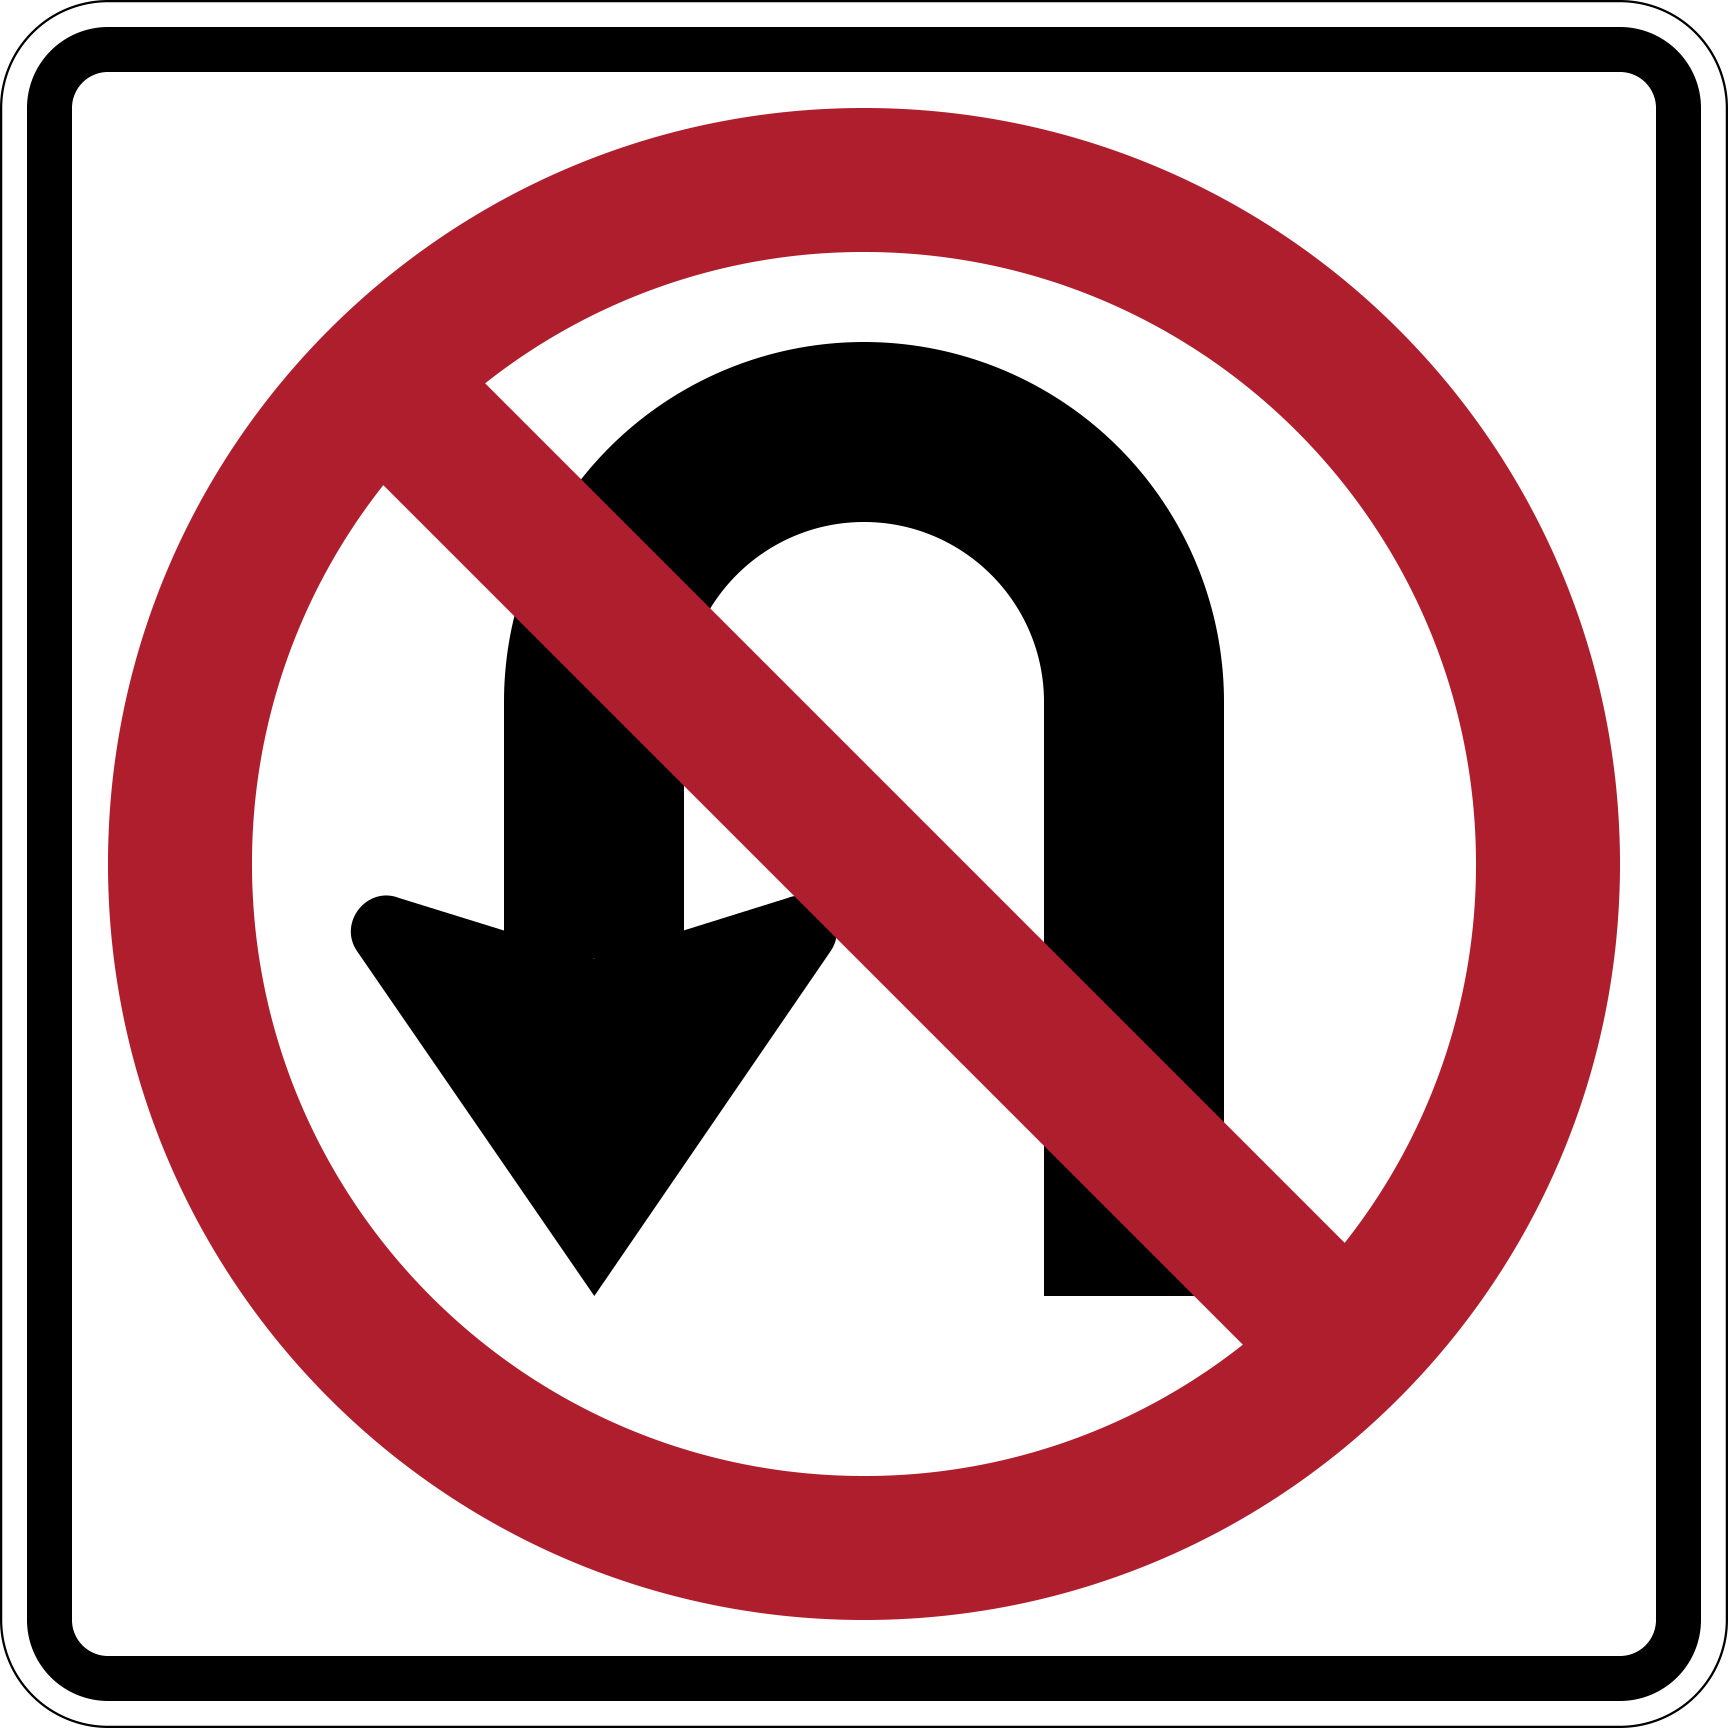
No U-Turn
R3-4Turning back on yourself is prohibited at this opening, so carry on and find a legal place to reverse direction.
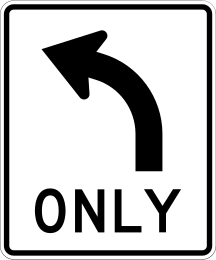
Mandatory Movement Lane Control
R3-5Traffic in this lane must travel in the direction the arrow shows.
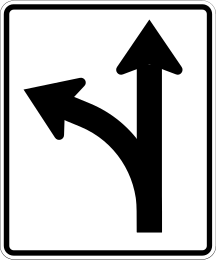
Optional Movement Lane Control
R3-6From this lane you may go straight through or make the turn shown.
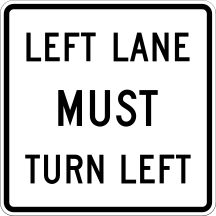
Right (Left) Lane Must Turn Right (Left)
R3-7If you are in the named lane you are required to make that turn.
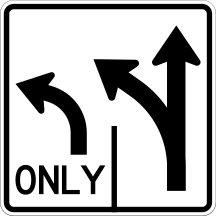
Advance Intersection Lane Control
R3-8Diagram of which movements are available from each lane at the intersection ahead, so you can pick your lane early.
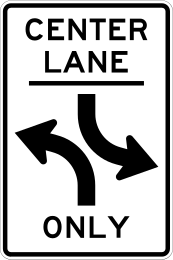
Two-Way Left Turn Only
R3-9bThe center lane is reserved for left turns by traffic traveling in either direction and must not be used for through travel or passing.
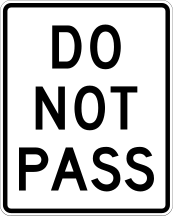
Do Not Pass
R4-1Passing is prohibited from this point until a sign or marking permits it again.
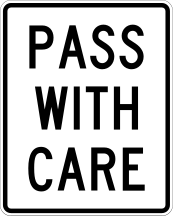
Pass With Care
R4-2Passing becomes lawful again from here, and that is the whole of it.
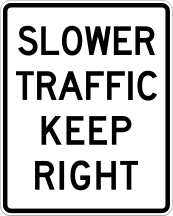
Slower Traffic Keep Right
R4-3Vehicles moving slower than the general flow must use the right-hand lane.
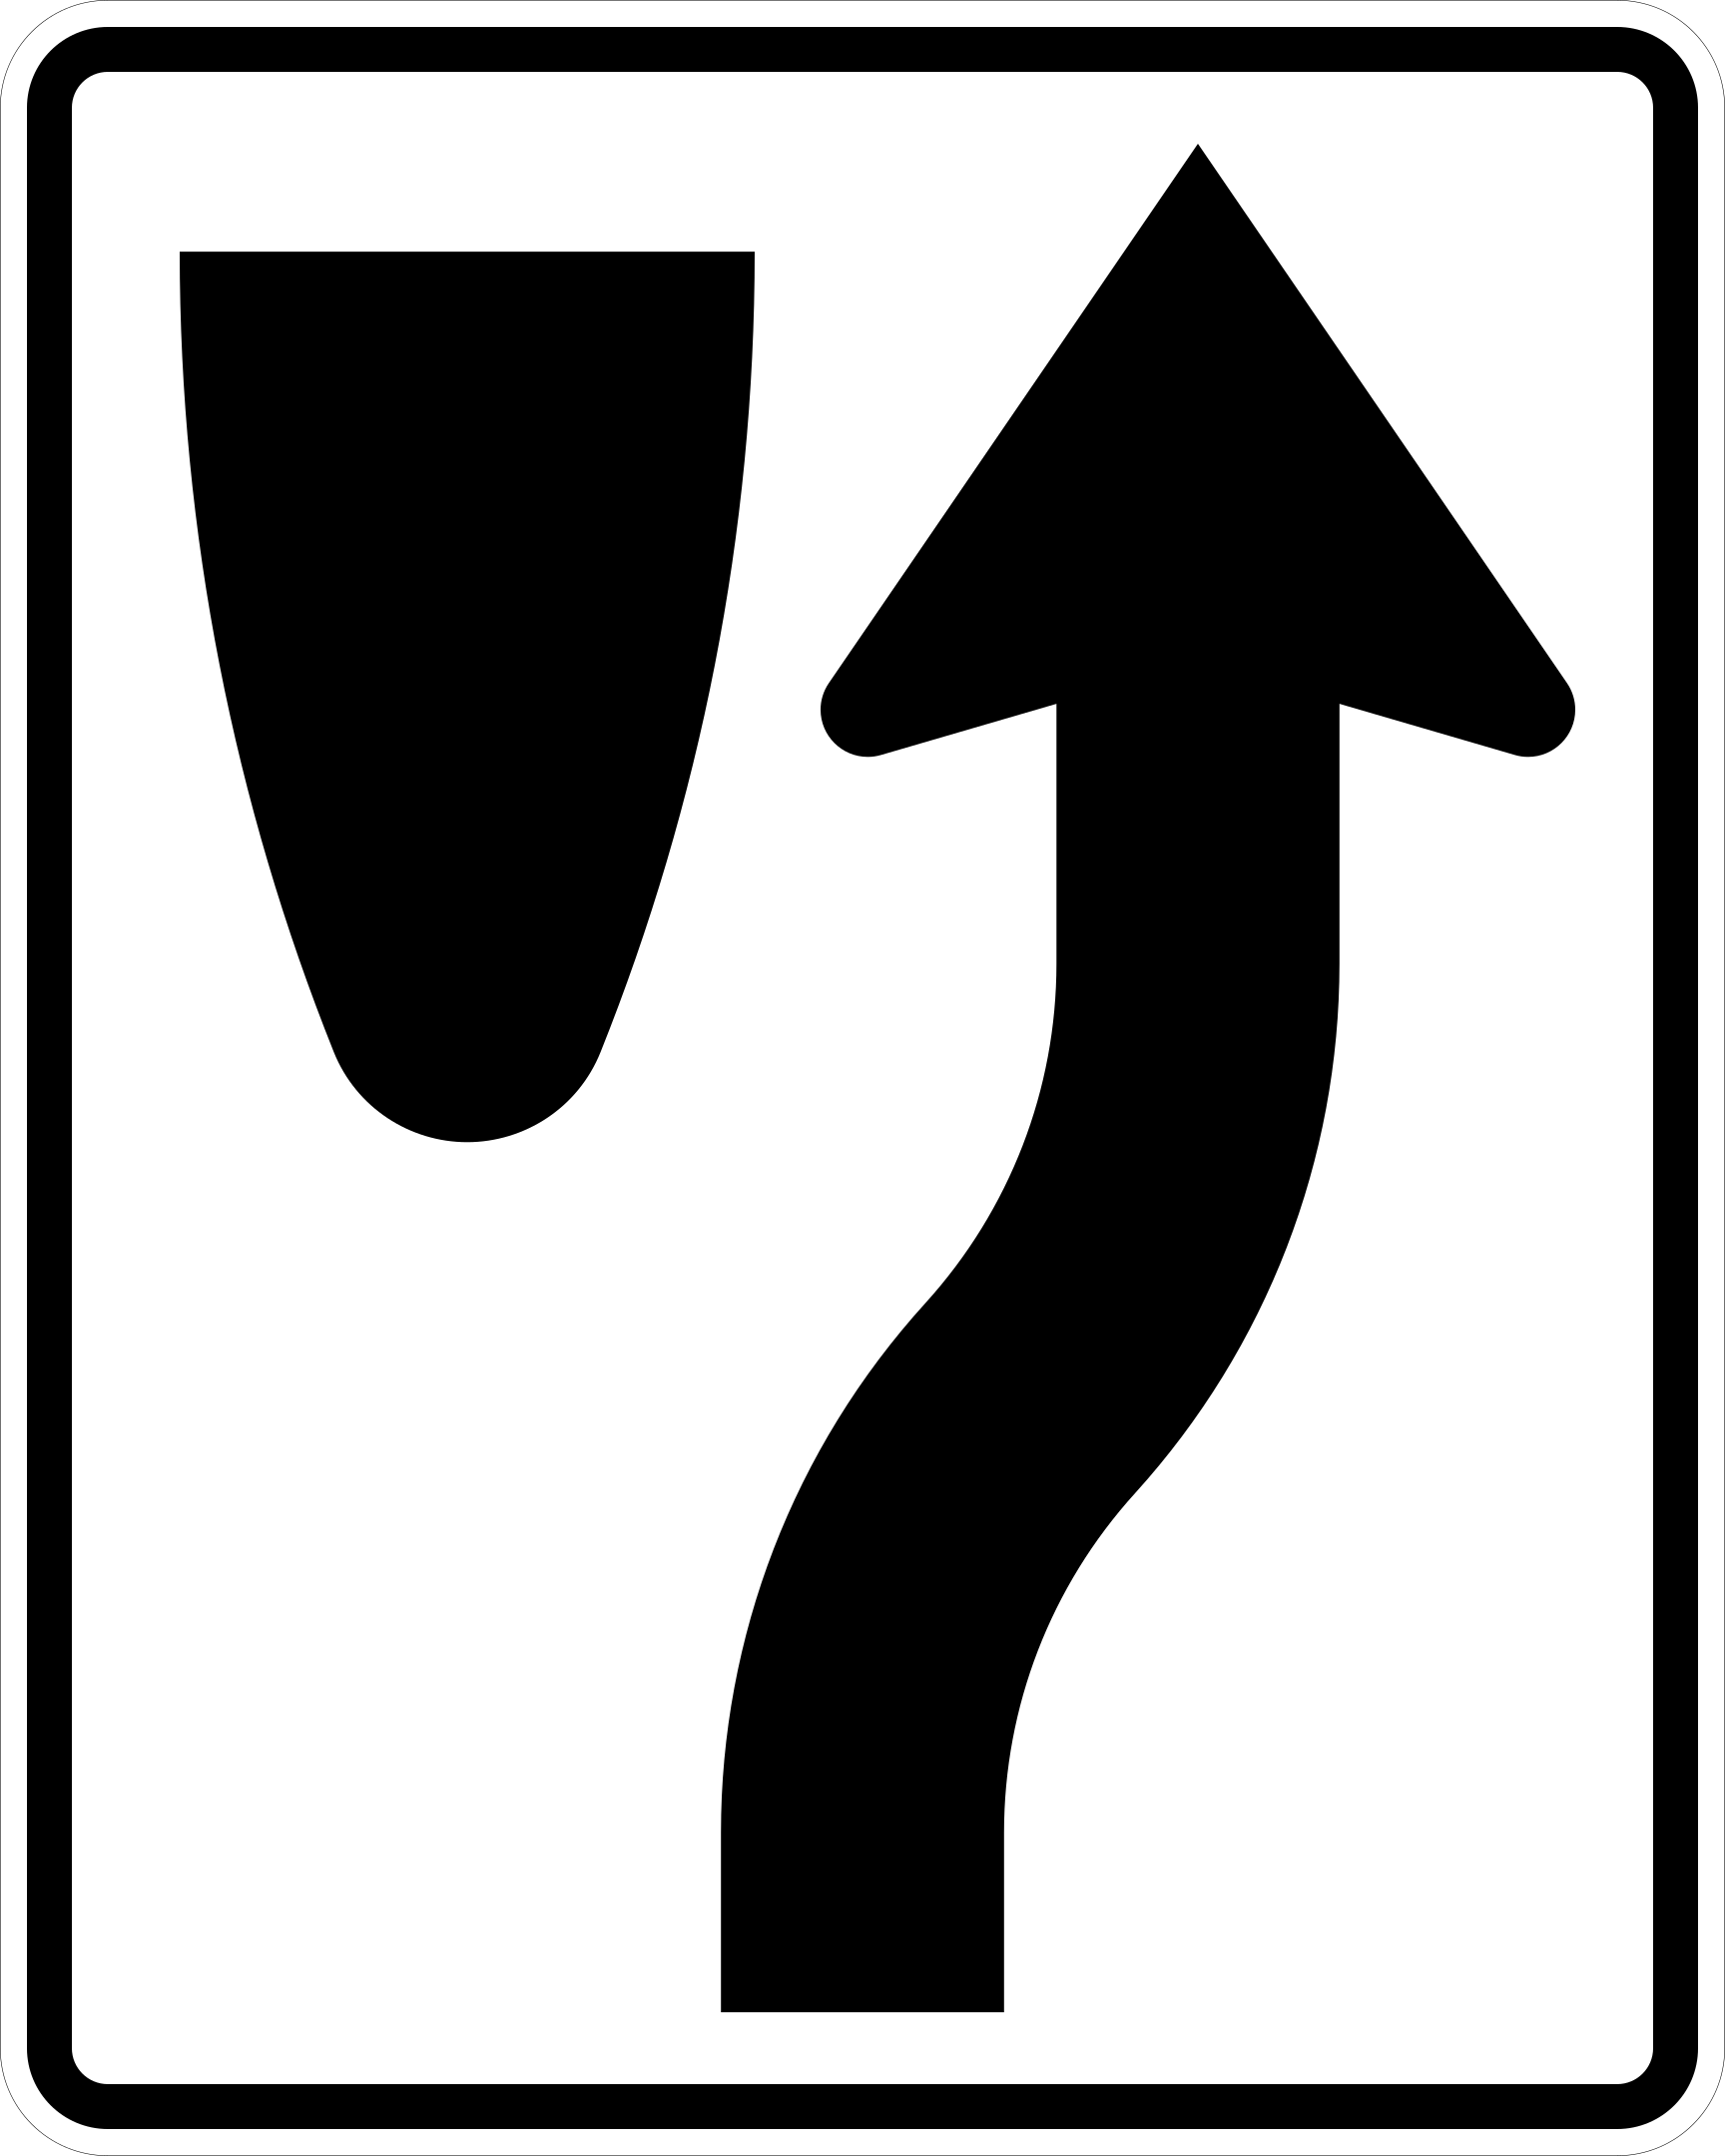
Keep Right
R4-7The divider immediately ahead has to finish up on your left.
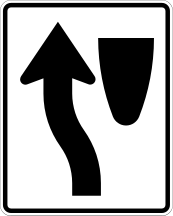
Keep Left
R4-8The mirrored version of R4-7: the obstruction ahead is taken on its left-hand side instead.

Stay In Lane
R4-9Lane changes are prohibited through this section.
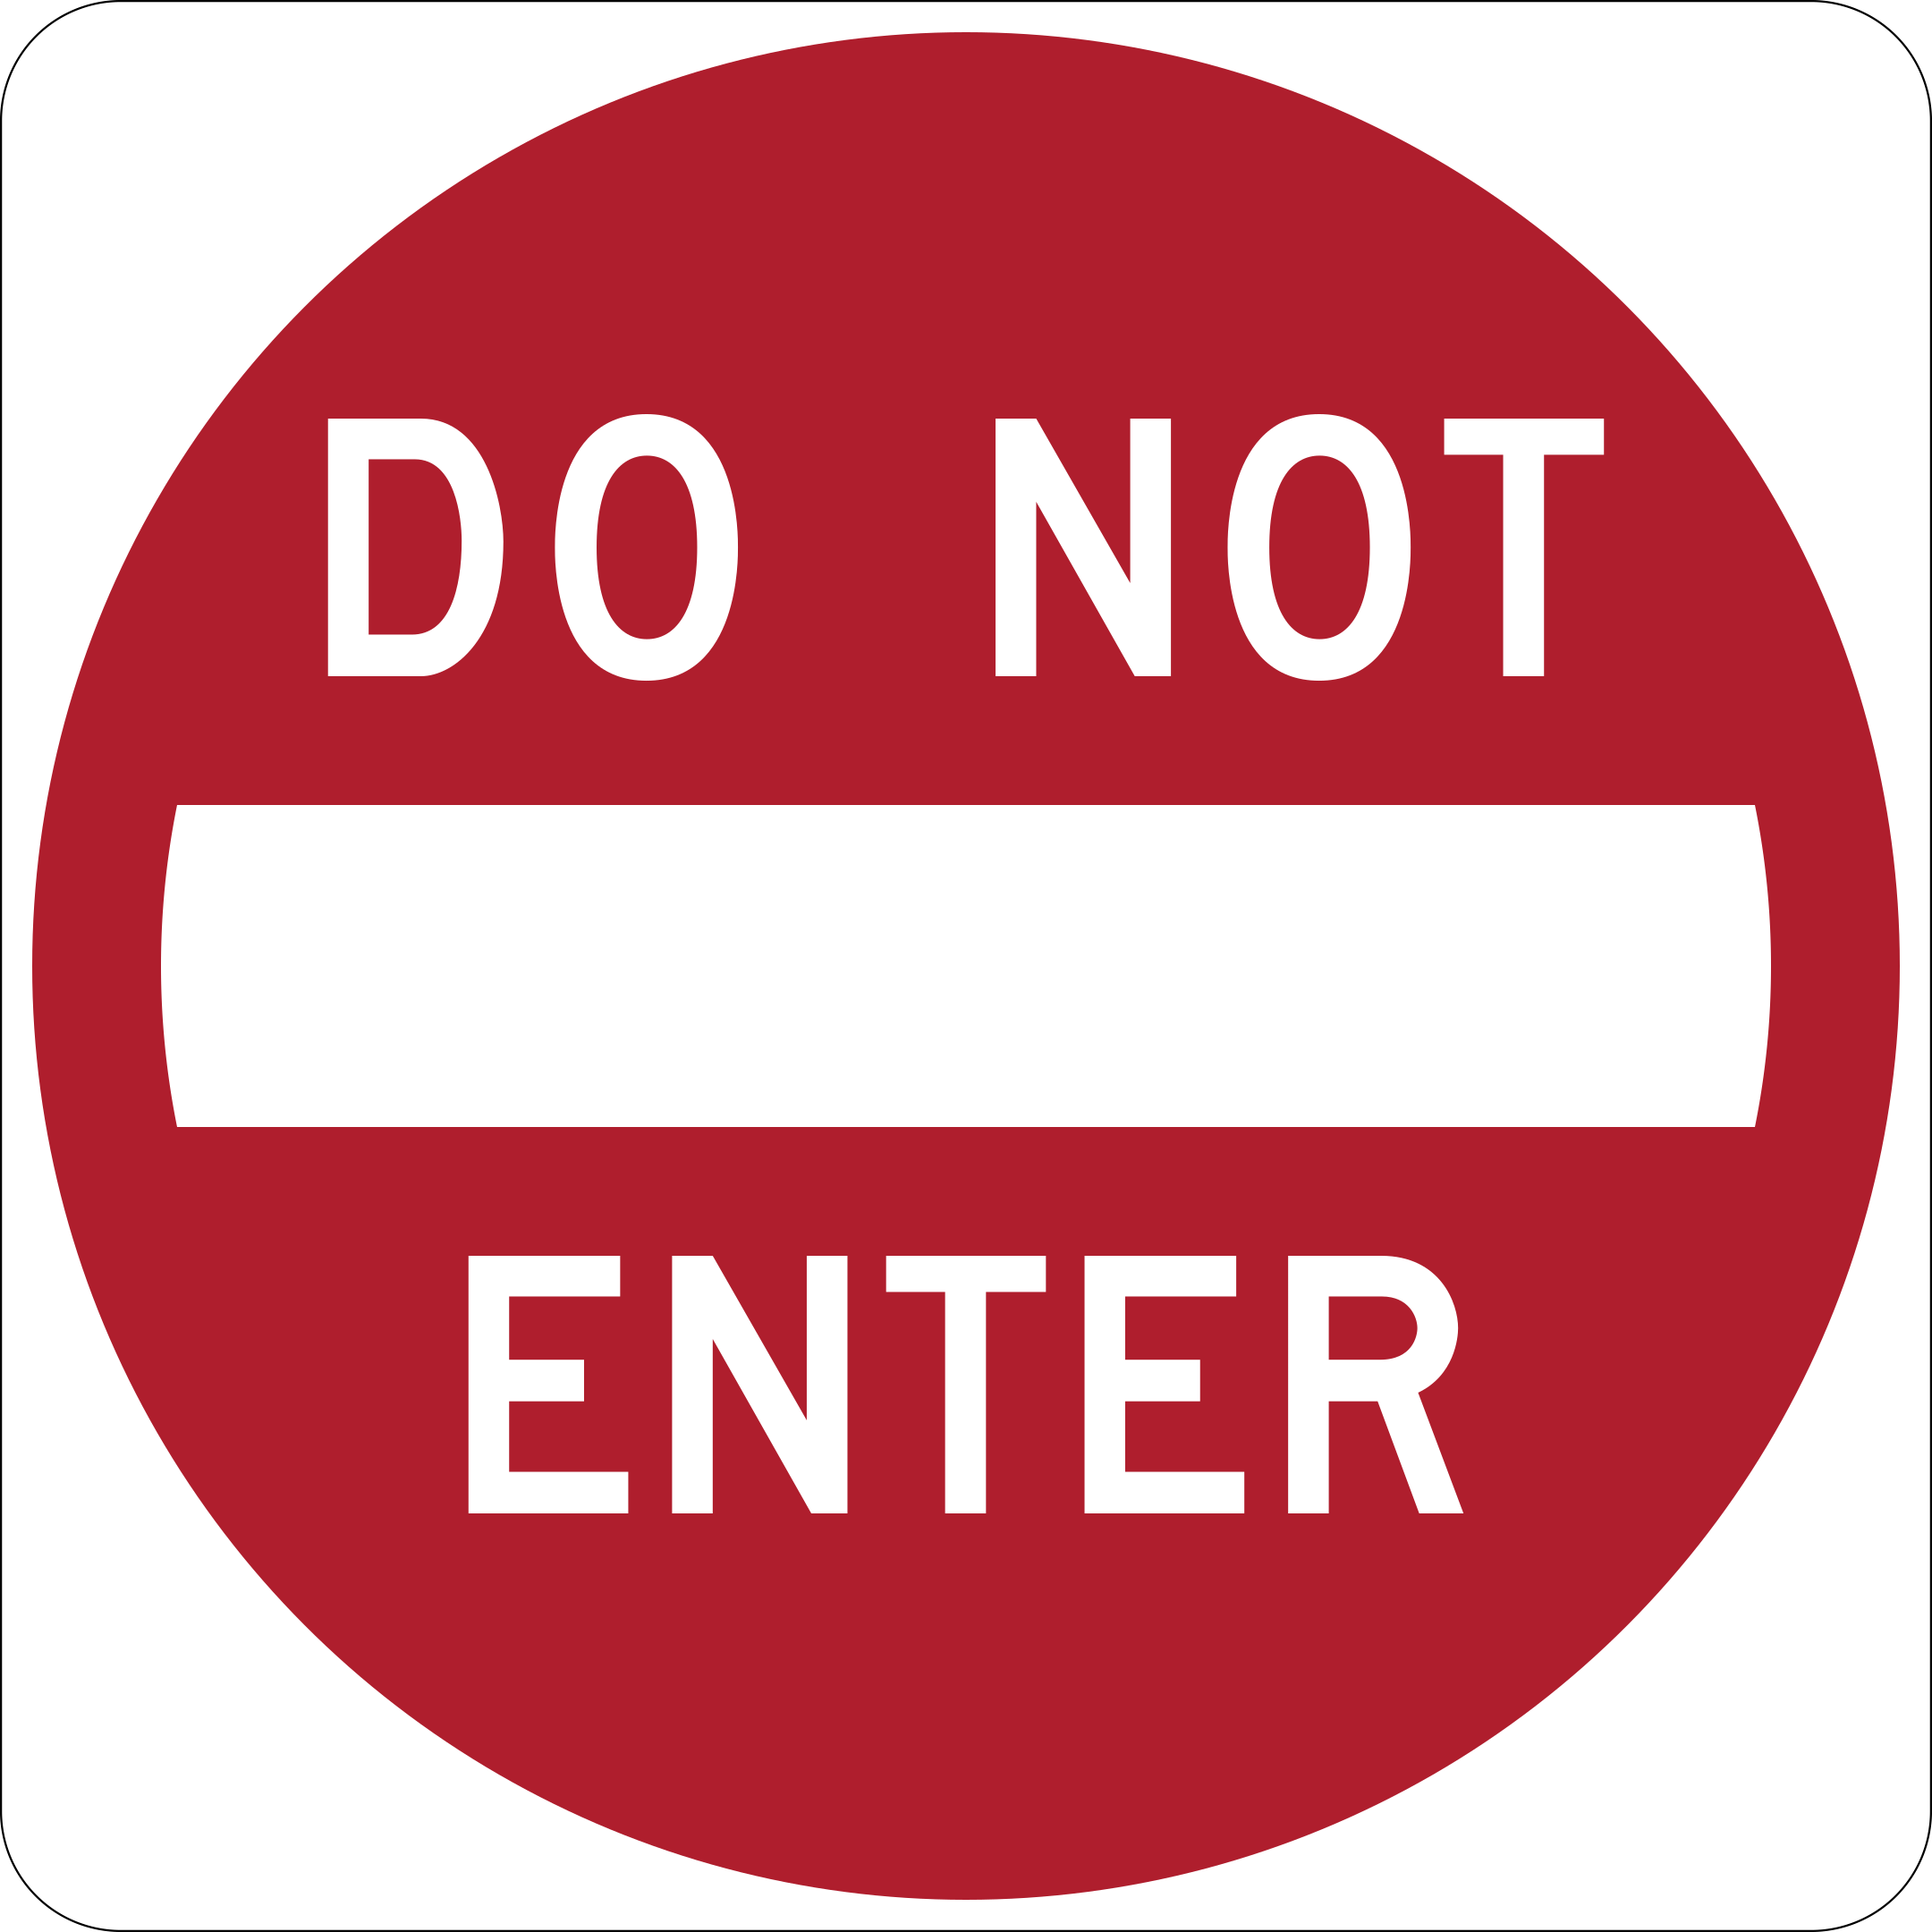
Do Not Enter
R5-1Entry in this direction is banned outright, because the lanes past the sign run at you rather than with you.
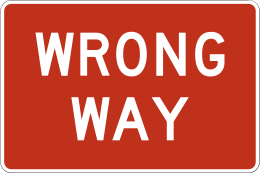
Wrong Way
R5-1aEvery lane around you faces the other way.
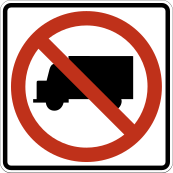
No Trucks
R5-2Trucks are prohibited on this road or at this movement.
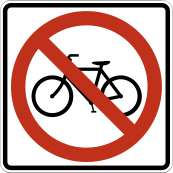
No Bicycles
R5-6Riding a bicycle past this point is prohibited, typically because the road carries speeds or a shoulder profile that leaves no room for one.
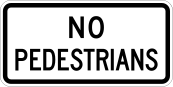
No Pedestrians
R5-10cPedestrians may not use this road or facility.
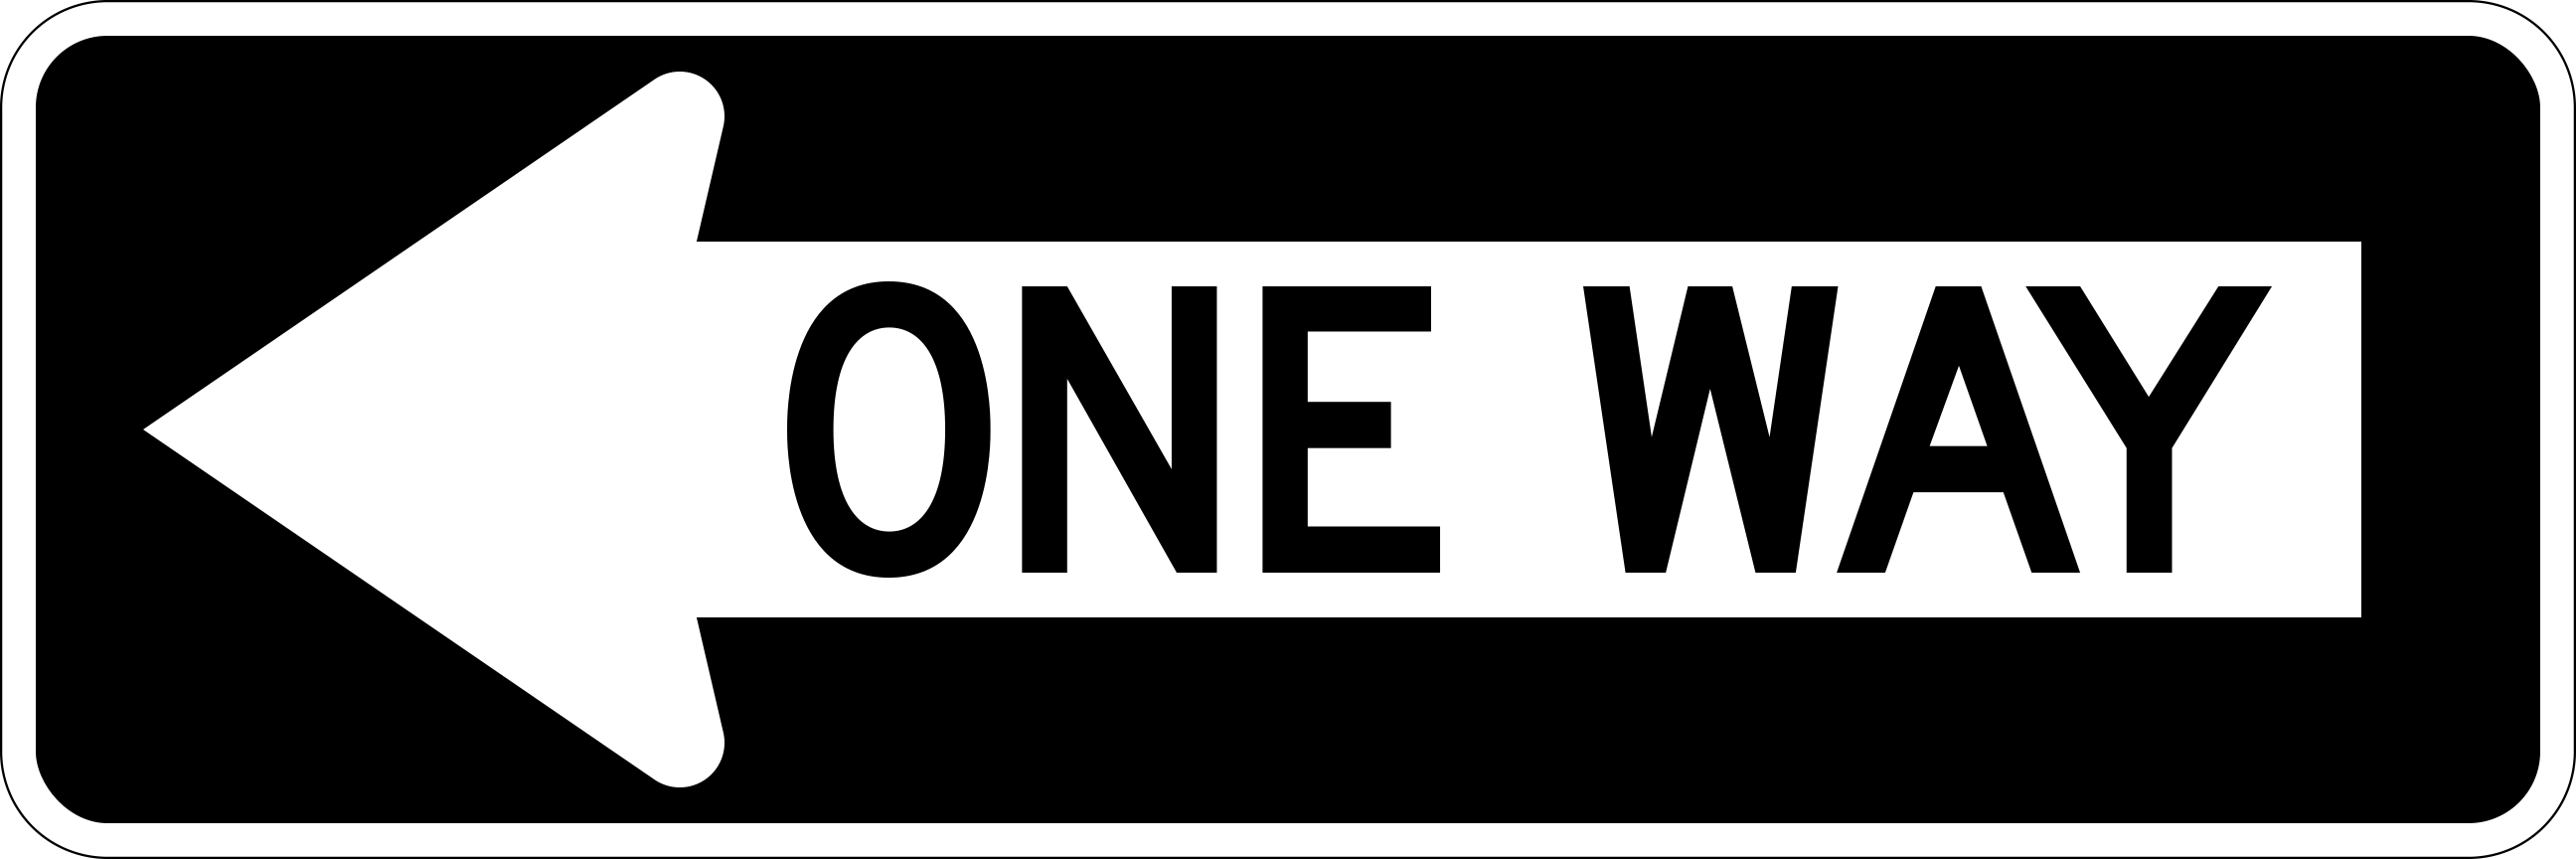
One Way (arrow)
R6-1One direction of travel is permitted, the one the arrow points.
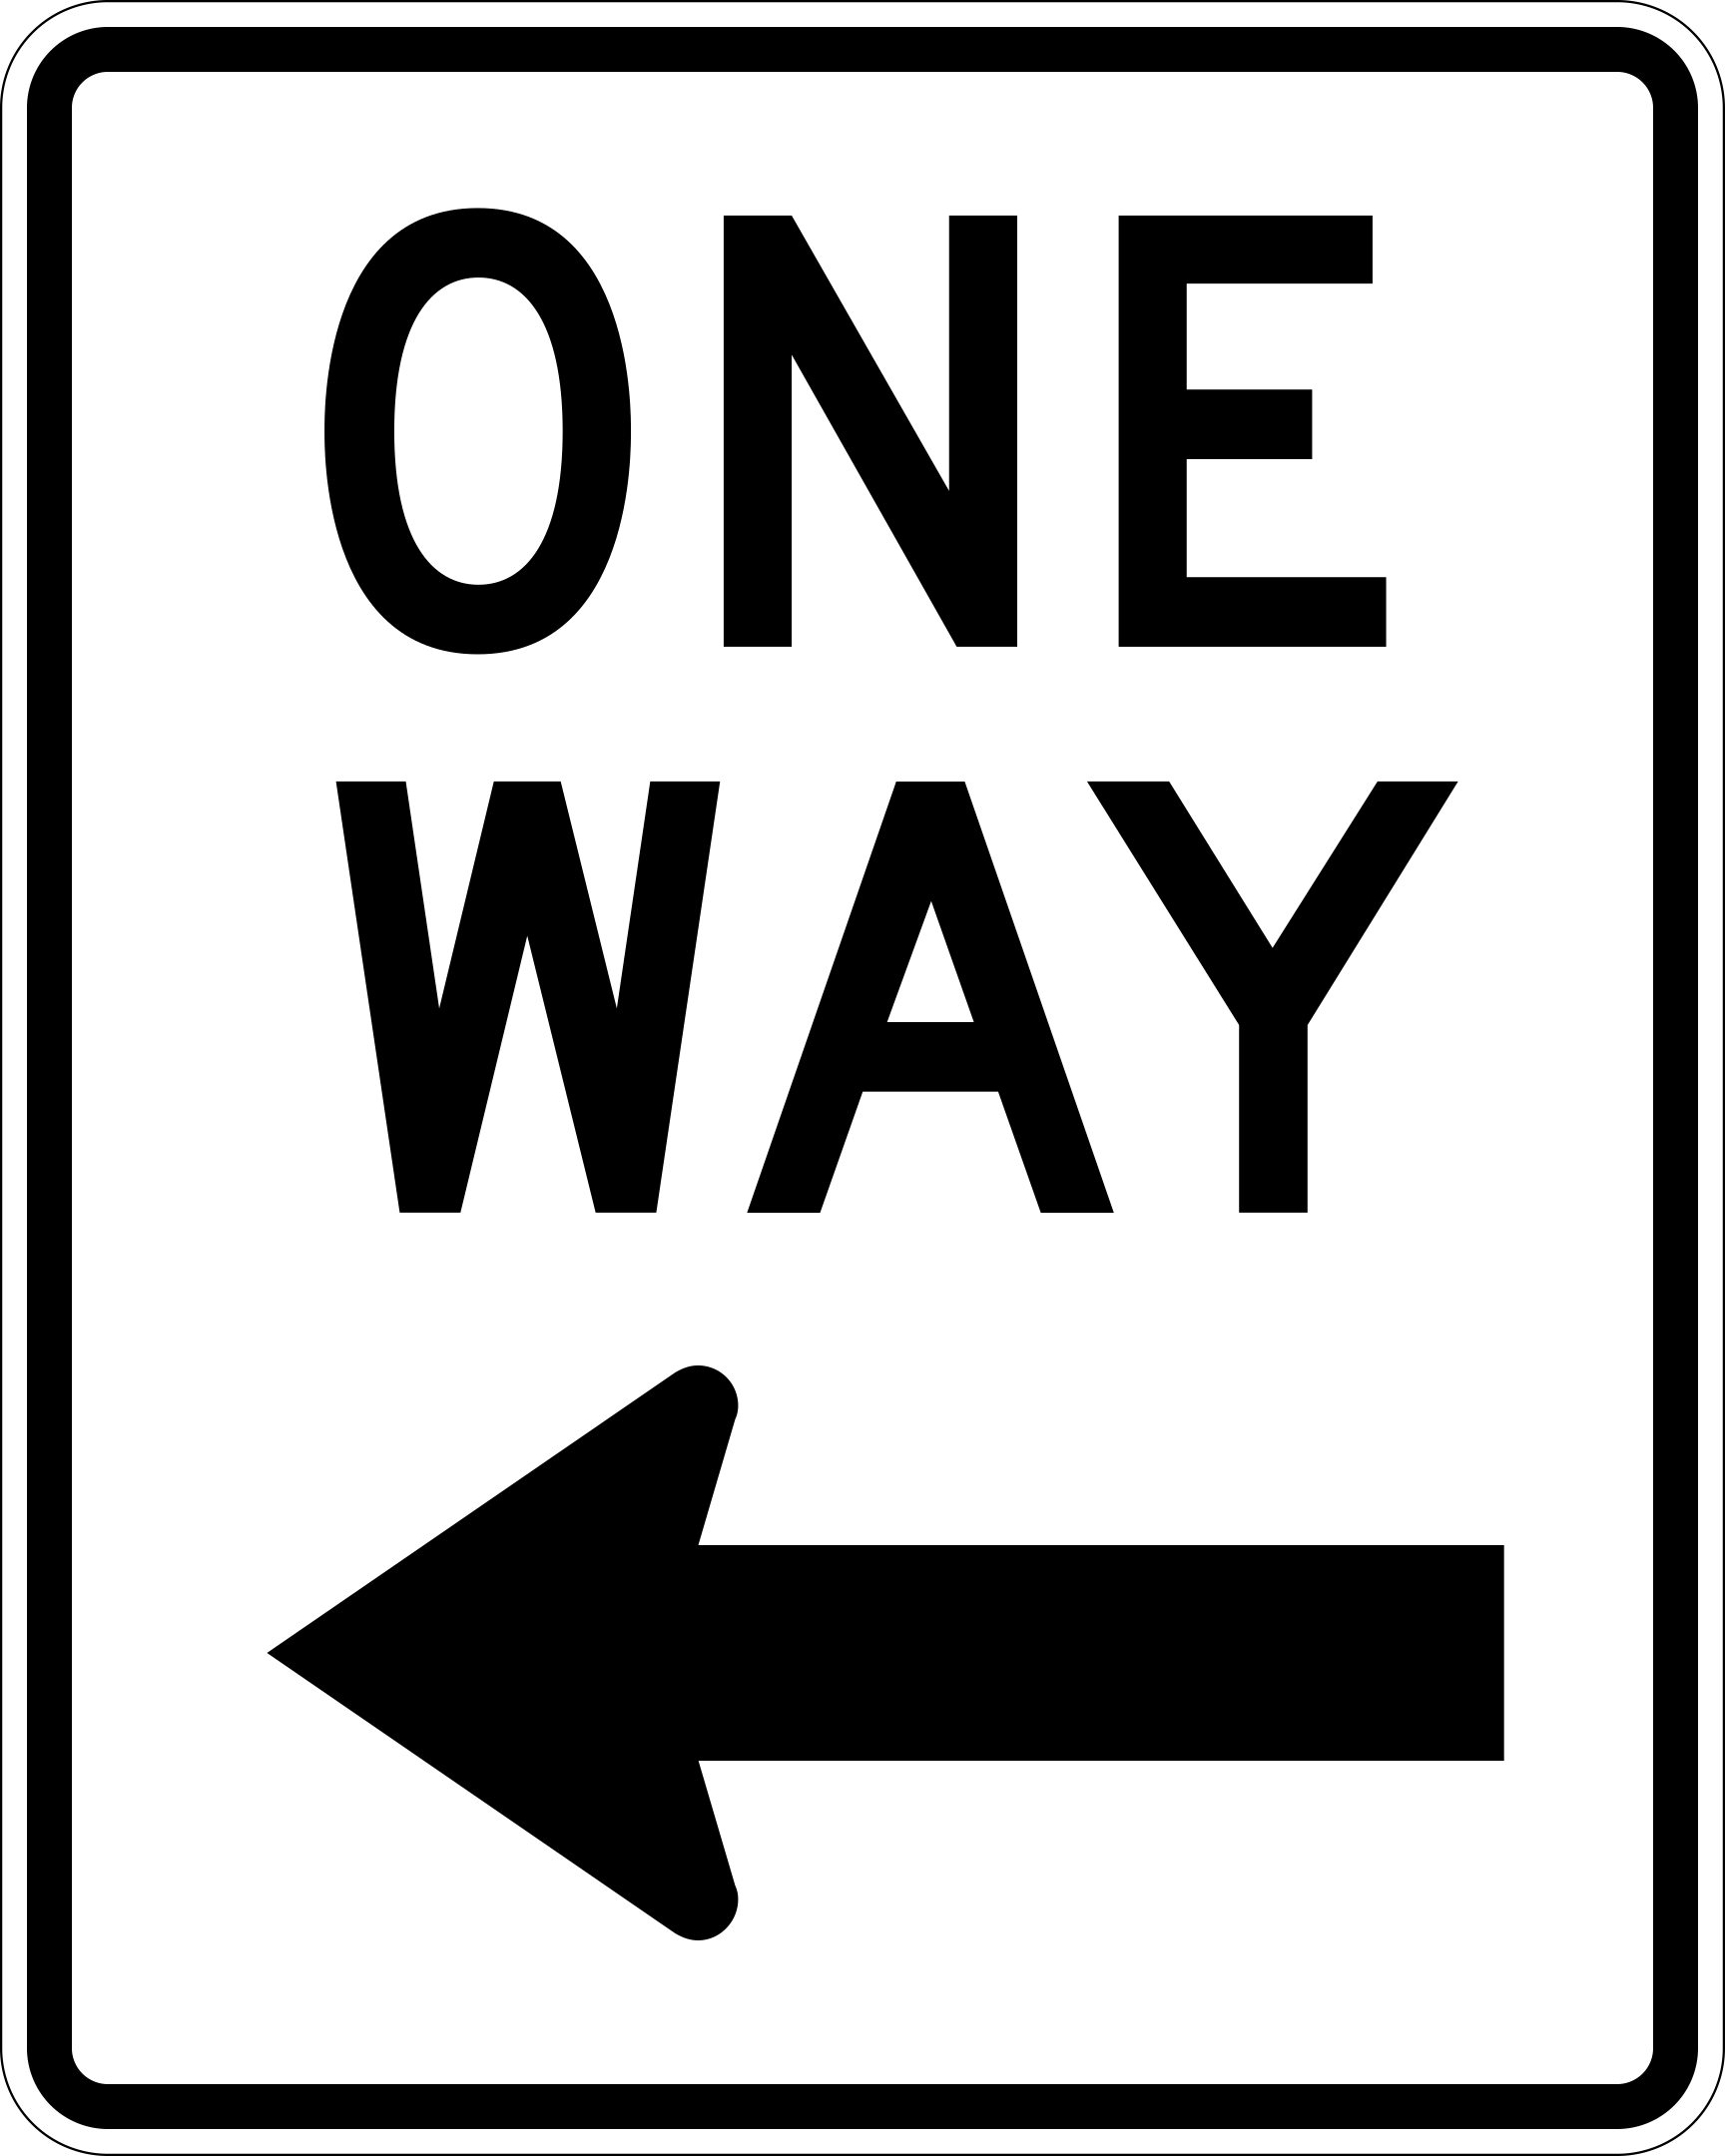
One Way (vertical)
R6-2Same rule as R6-1, mounted to be read from the cross street: the roadway it faces takes traffic one way.
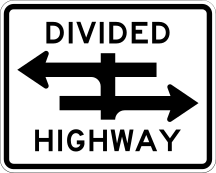
Divided Highway Crossing (Keep Right of Median)
R6-3Crossing or turning here, keep the median on your left and use the right-hand roadway.
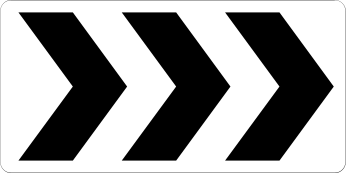
Roundabout Directional
R6-4, R6-4a, R6-4bCirculate around the central island in the direction the chevrons point.
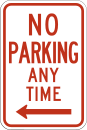
No Parking Any Time
R7-1A parking ban runs for the whole length the sign governs, at every hour of every day.
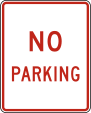
No Parking (symbol)
R8-3Parking is prohibited in the direction the arrow indicates.
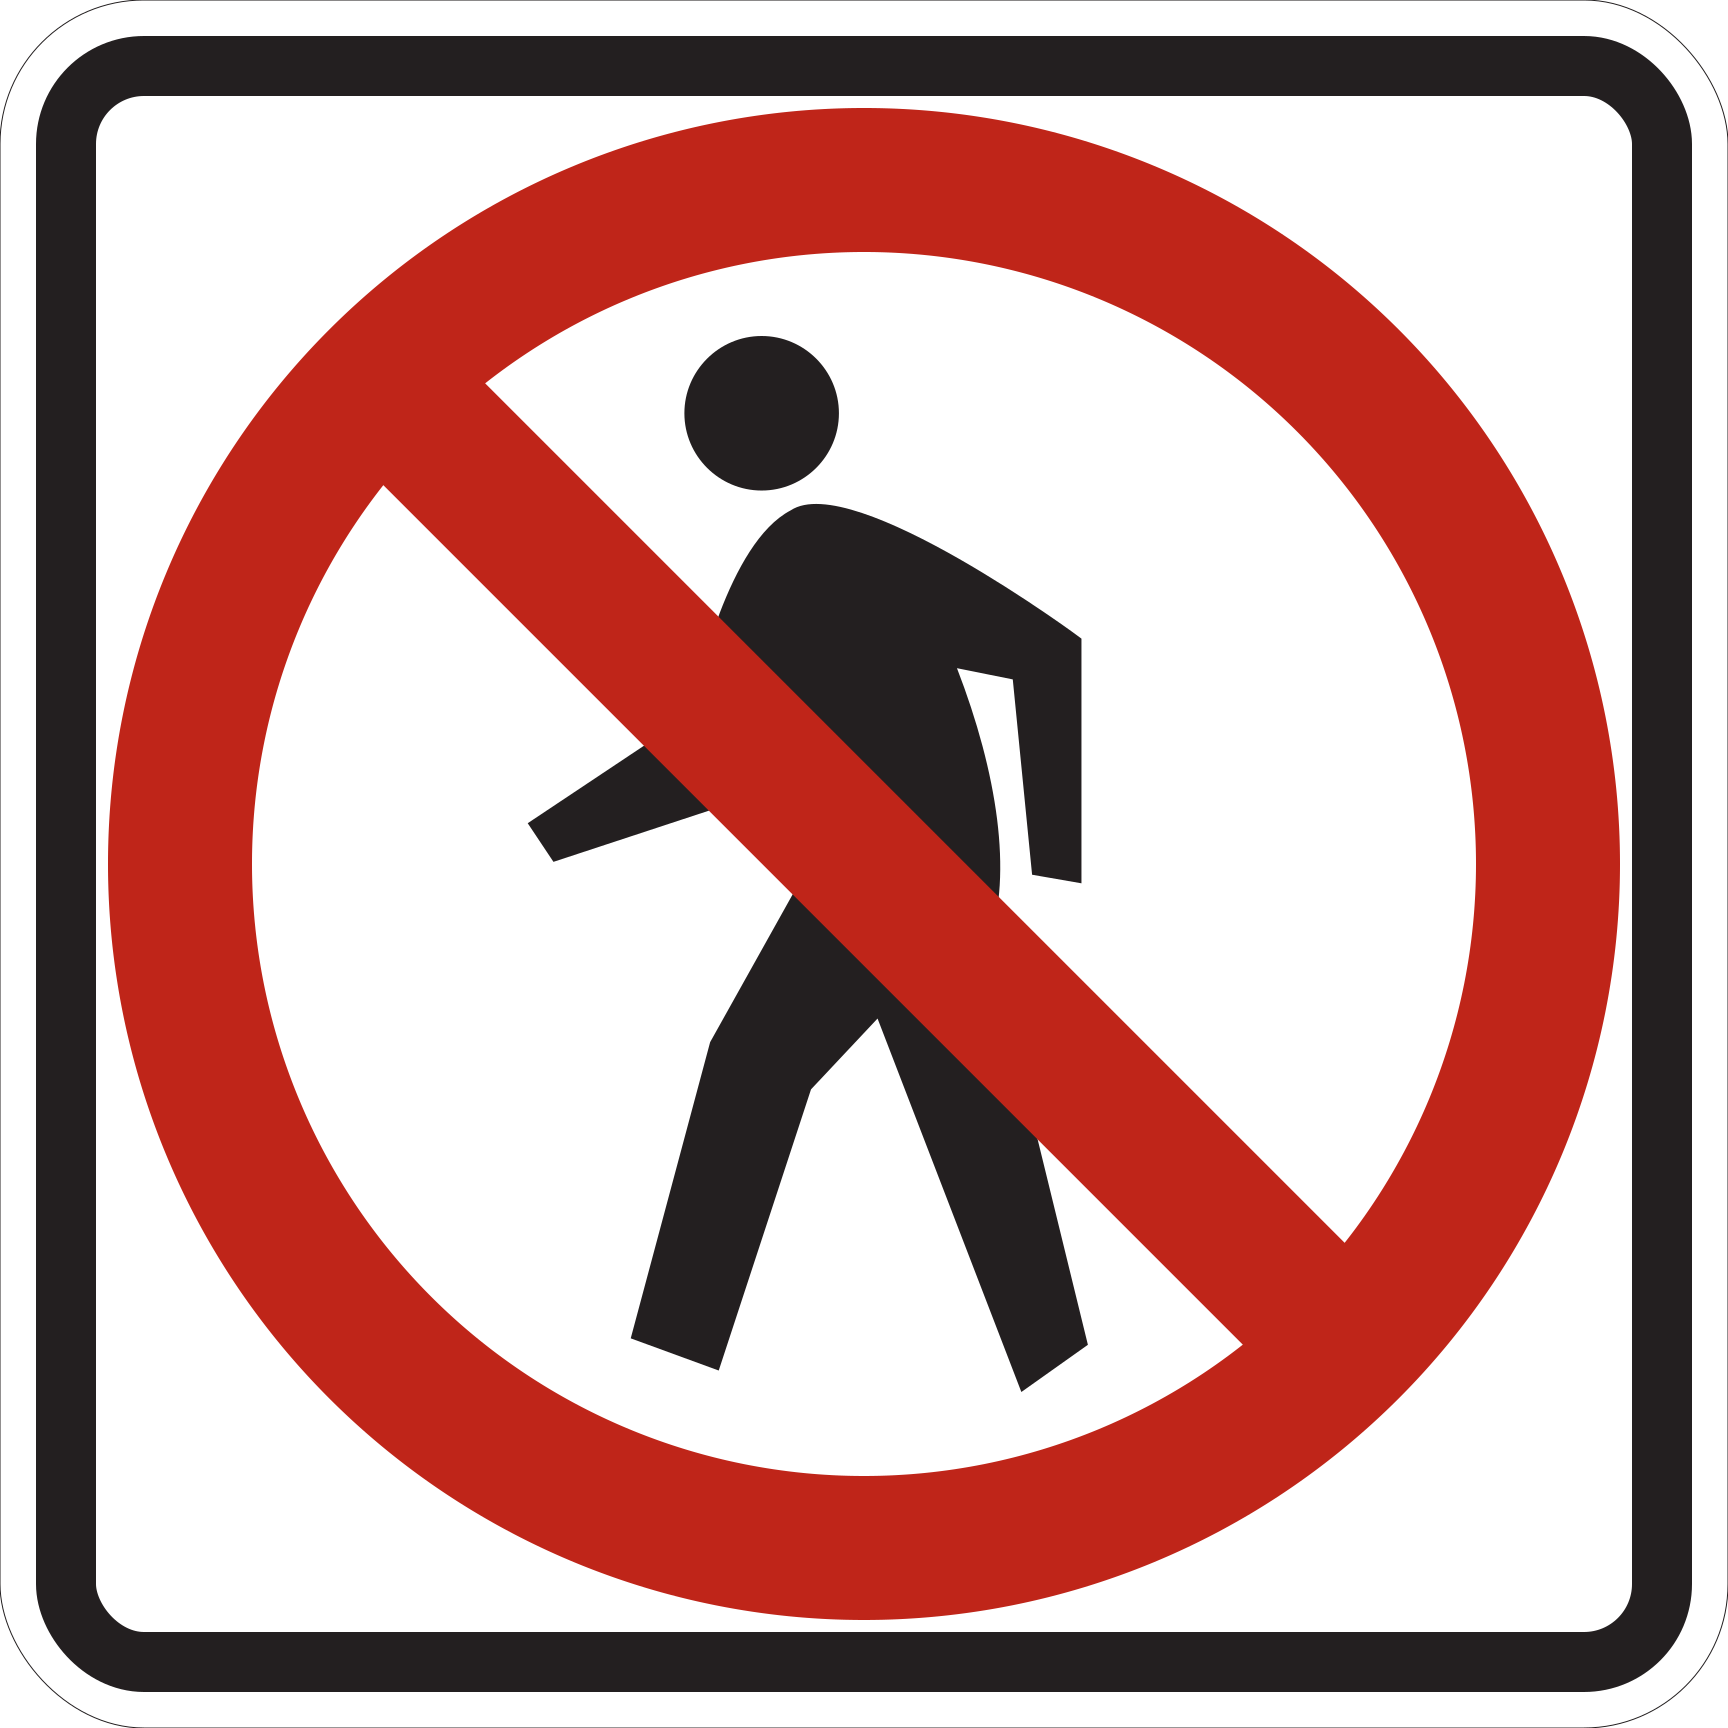
No Pedestrian Crossing
R9-3Crossing on foot is prohibited here, so anyone walking has to carry on to the next legal crossing point.
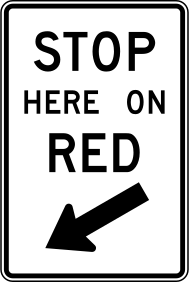
Stop Here On Red
R10-6On red the stop happens right here, at a post deliberately set well back from the crossing.
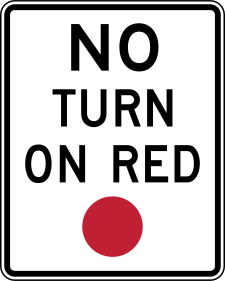
No Turn On Red
R10-11Stopping does not buy the turn here.
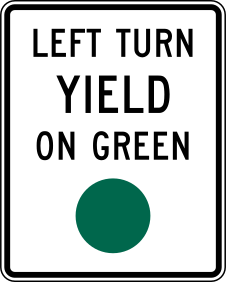
Left Turn Yield On Green
R10-12The round green permits the left turn without protecting it.
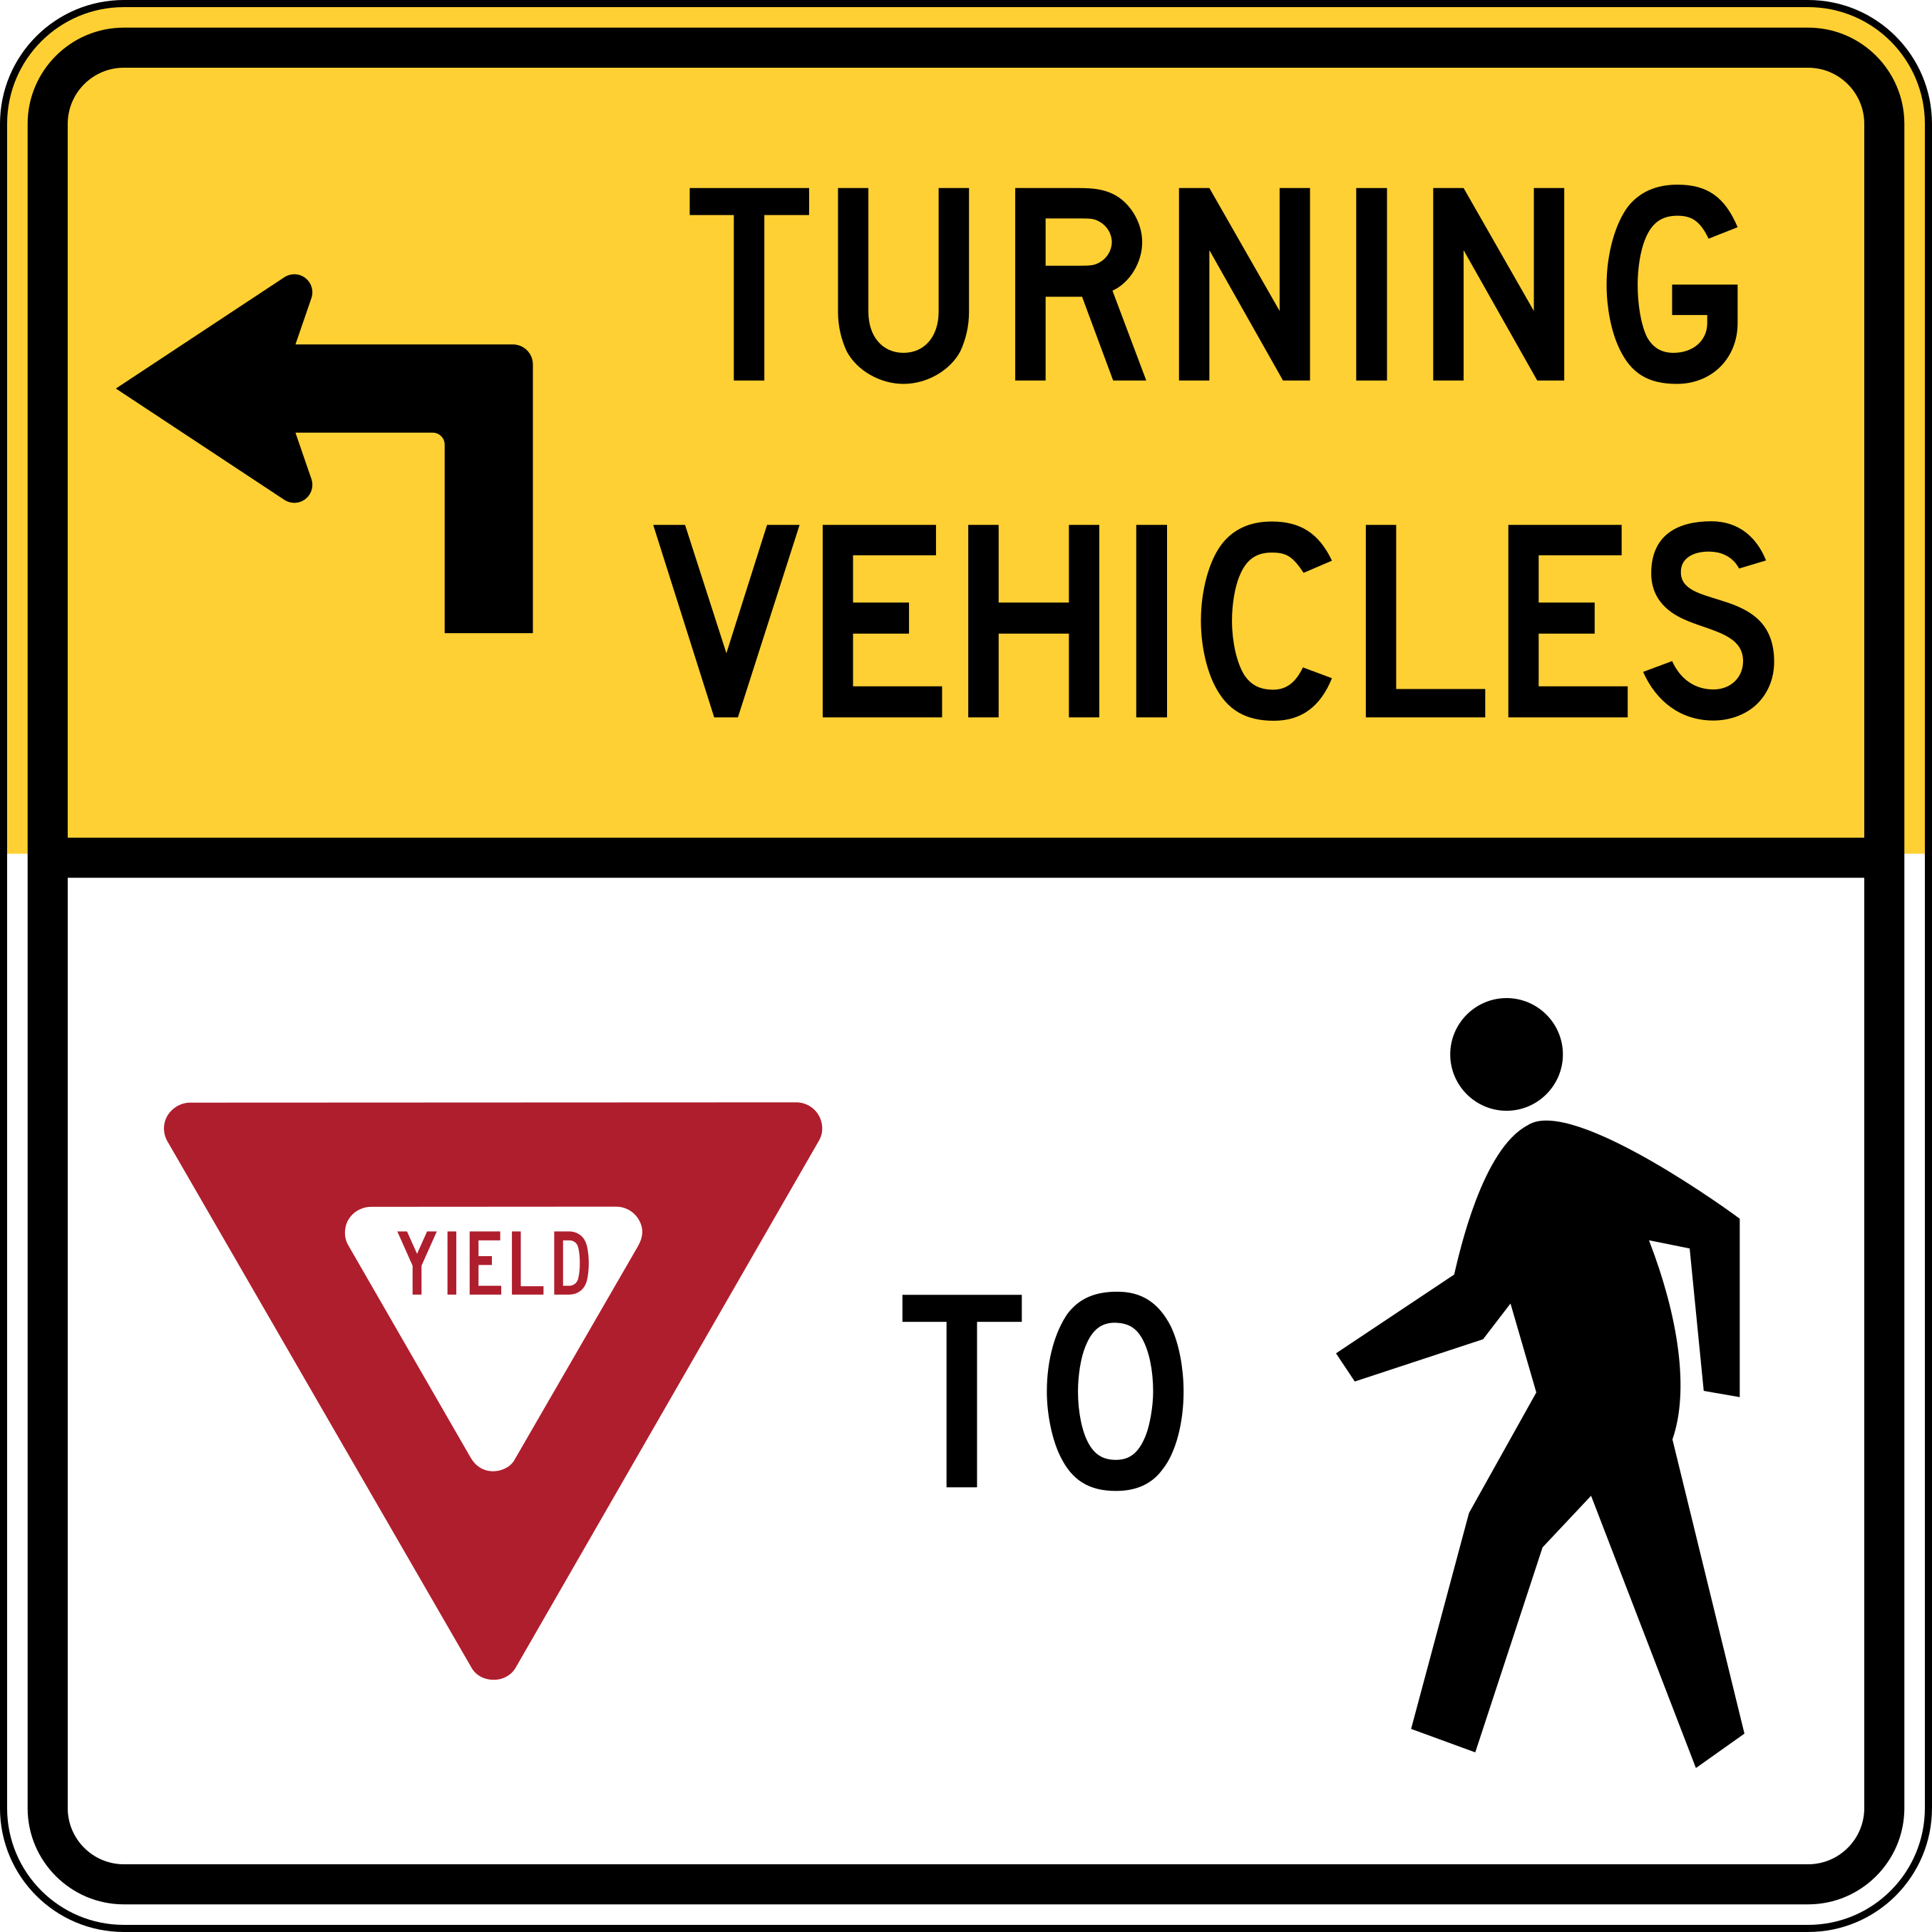
Turning Vehicles Yield To Pedestrians
R10-15Drivers turning at this signal must yield to pedestrians crossing with the walk indication.
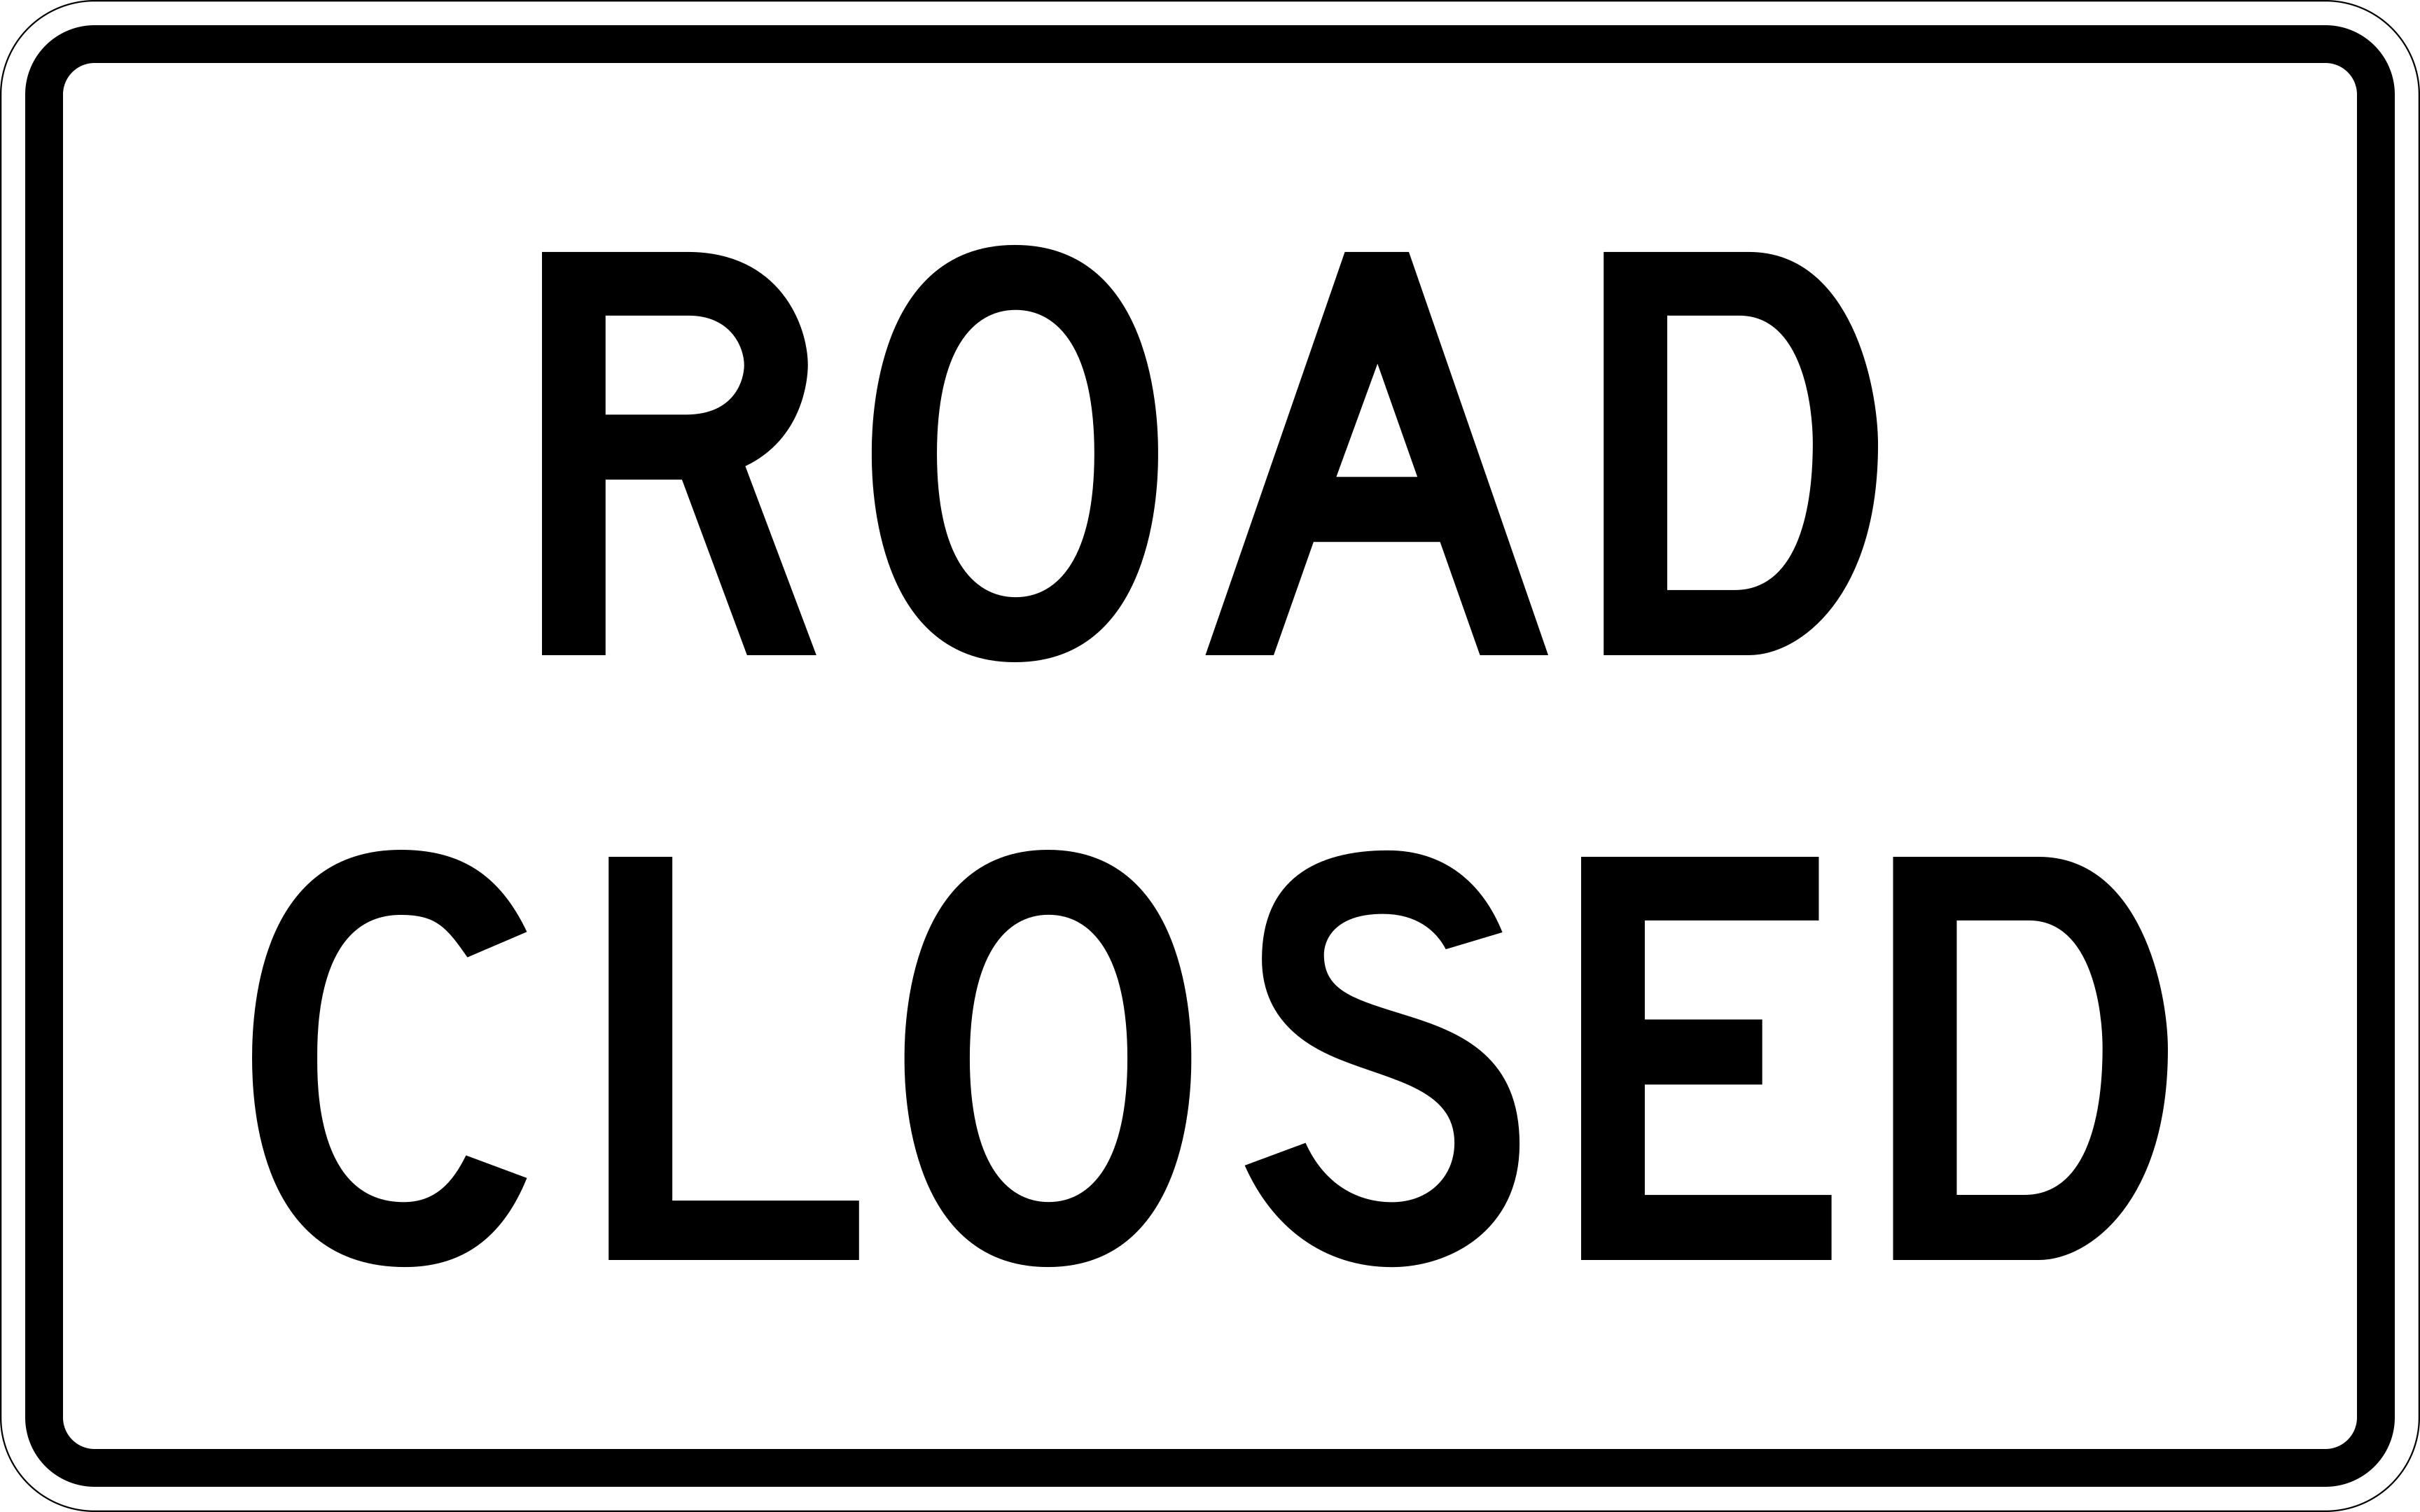
Road Closed
R11-2The road ahead is closed to all traffic.
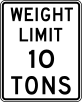
Weight Limit
R12-1The structure or the surface beneath it cannot carry more than the posted gross figure.
Warning signs
55A diamond reports a condition and orders nothing.
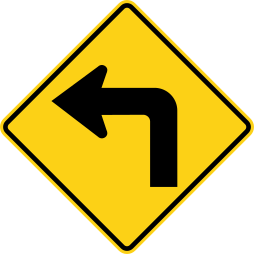
Turn
W1-1The alignment breaks sharply, close to a right angle.
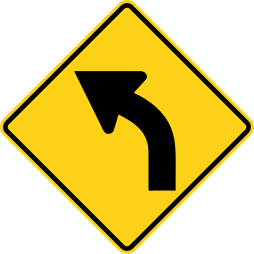
Curve
W1-2A gradual bend rather than a corner.
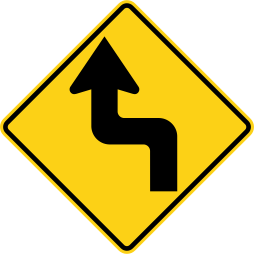
Reverse Turn
W1-3Two sharp turns in opposite directions, the first in the direction the arrow shows.
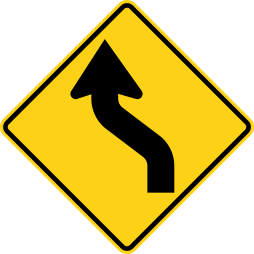
Reverse Curve
W1-4Two curves in opposite directions ahead.
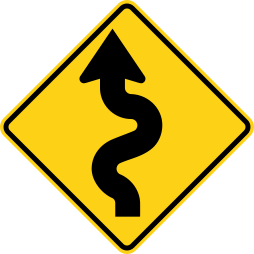
Winding Road
W1-5Bends keep coming, at least three of them, swapping direction with no usable straight in between.
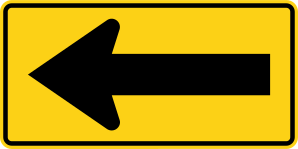
One-Direction Large Arrow
W1-6Mounted at the point where the alignment breaks, and the arrow gives the only way through: the road does not continue straight.
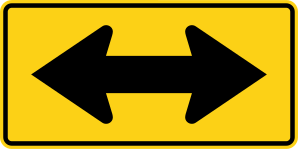
Two-Direction Large Arrow
W1-7The road you are approaching runs both left and right from here.

Chevron Alignment
W1-8Marks the direction of the curve; several are placed through the bend so one is always in view.
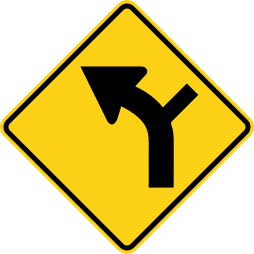
Combination Horizontal Alignment / Intersection
W1-10There is a side road joining inside the curve ahead.
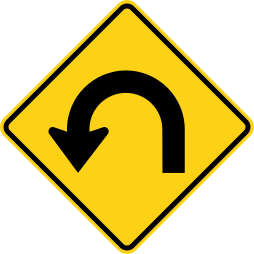
Hairpin Curve
W1-11The road doubles back on itself at very low speed.

Cross Road
W2-1Another road cuts straight across yours just ahead, so traffic can arrive from the left and the right at once.

Side Road
W2-2A single arm meets your road from one side only, and drivers waiting on it often have a poor view of you.

T Intersection
W2-3The road you are on ends ahead at a T intersection; you must turn left or right.
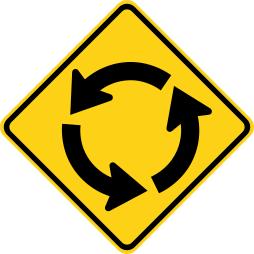
Circular Intersection (Roundabout Ahead)
W2-6A circulating intersection is coming up.

Stop Ahead
W3-1There is an octagon beyond this point that a driver at speed will not pick out in time.

Yield Ahead
W3-2A yield sign is coming; be ready to slow and yield.
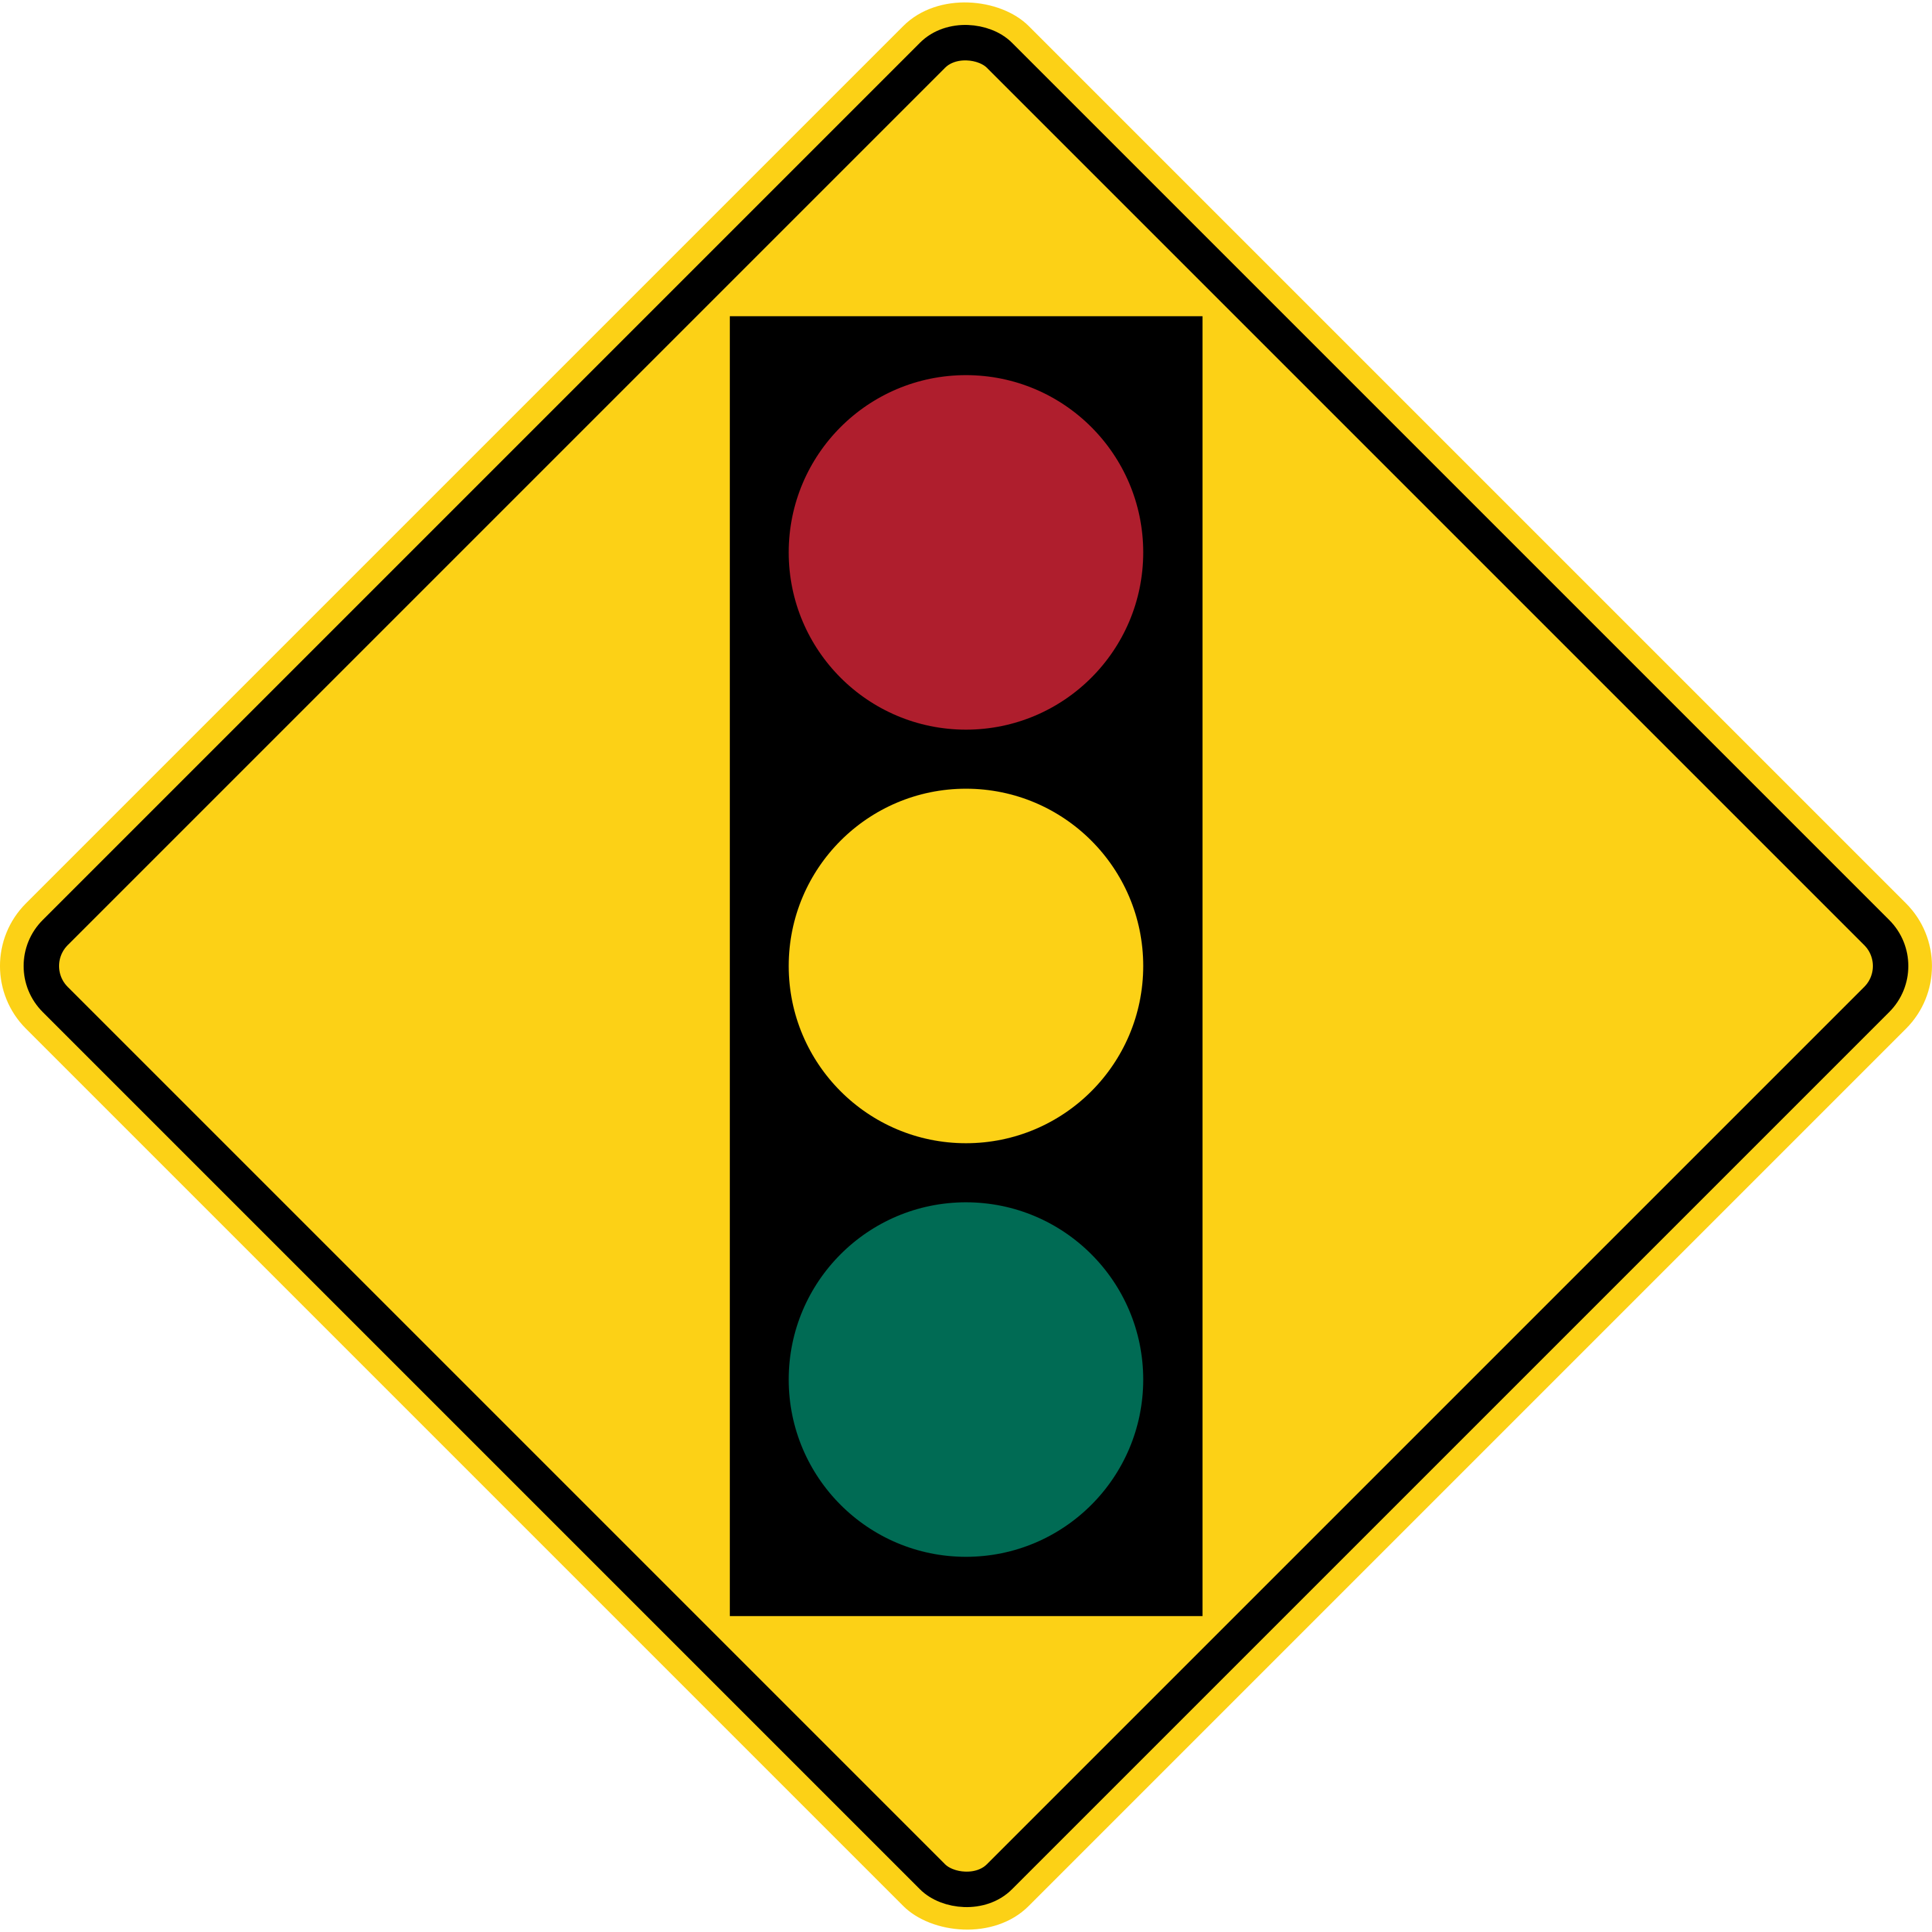
Signal Ahead
W3-3There is a signal head past the crest or the bend, sited where drivers reach it with little time to react.
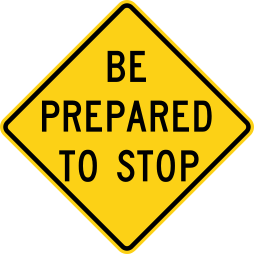
Be Prepared To Stop
W3-4Traffic ahead may be stopped or stopping; slow now.
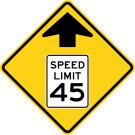
Reduced Speed Limit Ahead
W3-5A lower speed limit begins shortly; start slowing so you are legal when you reach it.
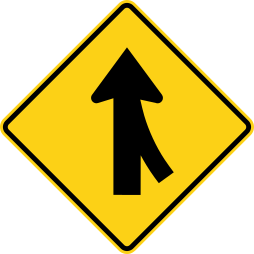
Merge
W4-1Two traffic streams join ahead and drivers on both must adjust speed and position.
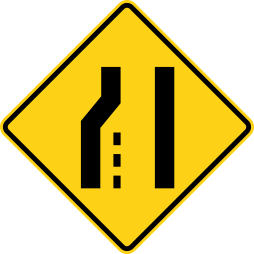
Lane Ends
W4-2One of the through lanes ends ahead and its traffic must move over.
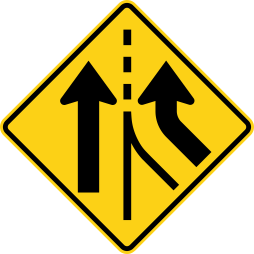
Added Lane
W4-3A whole extra lane opens on the entry side, so joining traffic has somewhere to go and nobody has to change lanes or yield.
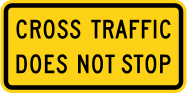
Cross Traffic Does Not Stop plaque
W4-4PYou are stopping but the road you are crossing is not controlled, so wait for a full gap.
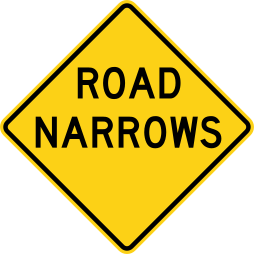
Road Narrows
W5-1The running width shrinks, on one edge or on both, while the lane count holds.
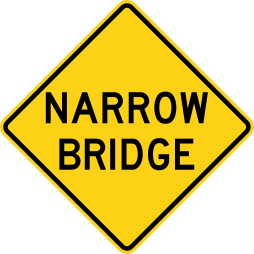
Narrow Bridge
W5-2Two lanes still cross the structure, but the shoulders disappear and the barriers pinch in.
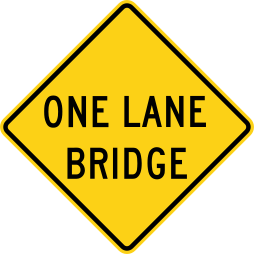
One Lane Bridge
W5-3Only one vehicle can cross at a time; yield to any vehicle already on the bridge.
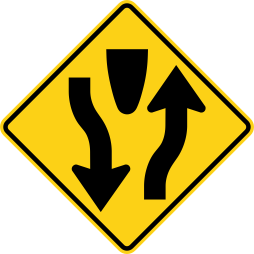
Divided Highway (begins)
W6-1From here the two directions run on their own pavement with a median between them.
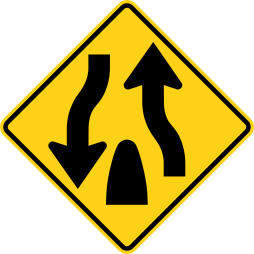
Divided Highway Ends
W6-2The median ends ahead and you will be facing two-way traffic on a single roadway.
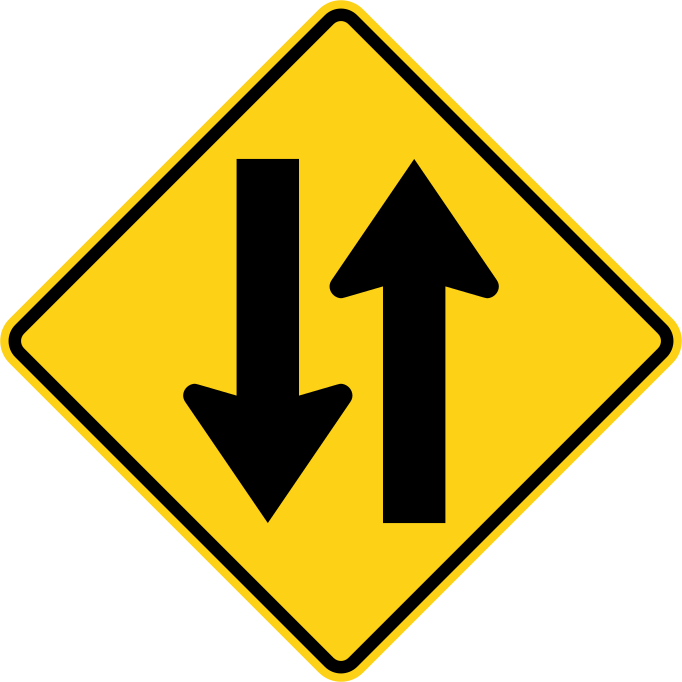
Two-Way Traffic
W6-3Oncoming vehicles use the next lane over from here, with nothing but paint between the two streams.
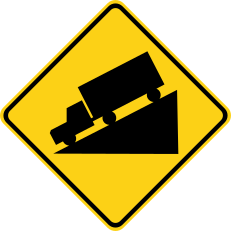
Hill
W7-1The grade falls away steeply enough to build speed on its own.
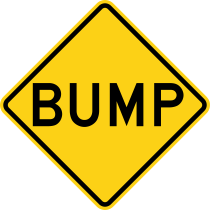
Bump
W8-1An abrupt rise in the surface, steep enough to unsettle the suspension at speed.
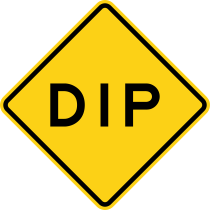
Dip
W8-2A short, sharp depression in the road ahead.
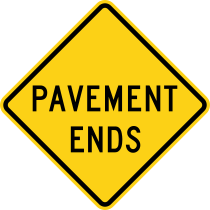
Pavement Ends
W8-3Blacktop runs out at this point.
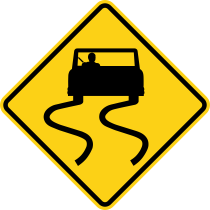
Slippery When Wet
W8-5Grip falls away sharply on this stretch once it is wet, so brake.
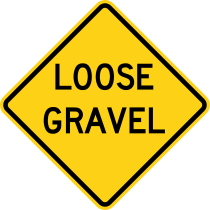
Loose Gravel
W8-7Gravel sits loose on top of an otherwise sound road, which stretches braking distances and lets a tire fling a stone at whatever is behind you.
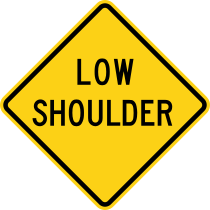
Low Shoulder
W8-9The shoulder is lower than the traveled lane; leaving the pavement could pull the vehicle off.
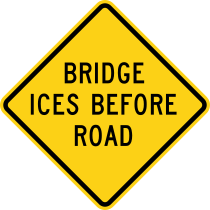
Bridge Ices Before Road
W8-13The bridge deck freezes earlier than the surrounding roadway because cold air passes underneath.
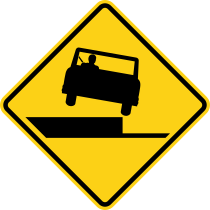
Shoulder Drop-Off
W8-17There is a significant vertical drop from the pavement edge to the shoulder.
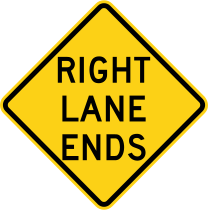
Right (Left) Lane Ends
W9-1The named lane ends ahead; its traffic must merge into the remaining lane.
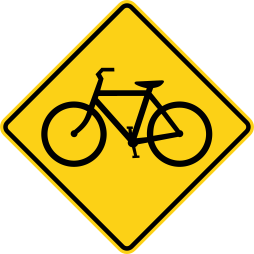
Bicycle
W11-1Watch for bicycles entering or crossing the roadway ahead.
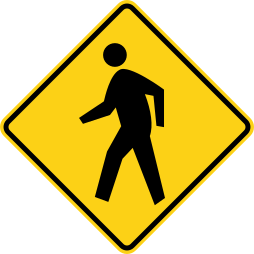
Pedestrian
W11-2Expect pedestrians in the roadway at or close to this point, with no signal anywhere to hold you for them.
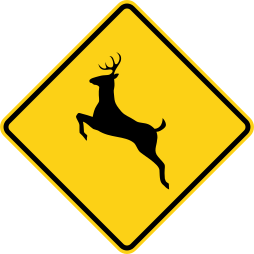
Deer Crossing
W11-3A known route for deer and other large game across the pavement, busiest at first light and again at dusk.
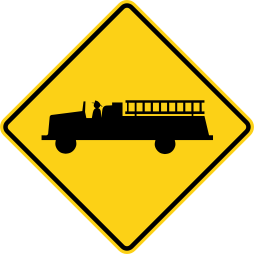
Emergency Vehicle
W11-8Fire, ambulance or other emergency vehicles enter the roadway at this point.
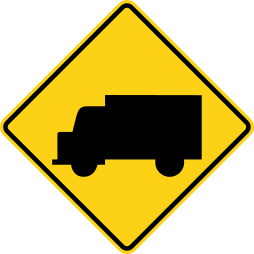
Truck
W11-10Trucks enter or cross the roadway here, often slowly.
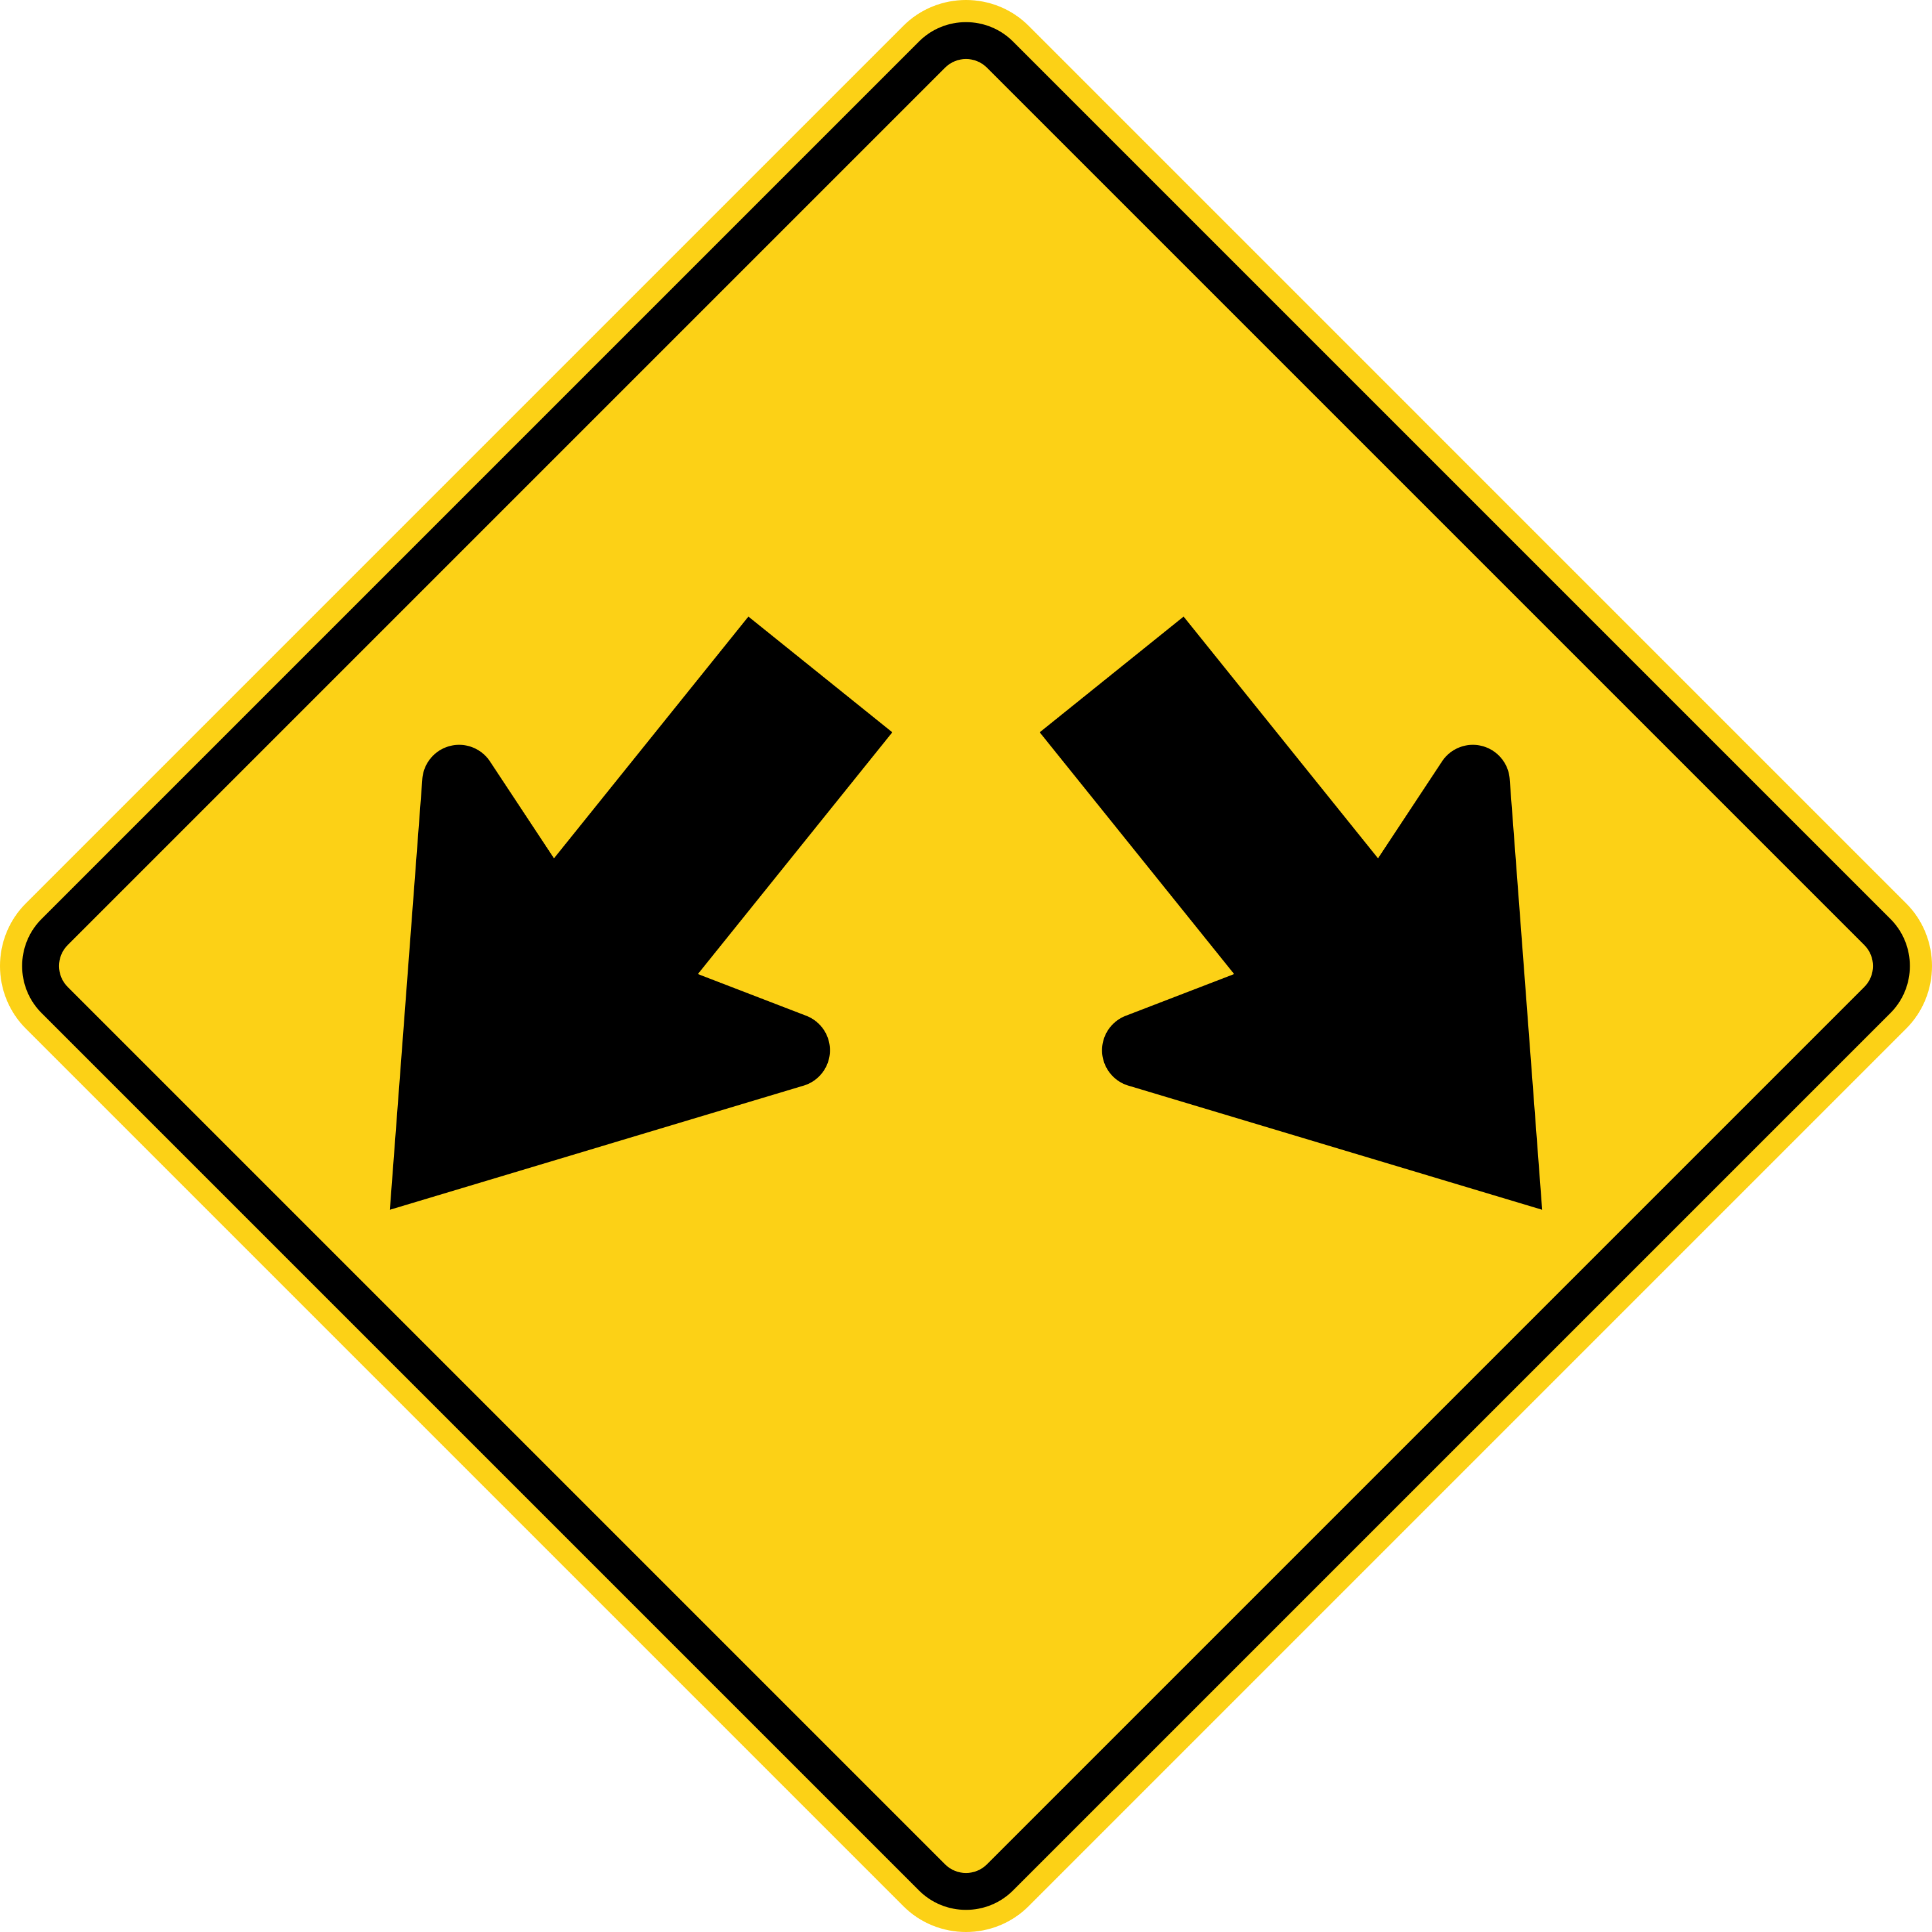
Double Arrow
W12-1Traffic may pass on either side of the obstruction ahead.
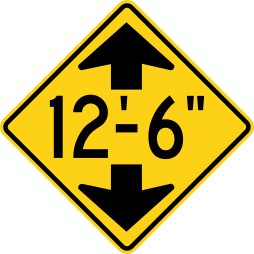
Low Clearance
W12-2The structure ahead has less headroom than the posted figure.
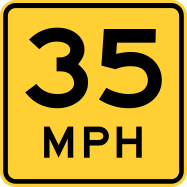
Advisory Speed plaque
W13-1PThe recommended safe speed for the curve or ramp the sign above it warns about, in good conditions.
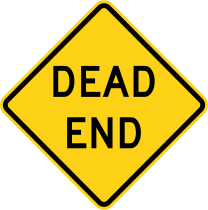
Dead End
W14-1This road stops at a barrier or a wall and nothing continues past it.
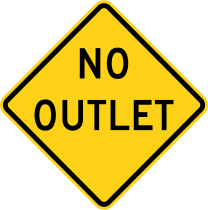
No Outlet
W14-2Roads carry on past this point and may branch more than once, but every one of them comes back to this entrance.
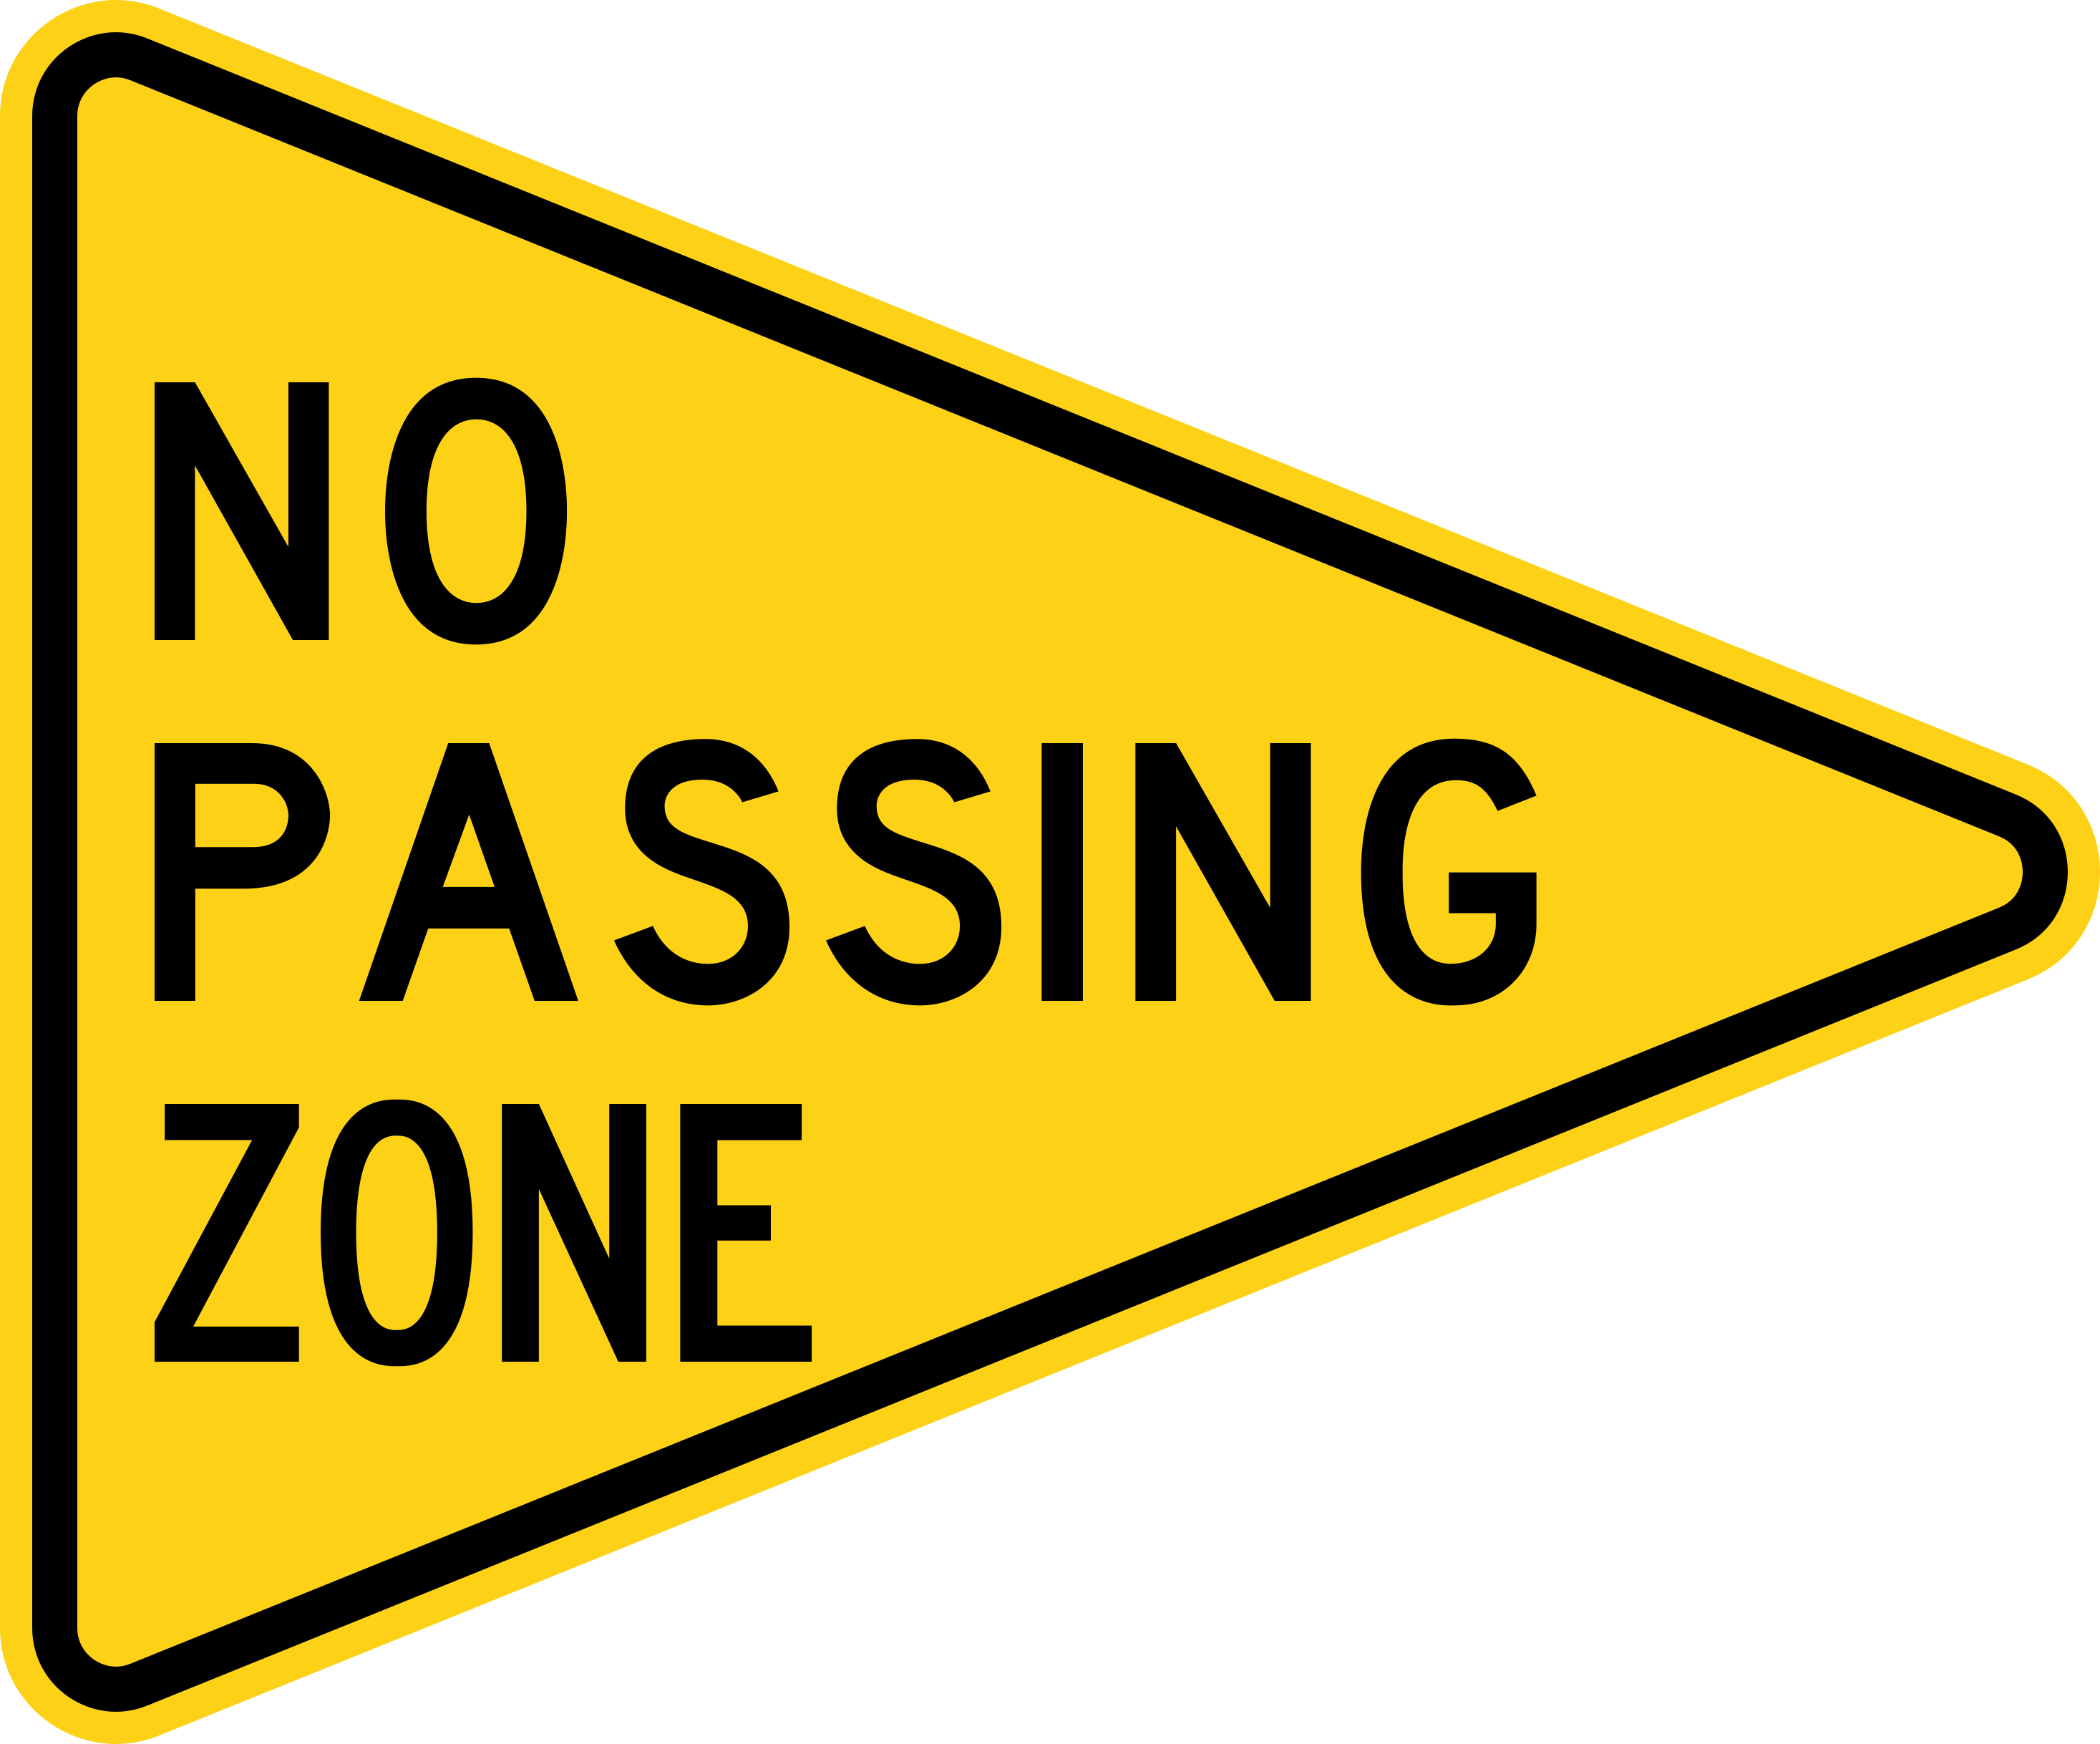
No Passing Zone
W14-3From this pennant until the solid yellow line beside your lane ends.
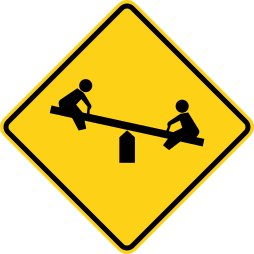
Playground
W15-1A playground sits right on the roadside, so a child can reach the curb at a run and without looking.
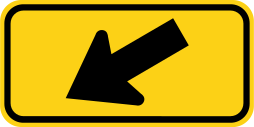
Downward Diagonal Arrow plaque
W16-7PThe hazard the sign above warns about is at this exact spot, not ahead.
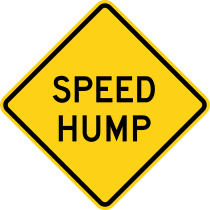
Speed Hump
W17-1An engineered hump built into the surface to hold speeds down.
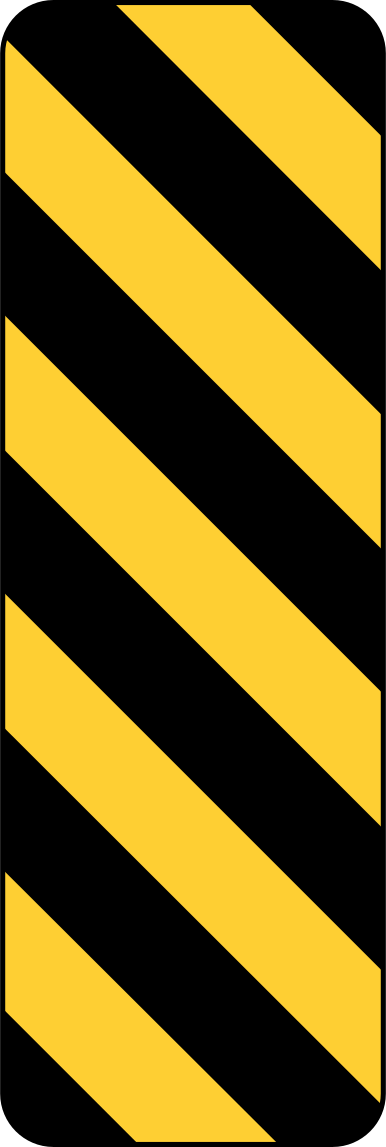
Type 3 Object Marker
OM3-L, OM3-RMarks an obstruction close to or in the roadway; the stripes slope down toward the side you should pass on.

Type 4 Object Marker (End of Roadway)
OM4-1, OM4-2, OM4-3The roadway ends here; there is no through route beyond this point.
Guide and service signs
11Direction, services, recreation: three colors doing three jobs, and not one of them carrying a duty.
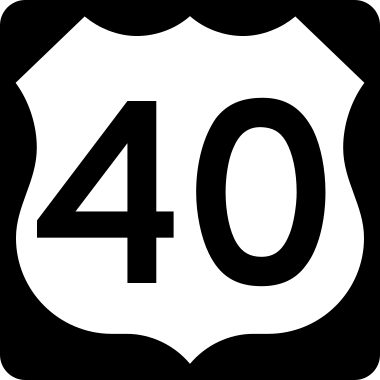
US Route Marker
M1-4Identifies a US numbered highway and its route number.
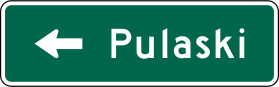
Destination sign
D1-1, D1-2, D1-3Names the places reached by the route and the direction to take.
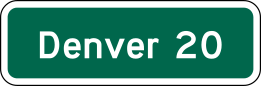
Distance sign
D2-1, D2-2, D2-3Lists upcoming places and how many miles away they are.

Street Name sign
D3-1Names the cross street at an intersection.
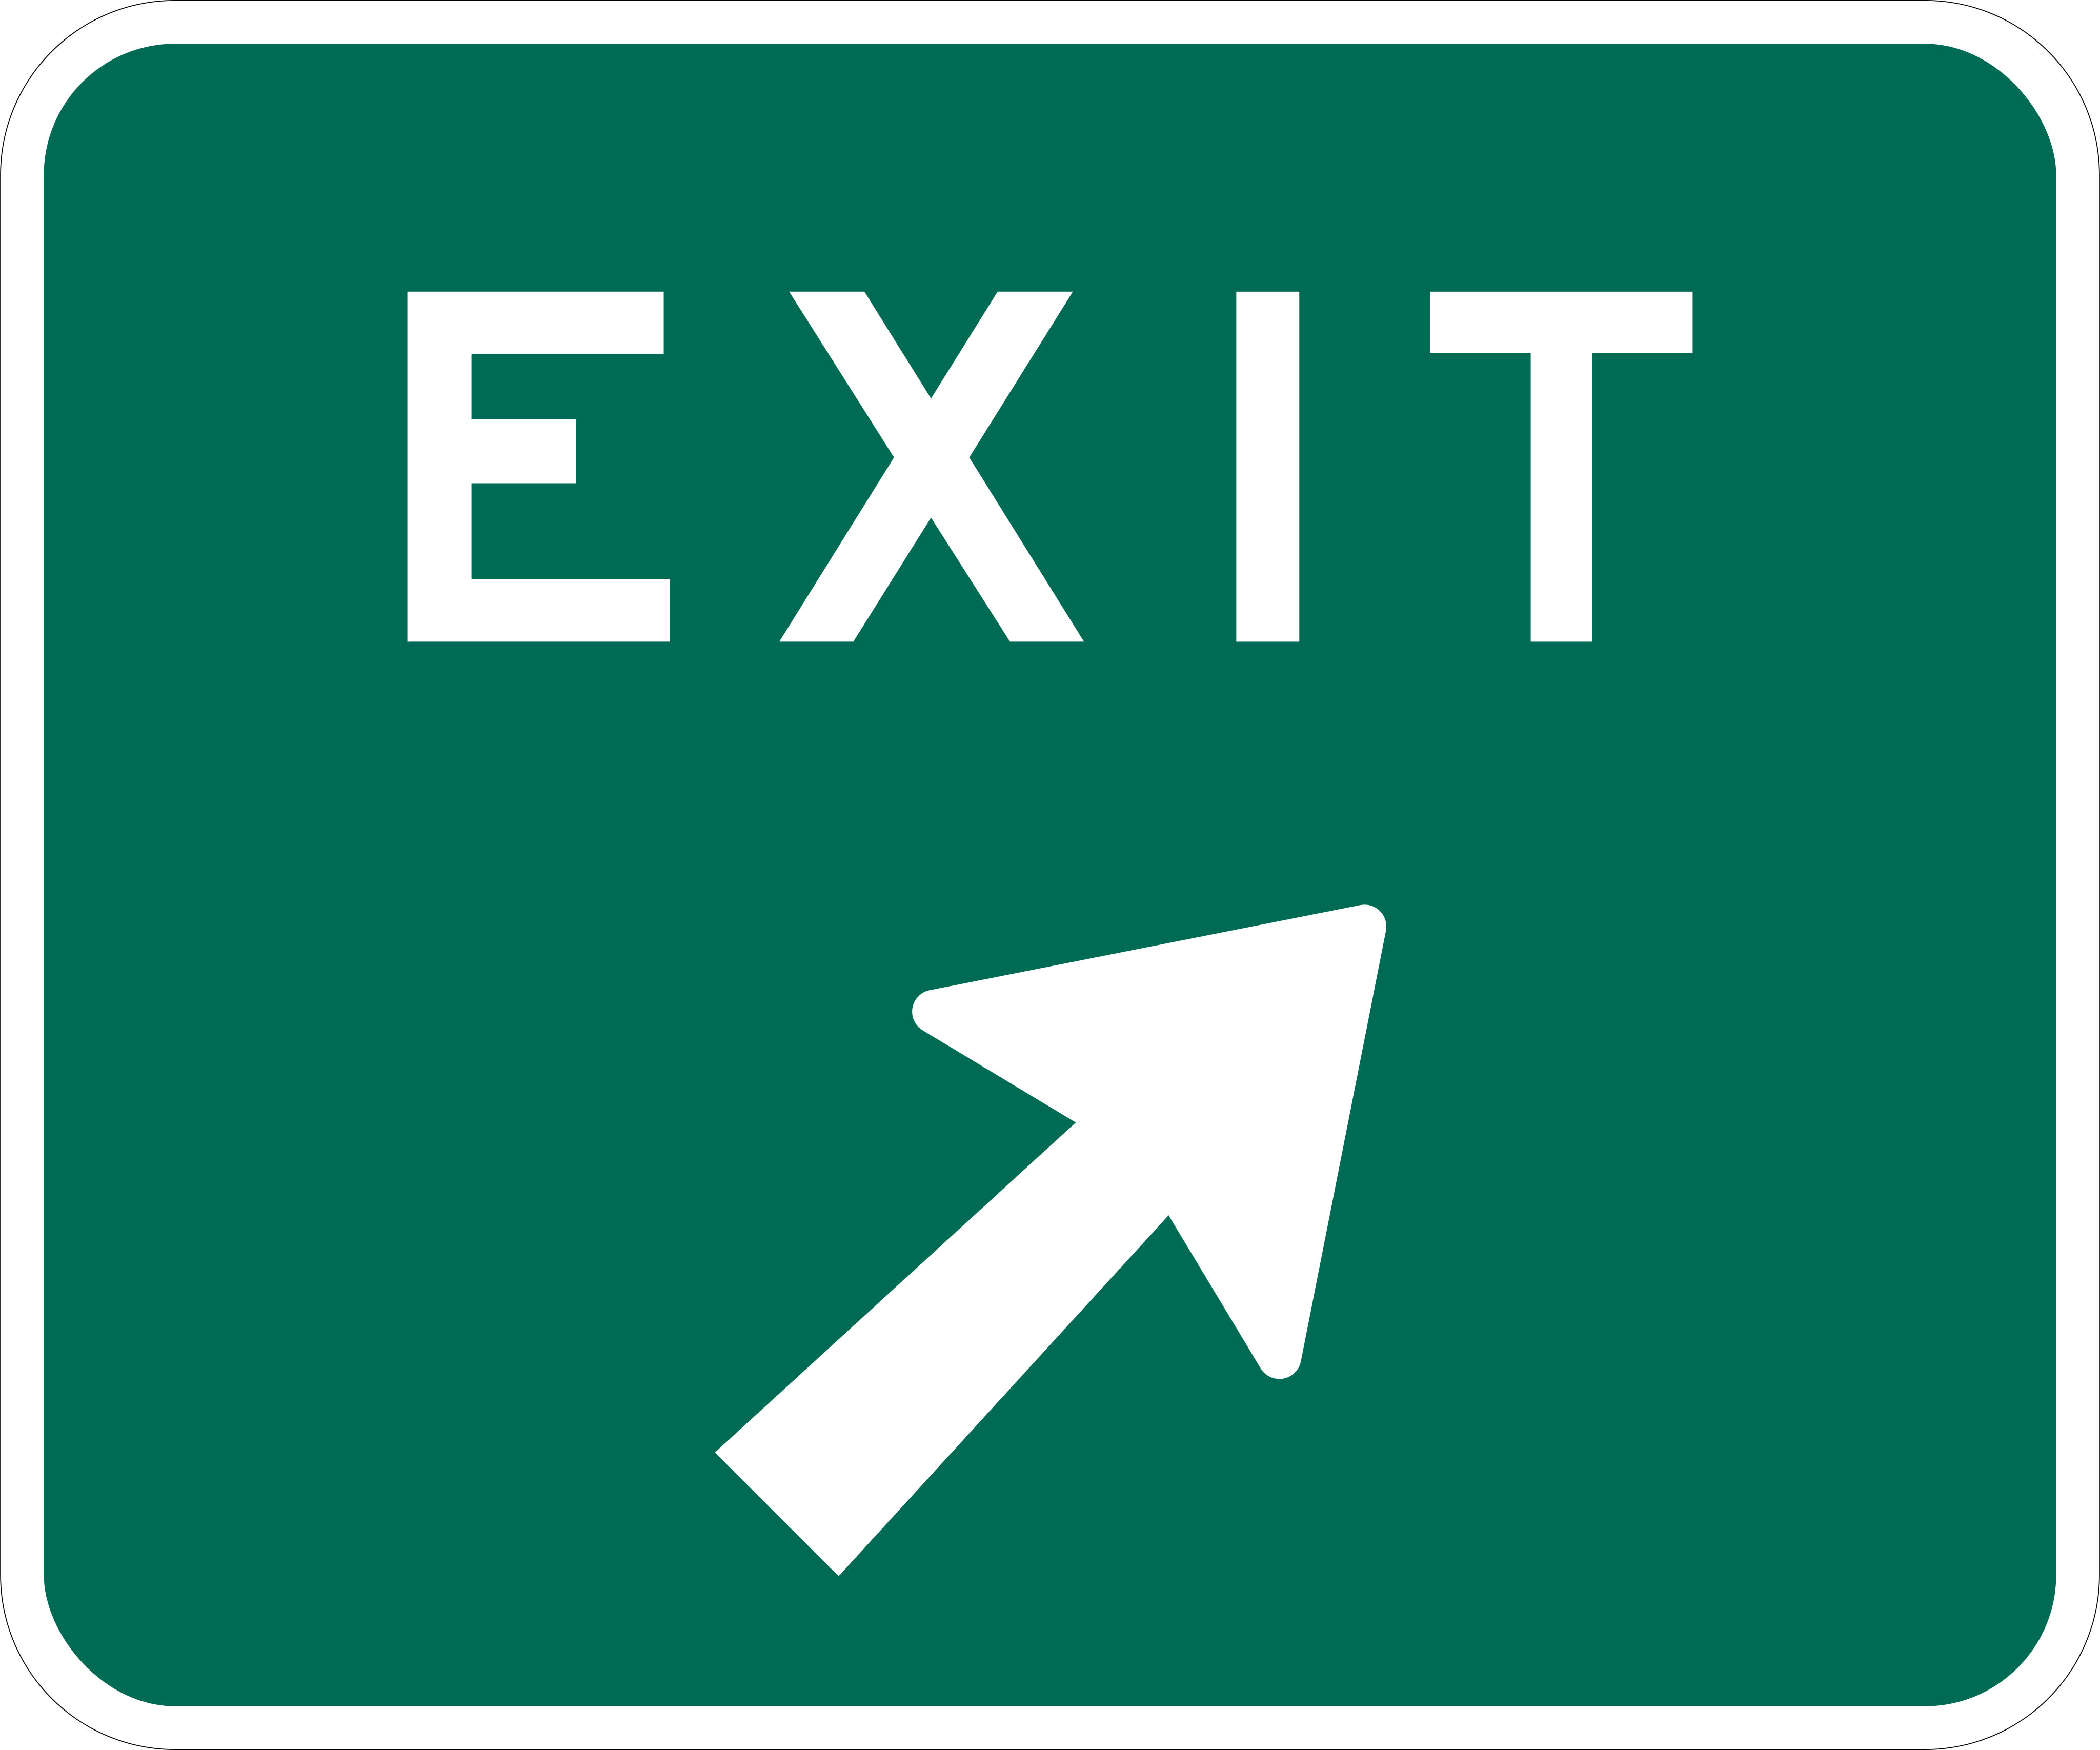
Exit Gore sign
E5-1, E5-1aMarks the exact point where the exit ramp leaves the mainline, with the exit number if one is assigned.

Exit Number plaque
E1-5P, E1-5bPCarries the exit number, mounted on top of the advance guide or exit direction sign.

EXIT ONLY panel
E11-1d, E11-1e, E11-1fThe lane beneath this panel leaves the highway; staying in it forces you off.
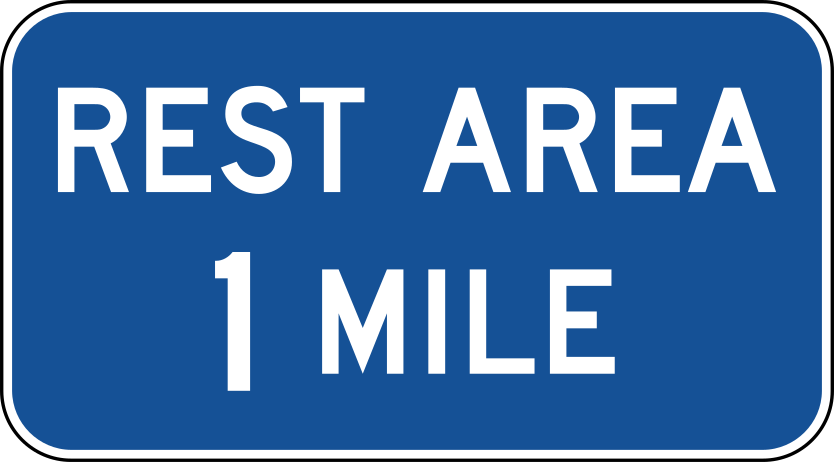
Rest Area
D5-1, D5-1a, D5-2Directs road users to a rest area and how far it is.
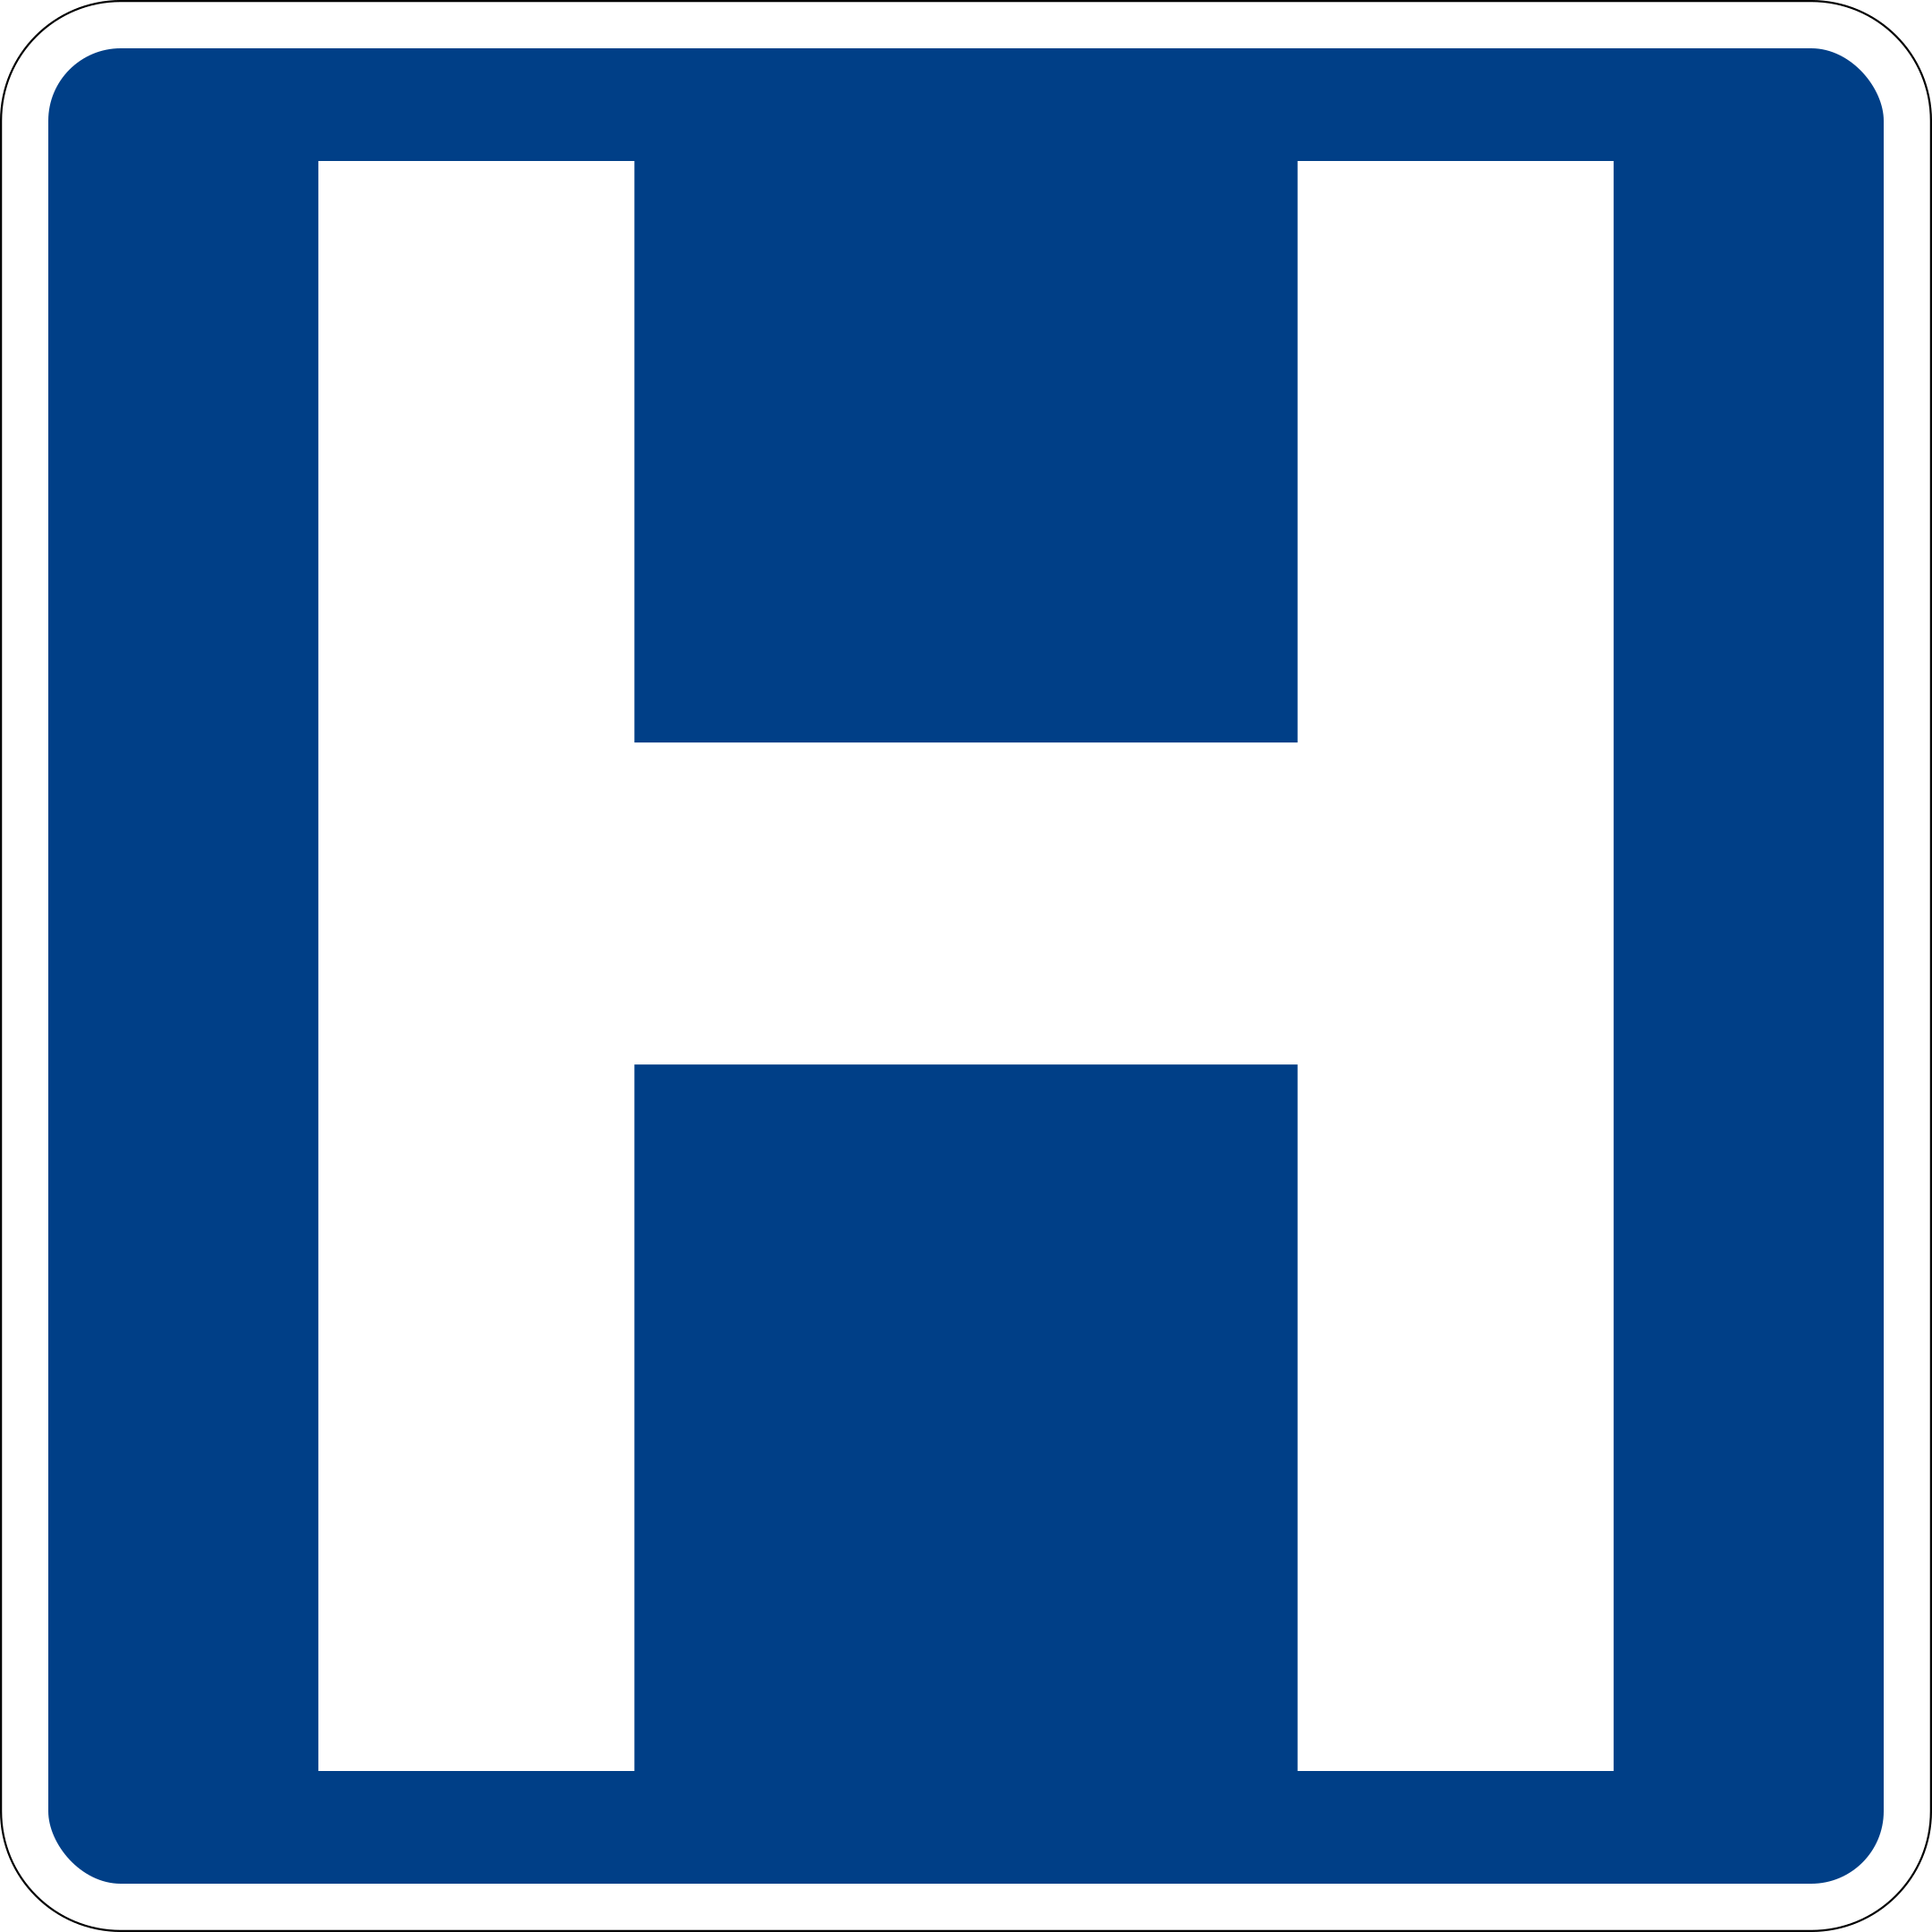
Hospital
D9-2The blue H marks a hospital reachable from this route that handles emergency cases.
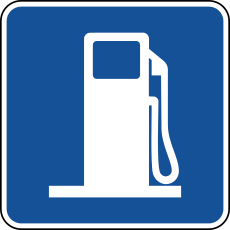
General Service signs (Gas, Food, Lodging, Telephone)
D9-7, D9-8, D9-9, D9-1Names which of the road-user services, fuel, a meal, a bed for the night, a phone.
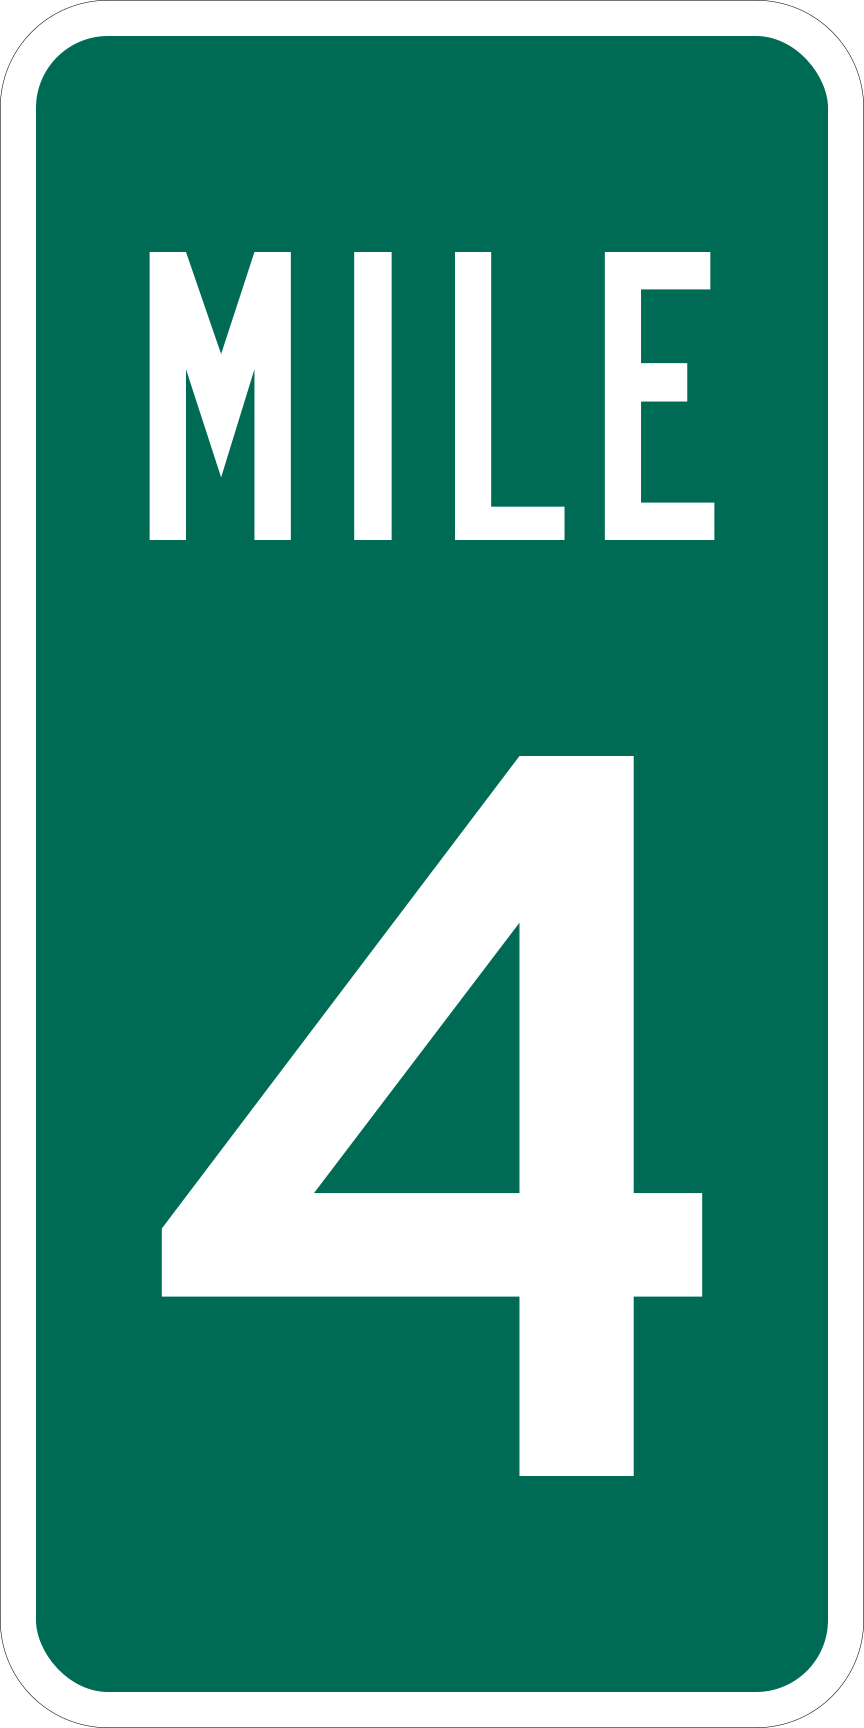
Reference Location sign (mile marker)
D10-1, D10-2, D10-3A distance post rather than a route number: it says how far along the highway you have come.
Work zone signs
9Orange is temporary by definition, used only while traffic is being routed around a job.
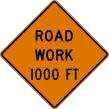
Road Work Ahead
W20-1Crews and equipment are at work somewhere on the road past this sign.
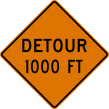
Detour
W20-2Your way through is shut and a signed alternative has been laid out for you.
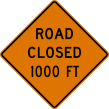
Road (Street) Closed Ahead
W20-3The road ahead is closed at the stated distance.
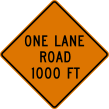
One Lane Road Ahead
W20-4Two-way traffic will share a single lane ahead, usually under flagger or signal control.
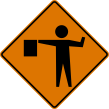
Flagger
W20-7Someone with a STOP/SLOW paddle is working the traffic past this point.
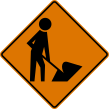
Workers
W21-1, W21-1aThere are workers on foot inside the work space, close enough to the running lanes to be caught by a mirror.

Shoulder Work
W21-5, W21-5a, W21-5bThe activity is off to the side of the running lanes.

Road Work Next XX Miles
G20-1Marks the start of an extended work zone and how long it runs.

End Road Work
G20-2The work zone finishes here and normal conditions, including normal speed limits, resume.
School zone signs
7A pentagon means school and nothing else, so the outline alone answers the question.

School
S1-1Warns that a school, school zone or school crossing is at or near this point.
School Crossing assembly
S1-1 with W16-7PMarks the precise location of a crossing used by schoolchildren.
School Advance Crossing assembly
S1-1 with W16-9P or W16-2PWarns that a schoolchildren's crossing is coming up at the stated distance.
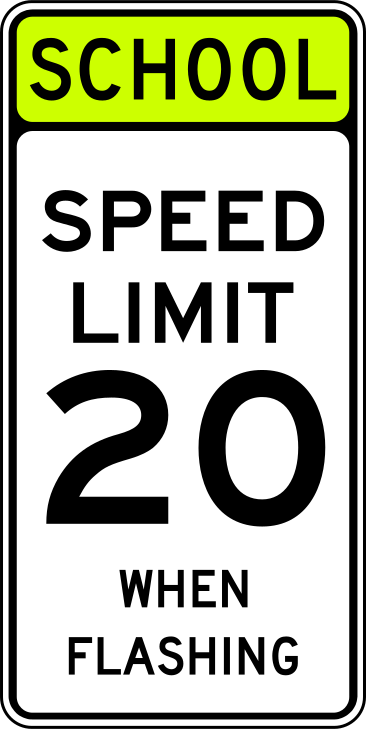
School Speed Limit When Flashing
S5-1The lower figure binds only while the beacon is lit, or inside the hours printed on the plaque.
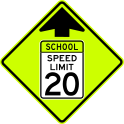
Reduced School Speed Limit Ahead
S4-5, S4-5aA lower school speed limit begins shortly; start slowing now.
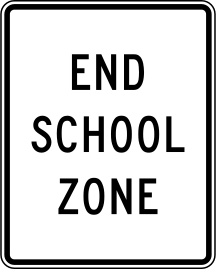
End School Zone
S5-2The designated school zone finishes here.
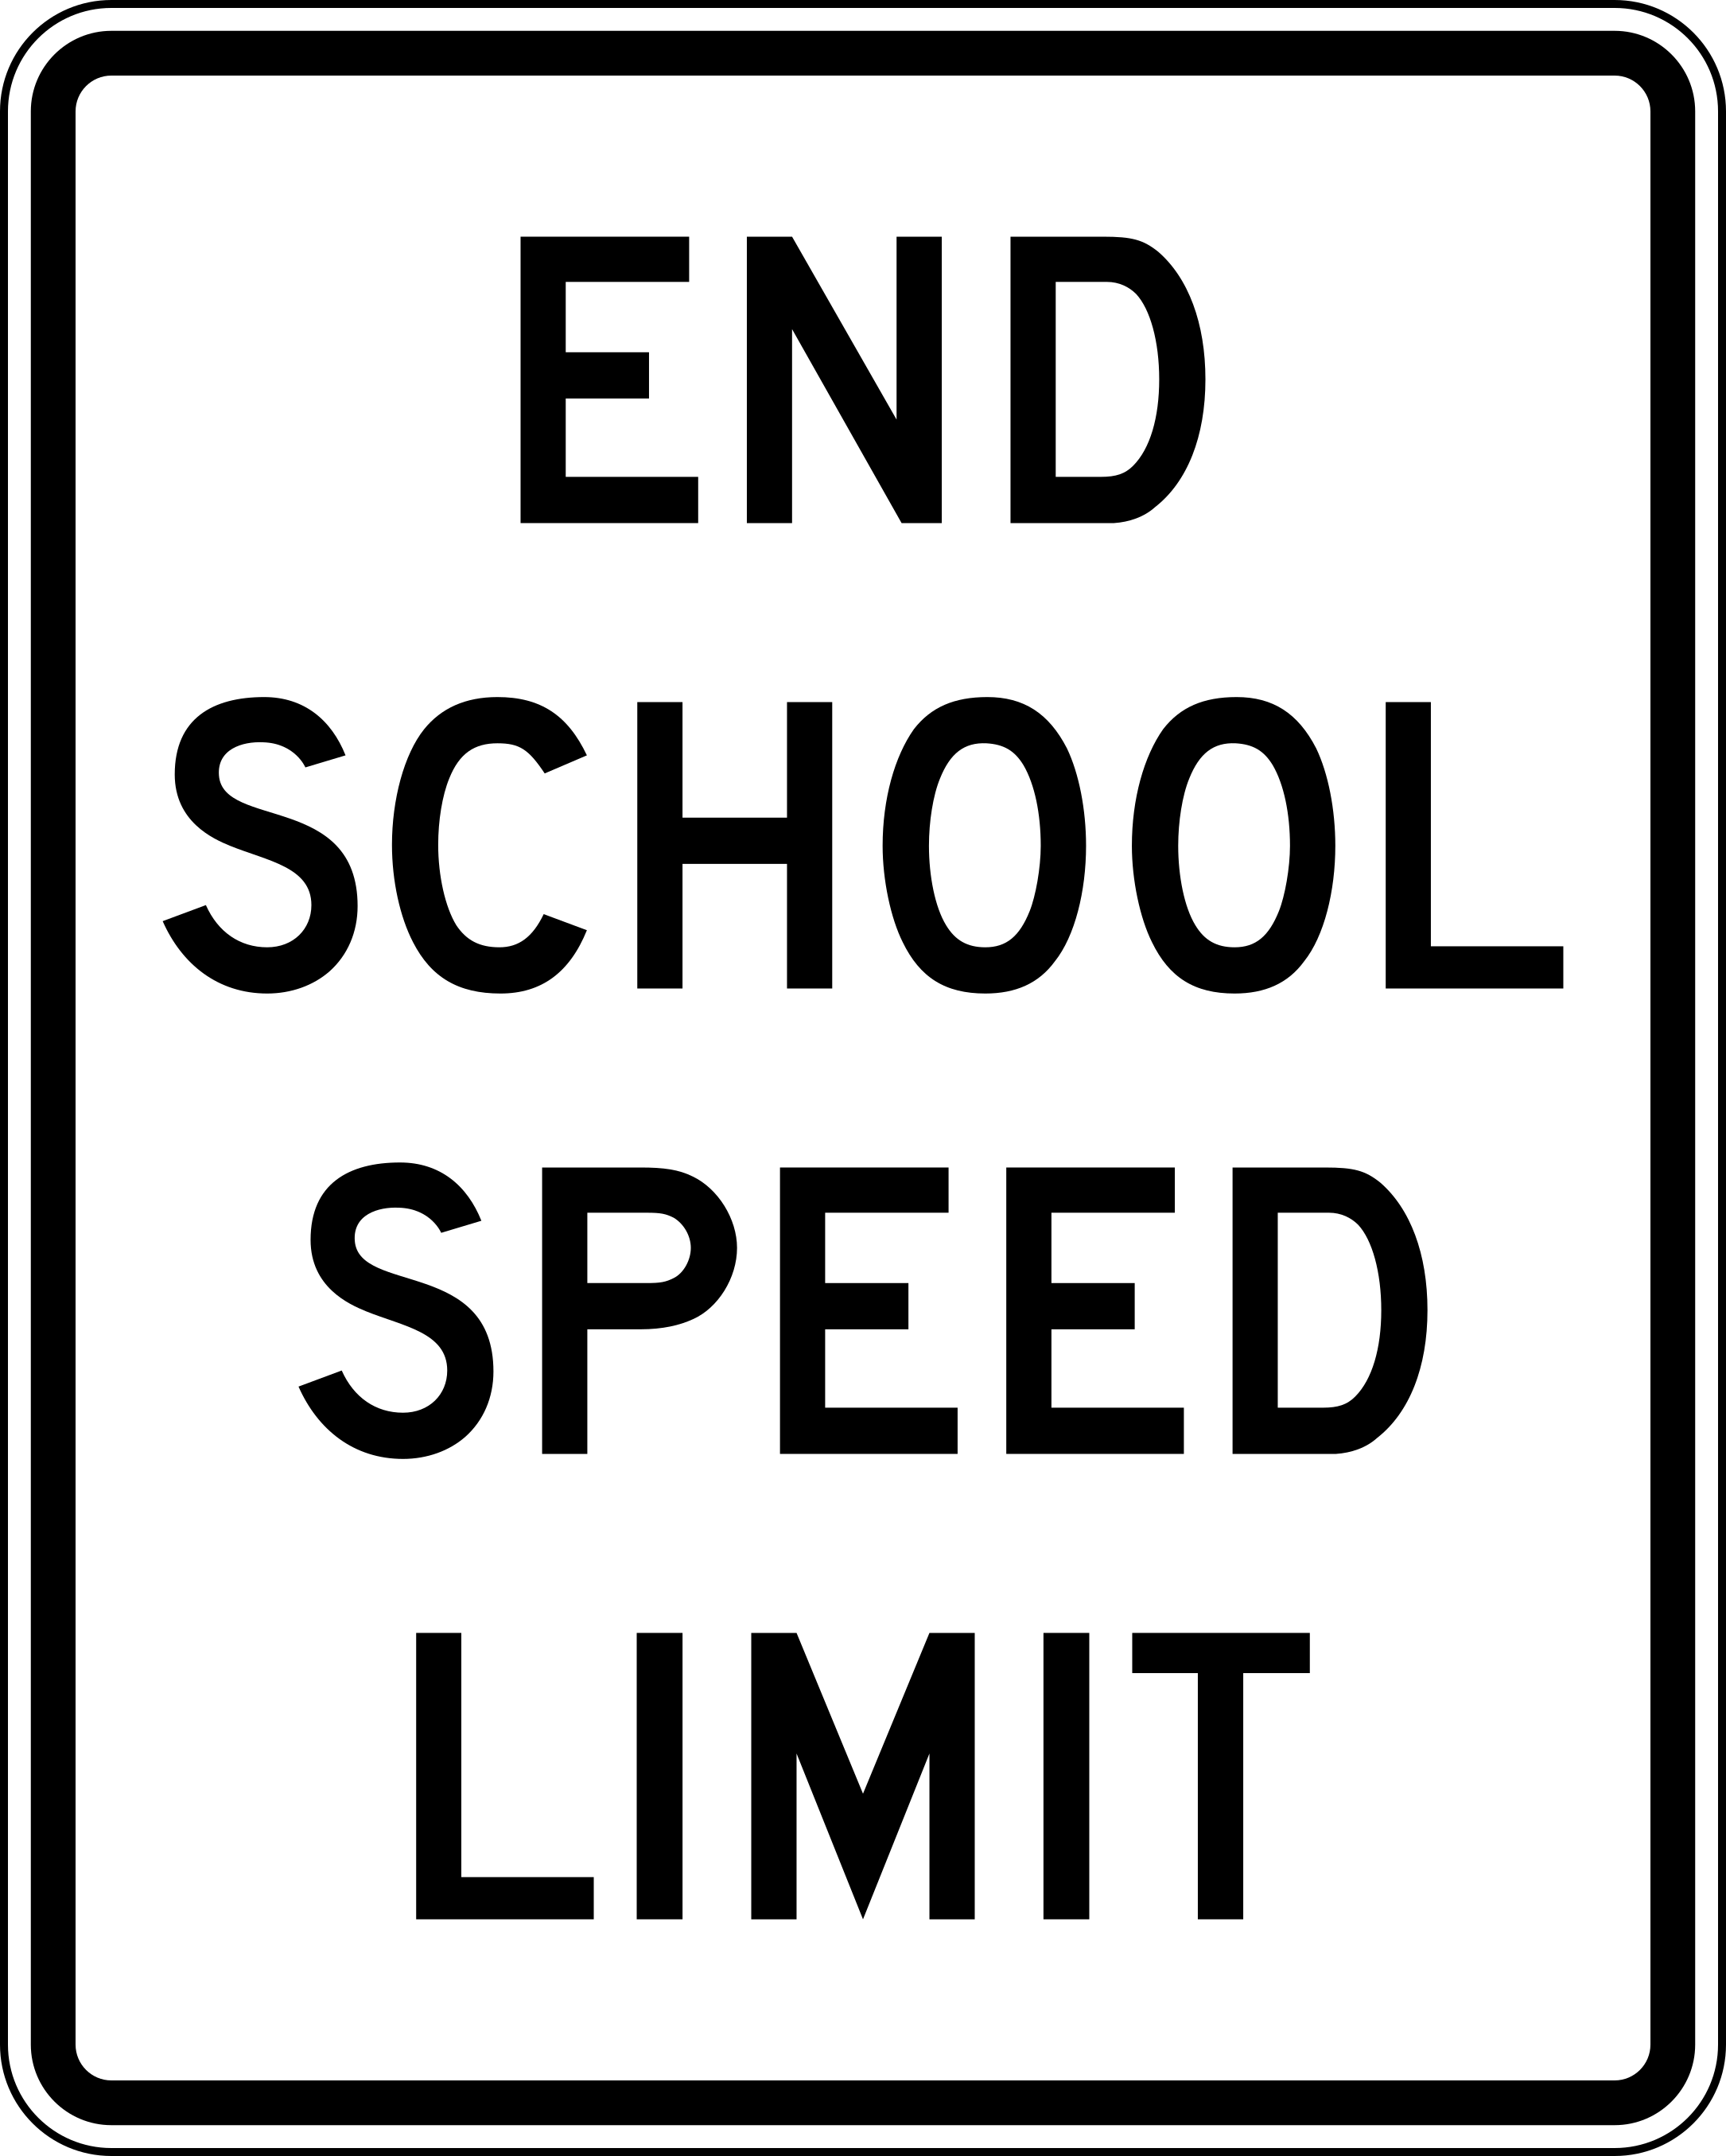
End School Speed Limit
S5-3From this point the regular limit is back in force, even where the marked school zone itself carries on.
Railroad crossing signs
8Advance warning, crossbuck and the passive versus active distinction.
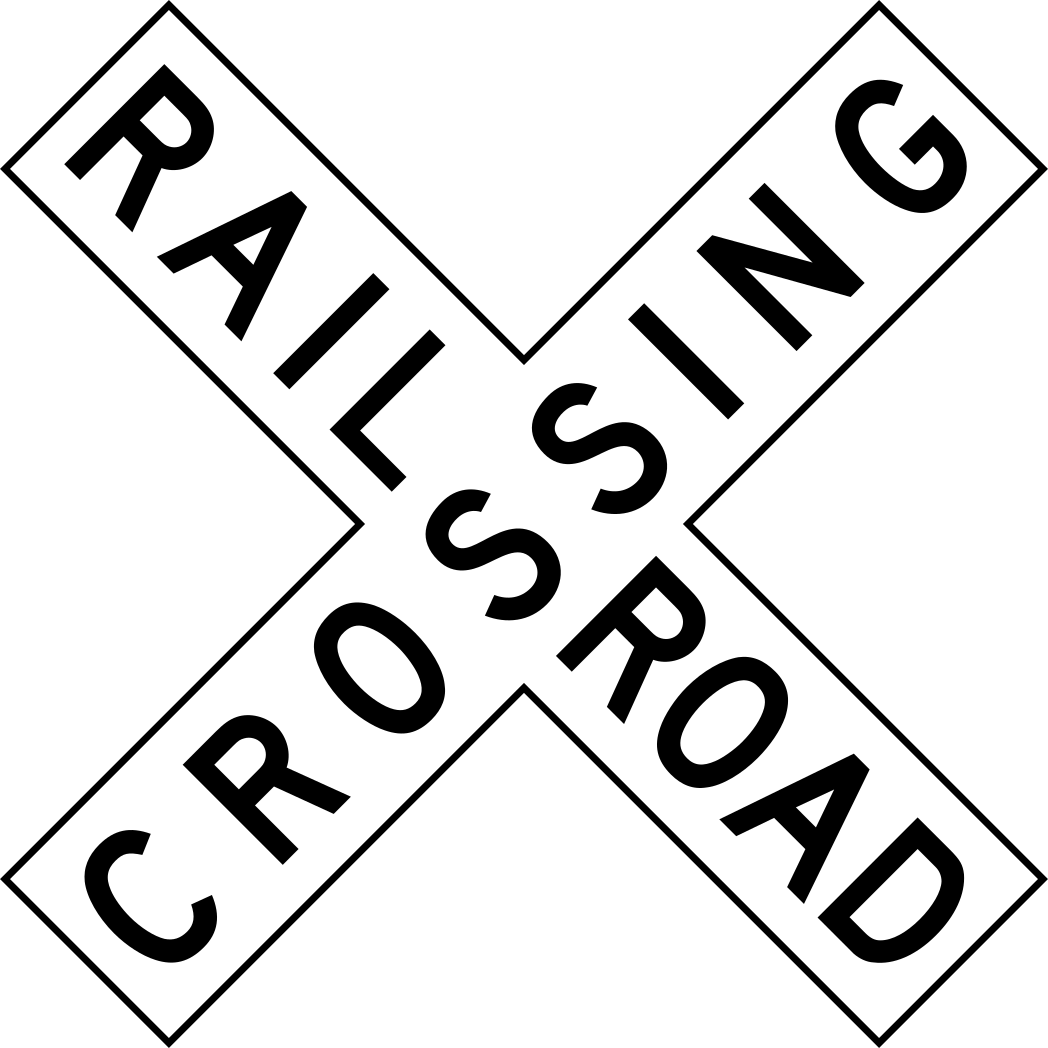
Grade Crossing (Crossbuck)
R15-1You are at the tracks, not approaching them.
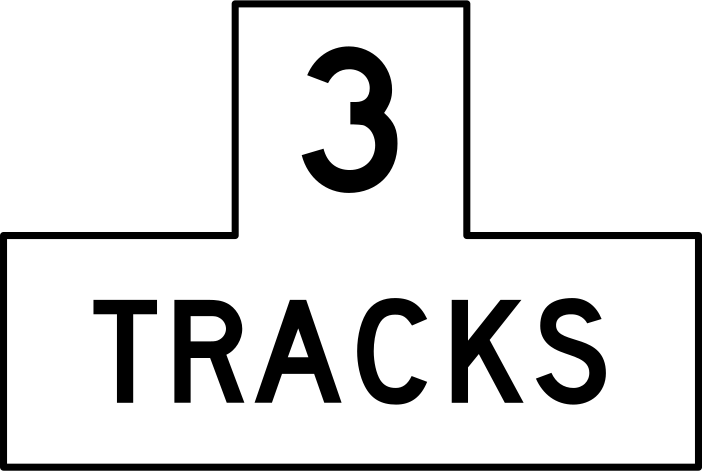
Number of Tracks plaque
R15-2PCounts the sets of rails at this crossing.

EXEMPT plaque
R15-3PAimed only at the vehicle classes carrying a standing duty to halt at every set of rails.

Grade Crossing Advance Warning
W10-1Tracks cross the pavement somewhere past this sign.
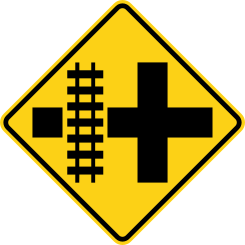
Grade Crossing and Intersection Advance Warning
W10-2, W10-3, W10-4There is a crossing very close to a road intersection, so a turn could put you straight onto the tracks.

Low Ground Clearance Grade Crossing
W10-5The crossing hump is steep enough to strand a long or low vehicle on the tracks.
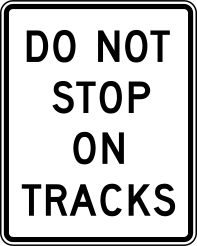
Do Not Stop On Tracks
R8-8The rails have to stay clear even when the traffic beyond them has stopped moving.
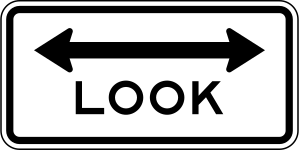
LOOK
R15-8A device for people on a pathway or sidewalk: check the rail line in each direction before stepping or riding onto the crossing.
What the shape tells you
Three shapes are reserved for one meaning each, which is the point of reserving them: you can identify a stop sign from behind, in fog, or when snow has covered the legend. Everything else follows a looser pattern.
Octagon
1Stop, and nothing else. It is the only eight-sided sign, so the shape alone identifies it in fog, in the dark, or from behind when the legend is not readable.
Triangle, point down
1Yield. The only downward-pointing triangle in the system, and like the octagon it is reserved so that shape alone carries the instruction.
Pennant
1No passing zone, posted on the LEFT side of the road facing the driver whose passing is restricted. The only sign of this shape.
Diamond
58A warning. It tells you what the road does next and obliges you to do nothing in particular, which is the distinction test writers probe most often.
Pentagon, point up
4School zone or school crossing. Shape and color are both unique to this group.
Crossbuck
3A railroad grade crossing, at the crossing itself. It carries the same legal weight as a yield sign.
Circle
2A railroad crossing ahead. Round signs are used for one purpose in the federal system, which makes this an easy question and an easy mark to lose.
Vertical rectangle
29Usually regulatory: a law you must obey. Speed limits, turn restrictions and parking rules take this shape.
Horizontal rectangle
23Usually guidance: direction, distance and destination. Also used for some regulatory plaques mounted under another sign.
What the color tells you
Color is the fastest question on any permit test and the one people answer from habit rather than from the rule. Orange in particular: drivers read it as a warning like any other, when it specifically means the layout in front of them is temporary and does not match the road as it normally is.
| Red4 here | Stop, yield, or a prohibition. Red never advises, it always forbids or commands. | |
| Yellow53 here | General warning of a permanent condition ahead. | |
| Fluorescent yellow-green12 here | Pedestrian, bicycle and school warnings. Reserved so those warnings cannot be mistaken for an ordinary hazard. | |
| Orange10 here | Temporary traffic control. A work zone, and usually a higher fine. | |
| Green6 here | Permitted movements, direction, distance and destination guidance. | |
| Blue3 here | Motorist services: rest areas, hospitals, fuel, food and lodging. | |
| Brown1 here | Recreational and cultural interest: parks, historic sites, scenic areas. | |
| White43 here | Regulatory. A black legend on a white background is a law, not advice. | |
| Black4 here | Used with white for regulatory signs where the legend needs to dominate, such as ONE WAY. |
Ready to be tested on these? Florida, Texas, California or New York, each drawn from that state’s own handbook sections.
About the artwork and the source
The signs above are the federal artwork itself. The Manual on Uniform Traffic Control Devices dedicates its own device designs to the public domain in Section 1D.06, so the drawings are reproduced rather than approximated. A handful of signs are excluded by that same section, which names the Interstate Shield, the 511 pictograph and the National Scenic Byway graphic as exceptions, and route markers drawn by individual states sit outside the federal dedication entirely. Anything we do not hold artwork for is shown as its correct shape and color instead, because a plain accurate shape is more use than a confident wrong picture.
Traffic control device designs in the manual are dedicated to the public domain by the manual itself, at Section 1D.06, with named exceptions including the Interstate Shield, the 511 Travel Information pictograph and the National Scenic Byway graphic. Those three are not drawn here and should not be added. Sign designs produced by individual states sit outside the federal dedication entirely.
Source: Manual on Uniform Traffic Control Devices, 11th Edition. Not affiliated with or endorsed by the Federal Highway Administration or any state agency.